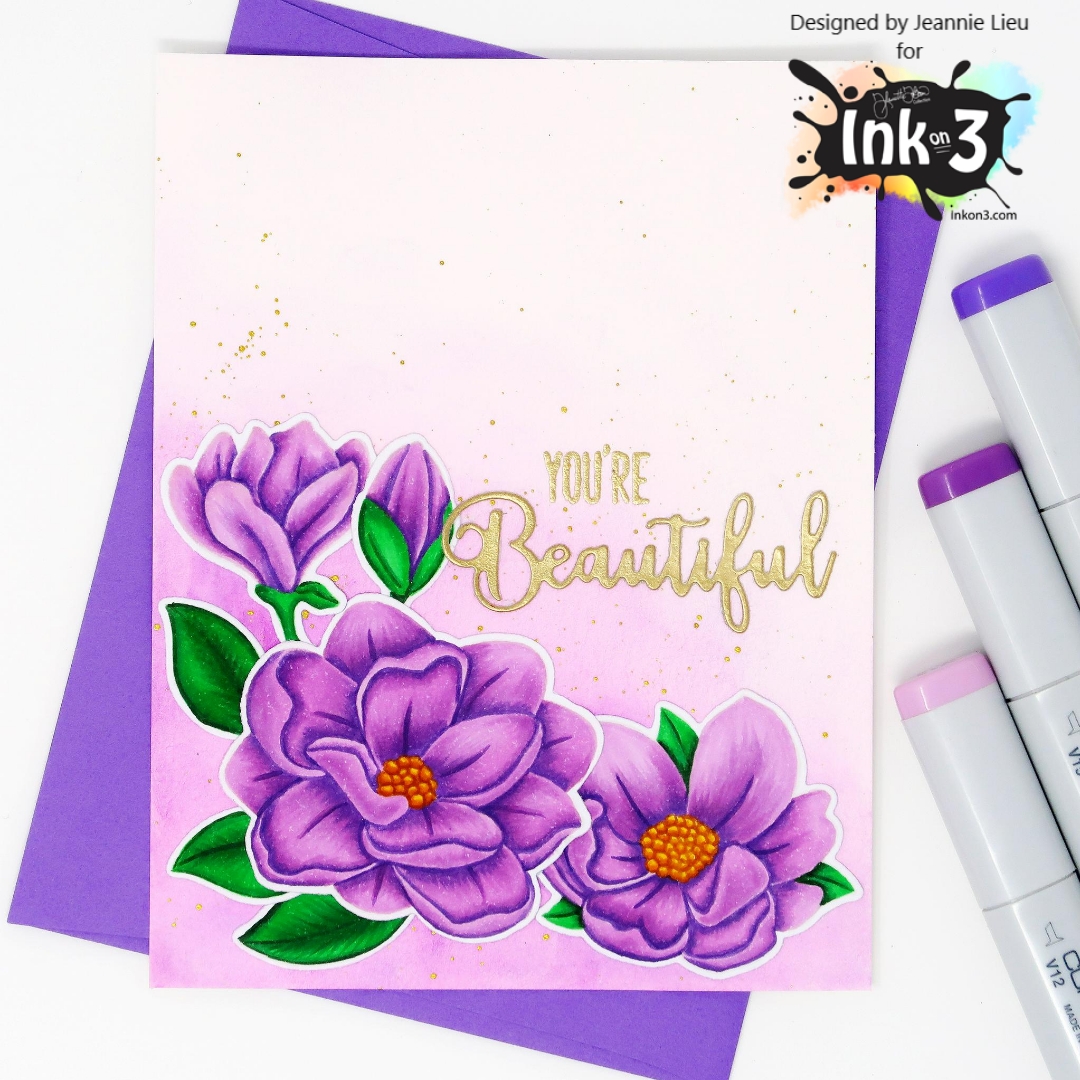
Hi everyone! It’s Jeannie (InsideoutJeans) on the blog today with featuring Ink on 3's new Atelier inks! The card I'm featuring today was entirely colored using the new Atelier inks plus the beloved Blackout hybrid ink.

Here's a little summary of the inks and what they can do:
- Artist Grade Quality
- Specialty, Water Reactive, Fusion Ink, Acid-free and archival
- Water coloring (remains bright even after dry)
- Stamping, Blending, Embossing
- Color Layering
- Artistic, Bright, Crisp Impressions,
- Alcohol / Copic Marker friendly (air dry or heat set)
- Full coverage on solid stamp images
- Fun effects - After inking surface, spritz with water.
- Buttery Smooth - Create beautiful blended backgrounds, using a blending tool or brush.
- Blend over stencils.
- Works on most paper surfaces.
For my card today, I'm using the inks alongside the Big Bold Magnolias stamp set, which were stamped out using Blackout hybrid ink. I'm only using THREE colors to color up this entire card: Marilyn Red, Bee Sting Yellow, and Goddess Green. I decided to use the re-inkers because I wanted to watercolor.
I started off with the background and painted an ombre using Marilyn Red and Bee Sting Yellow. The two colors blended together to create a smooth ombre look without any grittiness or chalkiness. I was especially shocked by how vibrant the yellow was!

Next, I went ahead and used the three colors (Marilyn Red, Bee Sting Yellow, and Goddess Green) to color in the floral images. I'm definitely not a pro at watercoloring, but these were really easy to use.I found that the lack of water spots really played a role in these inks. I have a tendency to end up with random spots that dried but the inks were super forgiving.

I wanted to use a sentiment from the Heels to You stamp set. For the die cut words, I actually used the Bee Sting ink pad and covered a piece of white cardstock and then die cut the words "Beautiful" and "Friend" from the Heels to You coordinating die set. You can really see the vibrancy of the yellow from the ink pad!

I added a few embellishments to the card and that finished up the card. I'm loving how I can use the same medium to color up an entire card. Have you checked out the inks yet? My first impression is that they are pretty amazing!
If you want to see them in action, head over to the Inkon3 YouTube channel.
Thanks for stopping by! Come back again soon for some more inspiration and ideas! Happy Crafting!