Hi guys!
Erica back on the Inkon3 blog today with a quick but very bright card! I have used a new-to-me stamp set, Bunny Hugs, and I used the Atelier Inks to add colour.
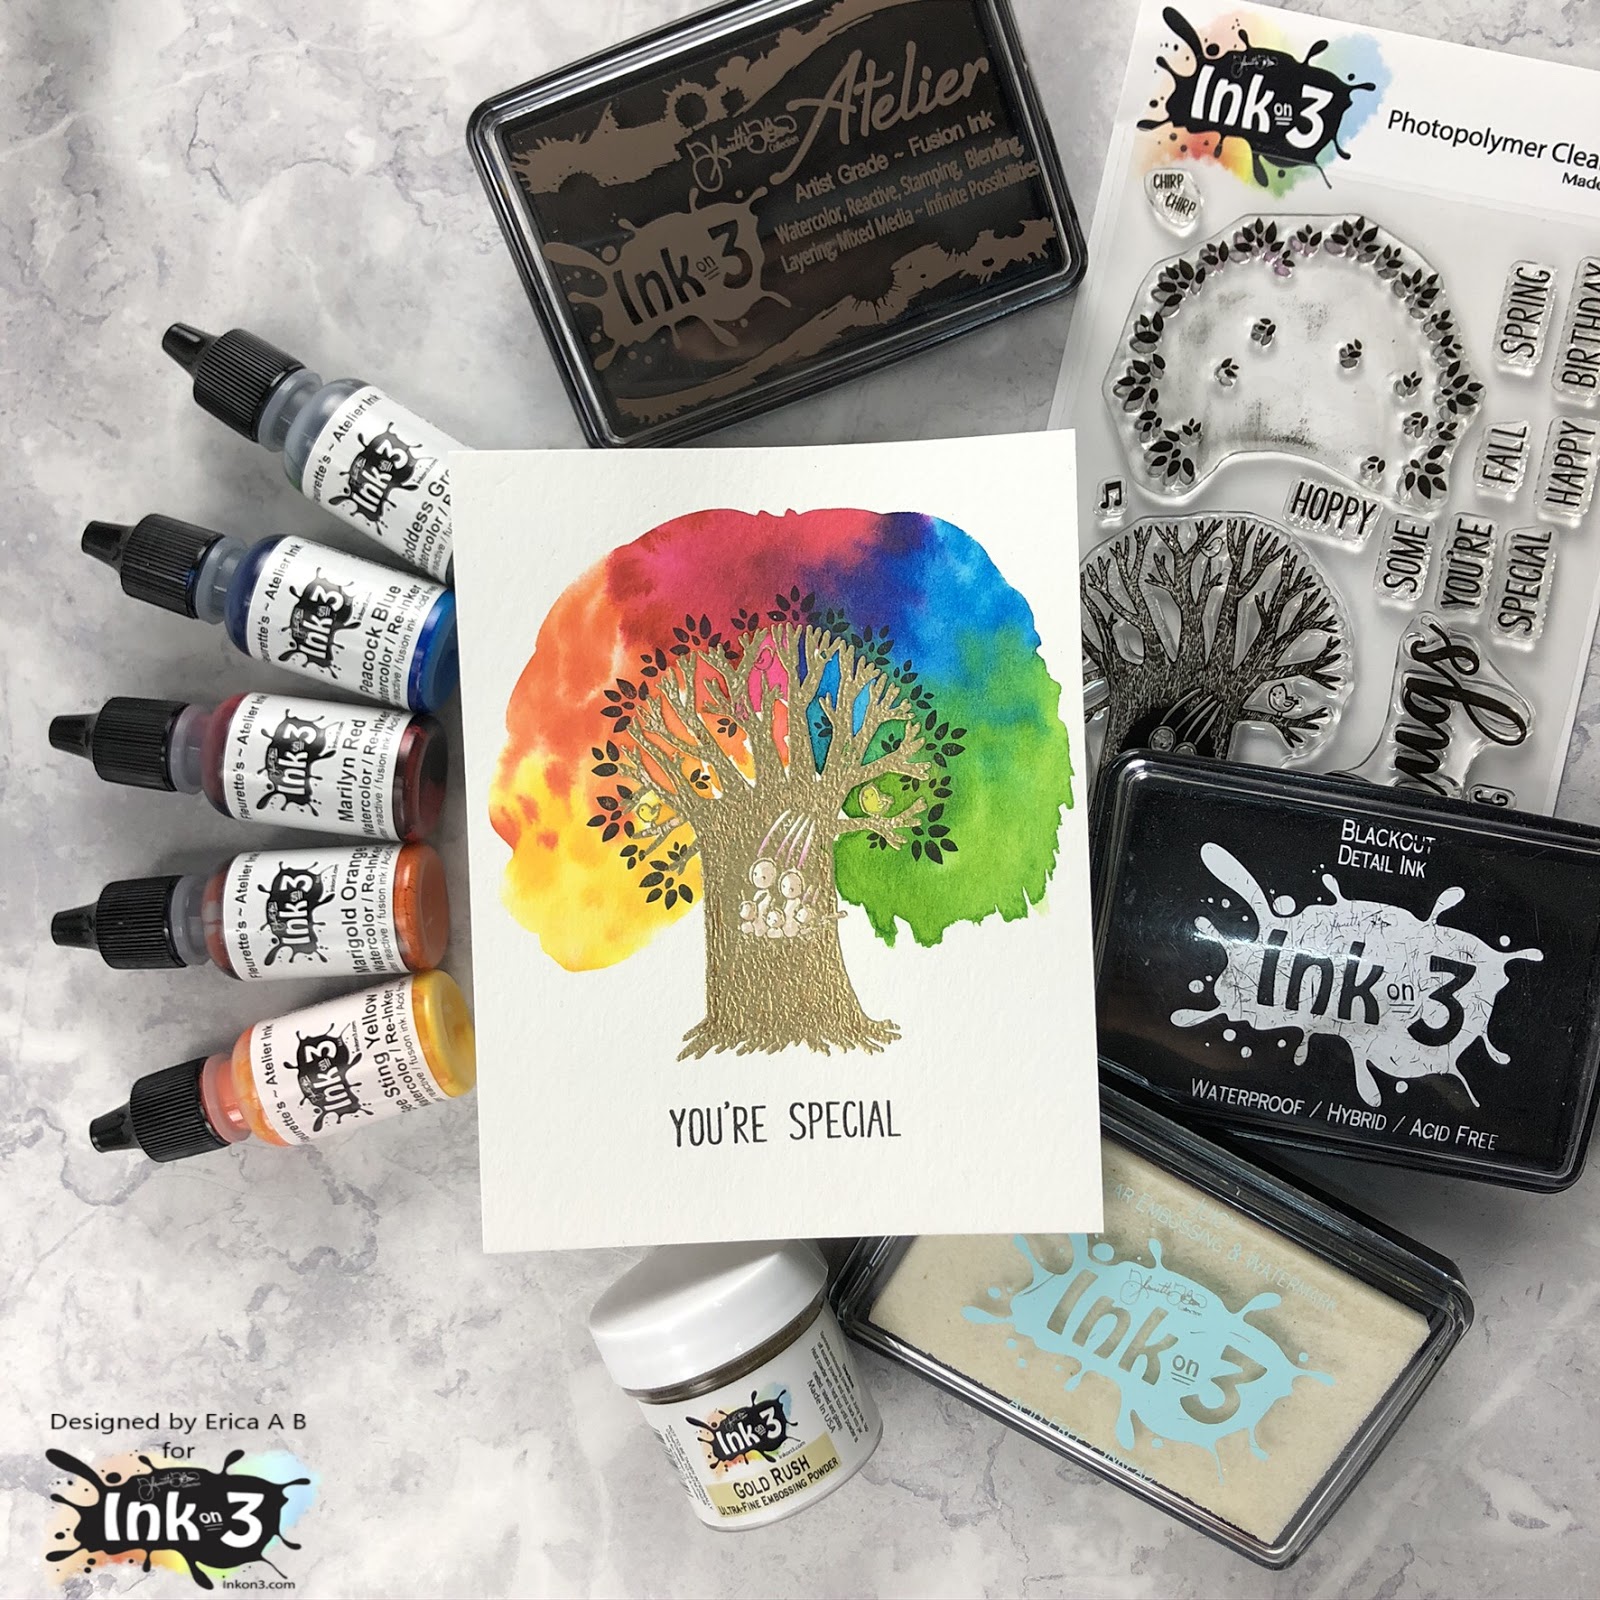
To start with, I heat embossed the tree trunk in Gold Rush embossing powder. I used the Juicy pad to stamp it up before sprinkling the embossing powder very generously over the panel. This is water colour paper, Canson XL, that's been cut down to 4.25"x5.5".
After adding some colour to the actual tree trunk, with the help of the Twiggy Brown ink pad as I don't have the re-inker yet, I got the canopy part of the tree very wet and added colour to it by dabbing a paint brush filled with ink in it. Doing it this way, I feel, adds a bit of texture and you get that lovely natural spreading of the colour.
From left to right I have used Bee Sting Yellow, Marigold Orange, Marilyn Red, Peacock Blue and Goddess Green.
To make sure the canopy was dry, before I stamped up the leaves, I used my heat gun on the panel to set the colours. With the help of the MISTI, I then stamped the leaves with Blackout Ink until they were nice and solid. I also added a sentiment 'You're Special' from the Bunny Hugs set, under the tree.
I love a bit of heat embossing and a splash of colour for a quick card! What do you think?
If you are in the Phoenix area this weekend, Jan 18-20th, and are attending Creativation, make sure to stop by the Inkon3 and the Picket Fence Studios booths as I, and the rest of the teams, will be demoing the Atelier inks there! You will get to see these in action and try them out for yourself too!
Thanks for stopping by today, I hope you found this inspiring and will give it a go yourself. Oh, I made a video too! It's over on my YouTube channel if you wanted to have a look.
Lots of love and happy crafting from Erica
PS If you do attend Creativation, make sure to some up and say hello!
Showing posts with label Gold Rush Embossing powder. Show all posts
Thursday, January 16, 2020
Quick But Bright You're Special card with Erica
Tuesday, October 22, 2019
Product Focus - Water Lily Stamp Set + Video
Hi everyone, welcome back to the Ink On 3 blog! It's Jaycee Gaspar, and today I wanted to share the creative process on this deconstructed scene card using Ink On 3 - Water Lily Stamp Set. I wanted to incorporate all the photopolymer images onto my card, including the dragonfly image. Below is a video over on my YouTube Channel on how I made this card by utilizing the patterned/repeat stamping technique to make a statement background to perfectly frame the focal point.
Hey thank you so much for checking out my video on how I made this card! Do you all have stamp sets from Ink On 3 that you would like me to use in a future project? Let me know in the comments below! If you like what you've seen from me, make sure you subscribe to my YouTube channel and give me a follow over on Instagram! Talk to you all very soon!
Materials:
Ink on 3 - Water Lily Stamp Set
Ink on 3 - Blackout Detail Ink
Ink on 3 - Juicy Clear Embossing Ink
Ink on 3 - Gold Rush Embossing Powder
Vellum
Copic Markers: R00, R81, R83, R85, R89, YG91, YG93, YG95, Y0000, YR01, Y02, YR21
Neenah Solar White 80lb Cardstock
Jaycee Gaspar
YouTube | Instagram | BlogThursday, October 17, 2019
Pumpkin tag tutorial
Hello my fabulous friends!
Welcome to the Inkon3 blog! Kassi here with a fun fall gift tag tutorial!
As a kid, I was taught to say 'thank you' when people did something nice for me... I remember one time, while cooking dinner for an important event, our cheese grater broke... we didn't have time to go to the store, so I mom called our neighbor and asked if we could borrow theirs... It wasn't a big deal, and they were happy to lend it to us. However, before returning it the next day, my mom had me stick suckers into each of the grater holes, turning it into a candy bouquet... She wanted to make sure they knew that she was grateful... both for the borrowed cheese grater, and their friendship.
That's why I make so many 'thank you' cards and treats...
Let's take a look at how to make this fabulous fall tag!
Wednesday, September 11, 2019
Big Bold Magnolias - No Line Coloring
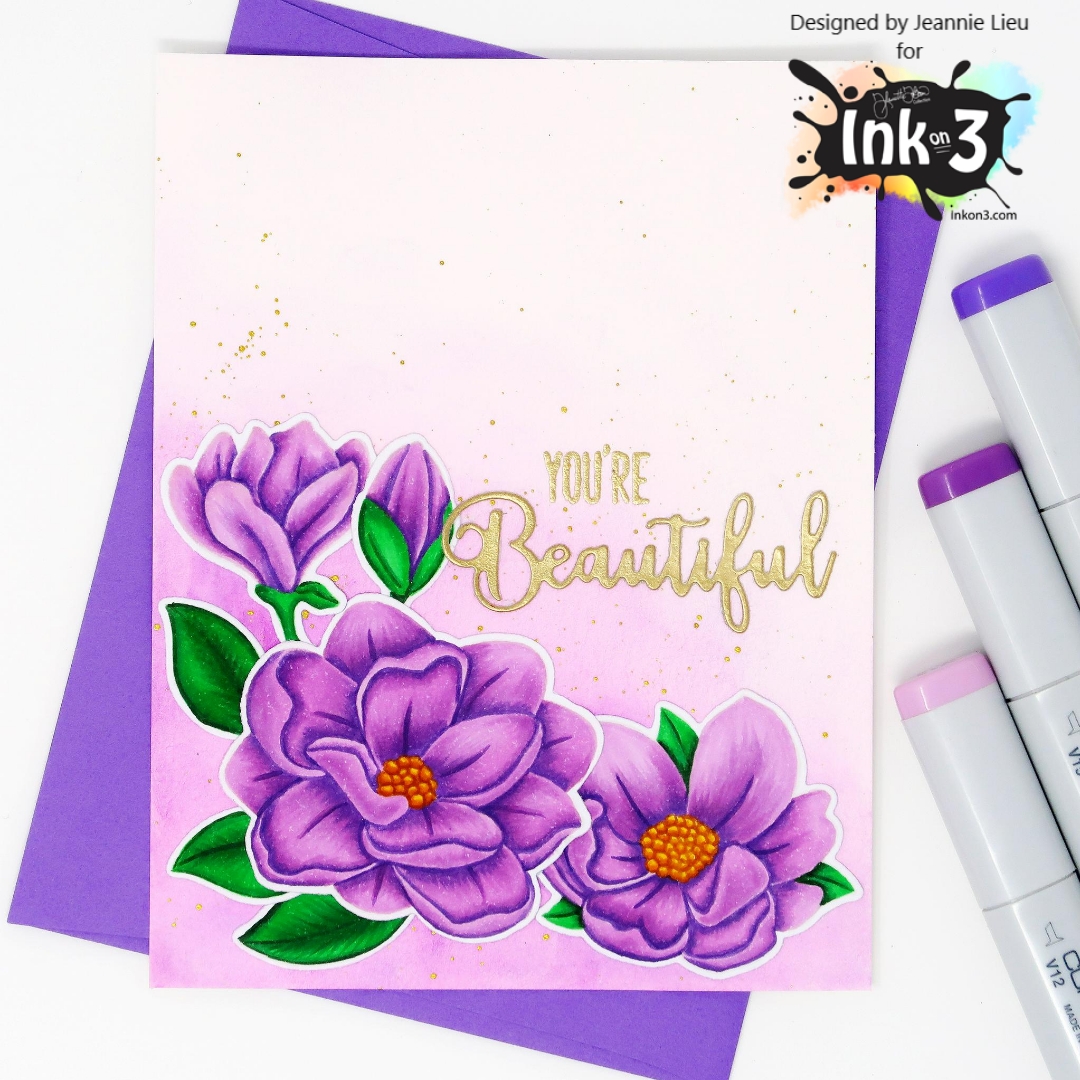
Hi everyone! It’s Jeannie (InsideoutJeans) on the blog today with Inkon3’s new release with the amazing stamp set named, Big Bold Magnolias along with the coordinating dies. If you didn't hop along with us during our blog hop, you definitely should check it out because there have been some fabulous projects using this set!
I previously had created two other cards using this set, but I just had to pull it out again to create another one. This time, I decided to take on some no-line coloring. Inkon3 has the fabulous Fadeout ink for no-line coloring. To start, I went ahead and stamped out all the images from the set, except for the largest magnolia. The last two projects, I had focused on the largest one so this time, I wanted to pay attention to the rest of the images from the set.
Once I had stamped them out, I went in with some purple copic markers. For me, it's easiest to lay down the darkest color first so I know where all the shadows lay. I'll then work out to my lightest color.
For the background, I just did a few washes of purple watercolor. Nothing very fancy at all. I did keep the watercolor at the bottom left of the card where I have the flowers laid out. Before glueing my flowers down, I added some gold splatter.
I wanted to tie in my gold splatter, so I decided to use the Juicy ink to cover a piece of white cardstock and added Gold Rush embossing powder. By doing this, I could use the standalone "Beautiful" sentiment from Heels to you die set. For the coordinating sentiment, I stamped the "You're" with Juicy ink and heat embossed with the Gold Rush embossing powder so everything matched up.
I hope you enjoyed this card I shared today and make sure to pick up your set too! This is so gorgeous and so fun to color!
Thanks for stopping by! Come back again soon for some more inspiration and ideas!
Wednesday, July 10, 2019
No Line Coloring with Kassi
Hi everyone! Jeannie, here, popping in
again to introduce you to another new member of Inkon3's design team, Kassi!
She's an amazing no-line colorist and if you haven't been seeing her projects
on her blog or instagram, you really should
be! You'll be inspired by her coloring (at least I know I am!)
______________________________________
Hello InkOn3 friends!
My name is Kassi,
and I’m excited to be joining the Inkon3 design team!
Paper: Strathmore Bristol Smooth; Neenah Classic
Crest Solar White
Coloring: Zig Clean Color Real Brush
Flower- 230, 028, 067, 062
Leaves- 043, 046
Dies: LDRS Creative Scalloped Rectangle Frame
I absolutely love how this flower,
and card turned out! It's so soft and elegant!
But it didn't actually start out as a
card...
This was originally just a warm up
exercise... Not meant to be used for anything other than practice.
Doing ' warm up' exercises allow me
to experiment and play with an image or technique without the normal pressure
my perfectionism places on me. It gives me a chance to play with shadows and
colors without worrying if I'm going to ruin the project.
I started by stamping the flower
from Heels
to You with Fadeout ink.
I then colored it using Zig Clean
Color Real Brush markers...To get a very soft flower, I kept a light hand with
the markers and used a lot of water to create washes.
After the flower was colored, I loved it
so much I had to turn it into a full card!
To give the lettering a more vintage
feel, I stamped the sentiment in brown ink, then over-stamped it with the Juicy
Clear Embossing ink. I then covered it with Gold
Rush embossing powder, and flicked the paper a lot more than usual to
knock off some of the powder from the letters. I then heat set it.. the result
is this pitted gold lettering!
To create the gold layer, I rubbed the
InkOn3 Juicy
Clear Embossing ink across the edge of that paper, then
heat embossed using Gold
Rush powder. It's such a pretty shiny gold!
See you soon!
Subscribe to:
Posts (Atom)