Showing posts with label planner layout. Show all posts

Tuesday, November 30, 2021

Love Birds Planner Pages

Hello Crafty Friends! I'm going to go back to my roots and start creating planner layouts from scratch again! I like starting off with some dot grid pages because it provides some points of references, but from a distance, you can hardly notice that the pages has a grid at all! The planner layout below is for a B6 ring planner, but you can adjust the boxes to whatever planner you like to use!
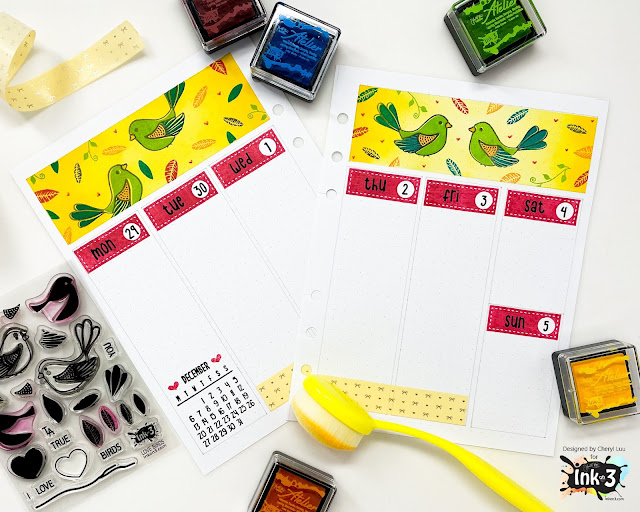

The daily boxes are 1.5" wide, which is standard for most planners, the top rectangle is 1.5" high and the width to match the three daily boxes. 
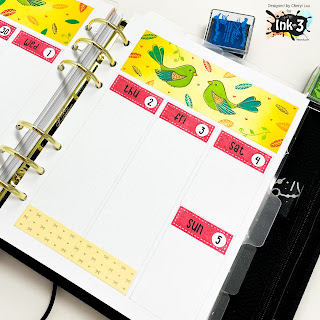

First, I masked off around the large top rectangle. Then I used a blender brush and applied the Bee-Sting Yellow Atelier Ink to create a background. You can saturate the color on the sides to create an ombre look.  Leaving the mask on, stamp the birds, and feathers from the Love Birds Clear Stamp Set. I also used a vine from the Holiday Wreath Clear Stamp Set. With a red pen, draw little hearts in random open spaces.
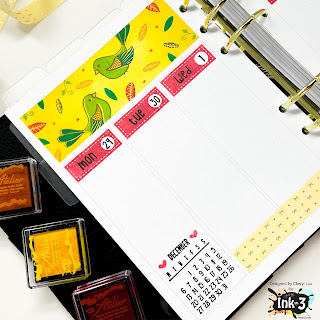

Remove the mask, and then use date stamps or stickers for each day of the week. Stamp a calendar on the lower left hand corner of the left planner page. Then add some washi tape to the bottom for a little more deco!

Isn't this such a fun and pretty layout!?
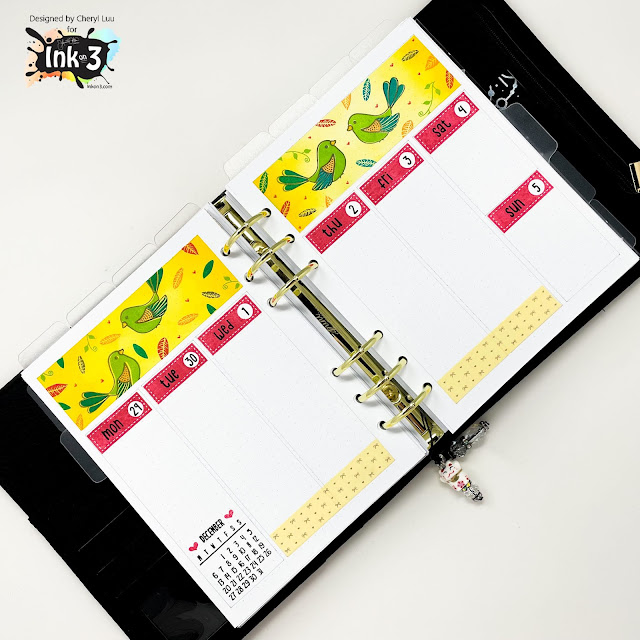

Inkon3 Products used:


Friday, July 24, 2020

Tone-on-Tone coloring - BeYOUtiful Floral Monthly Planner Layout

It's Cheryl with the Inkon 3 Creative Team here to show you how I made this BeYOUtiful monthly pages.


Did you know that the Atelier Inks are Copic Safe? This inspired me to do some tone-on-tone coloring. I think it looks super cool and it keeps the color palette simple which makes coloring super easy! 


I used a scalloped rectangle die and die cut some white card stock. On the white card stock, I stamped out the flowers from the BeYOUtiful Clear stamp set using the Peacock Blue Atelier Ink, then I stamped out the leaves from the same stamp set using the Goddess Green Atelier Ink. Next, I colored in the flower with blue copic markers and the leaves and stems with green copic markers. Then stamp the sentiment "Hello BeYOUtiful" on the lower left hand corner of the rectangle using Twiggy Brown Atelier Ink.


For my A6 planner, I cut a rectangle 6"x 4.25" out of white card stock, and punched holes on the side. Then I used the Leafy Forest Stencil, blender brushes and the Peacock Blue and Goddess Green Atelier Ink to create a beautiful background, you don't have to bring the background all the way to the center since you will cover it with the card stock with the flowers. Adhere the scalloped rectangle with the flowers onto the card stock with the Leafy Forest background.


On the monthly calendar side I stenciled in some more leafy backgrounds using Peacock Blue and Goddess Green Atelier Ink. Then I added some gold sparkly washi tape on the top of the page.


What do you think of the tone-on-tone coloring? It's not quite no-line coloring, but you get a nice softness to the image right?


Products Used:

Copics Used: 
Blues: BG05, BG02, B000
Greens: YG27, YG23, YG13