Thank you for joining us on this fun collaboration Blog Hop. Everyone has created amazing projects combining Inkon3 & Heffy Doodle goodies! These projects will inspire and bring joy
(which we could all use a little of these days).
PRIZES AND GIVEAWAY INFO
Heffy Doodle will be giving away a 25£ CG and InkOn3 a 25$ Shopping Spree
to their respective stores.
Winners will be chosen randomly among all the comments left on the blog hop stops and announced on Sunday, June 7th on the Heffy Doodle and InkOn3 blog.
Winners will be chosen randomly among all the comments left on the blog hop stops and announced on Sunday, June 7th on the Heffy Doodle and InkOn3 blog.
Remember to leave a comment on every stop in the hop to be entered to win!
If you get lost anywhere on the hop, you can come back here & scroll down to the lineup.
If you get lost anywhere on the hop, you can come back here & scroll down to the lineup.
Fleurette here from Inkon3.com your first stop on the hop and I have created a fun card and Youtube tutorial showing how to Mirror Image Stamp, a fun technique that literally doubles your stamps!
Youtube Tutorial ~ Mirror Image Stamping
Scroll down for your next stop on the hop and supply list.

Blog Line Up
You Are Here >InkOn3 Blog
Next Stop > Channin Pelletier
Jeannie Lieu
Ali Farmer
Dana Joy
Zsofia Molnar
Ilda Dias
Ashley Ebben
Cheryl Luu
Olga Mezentseva
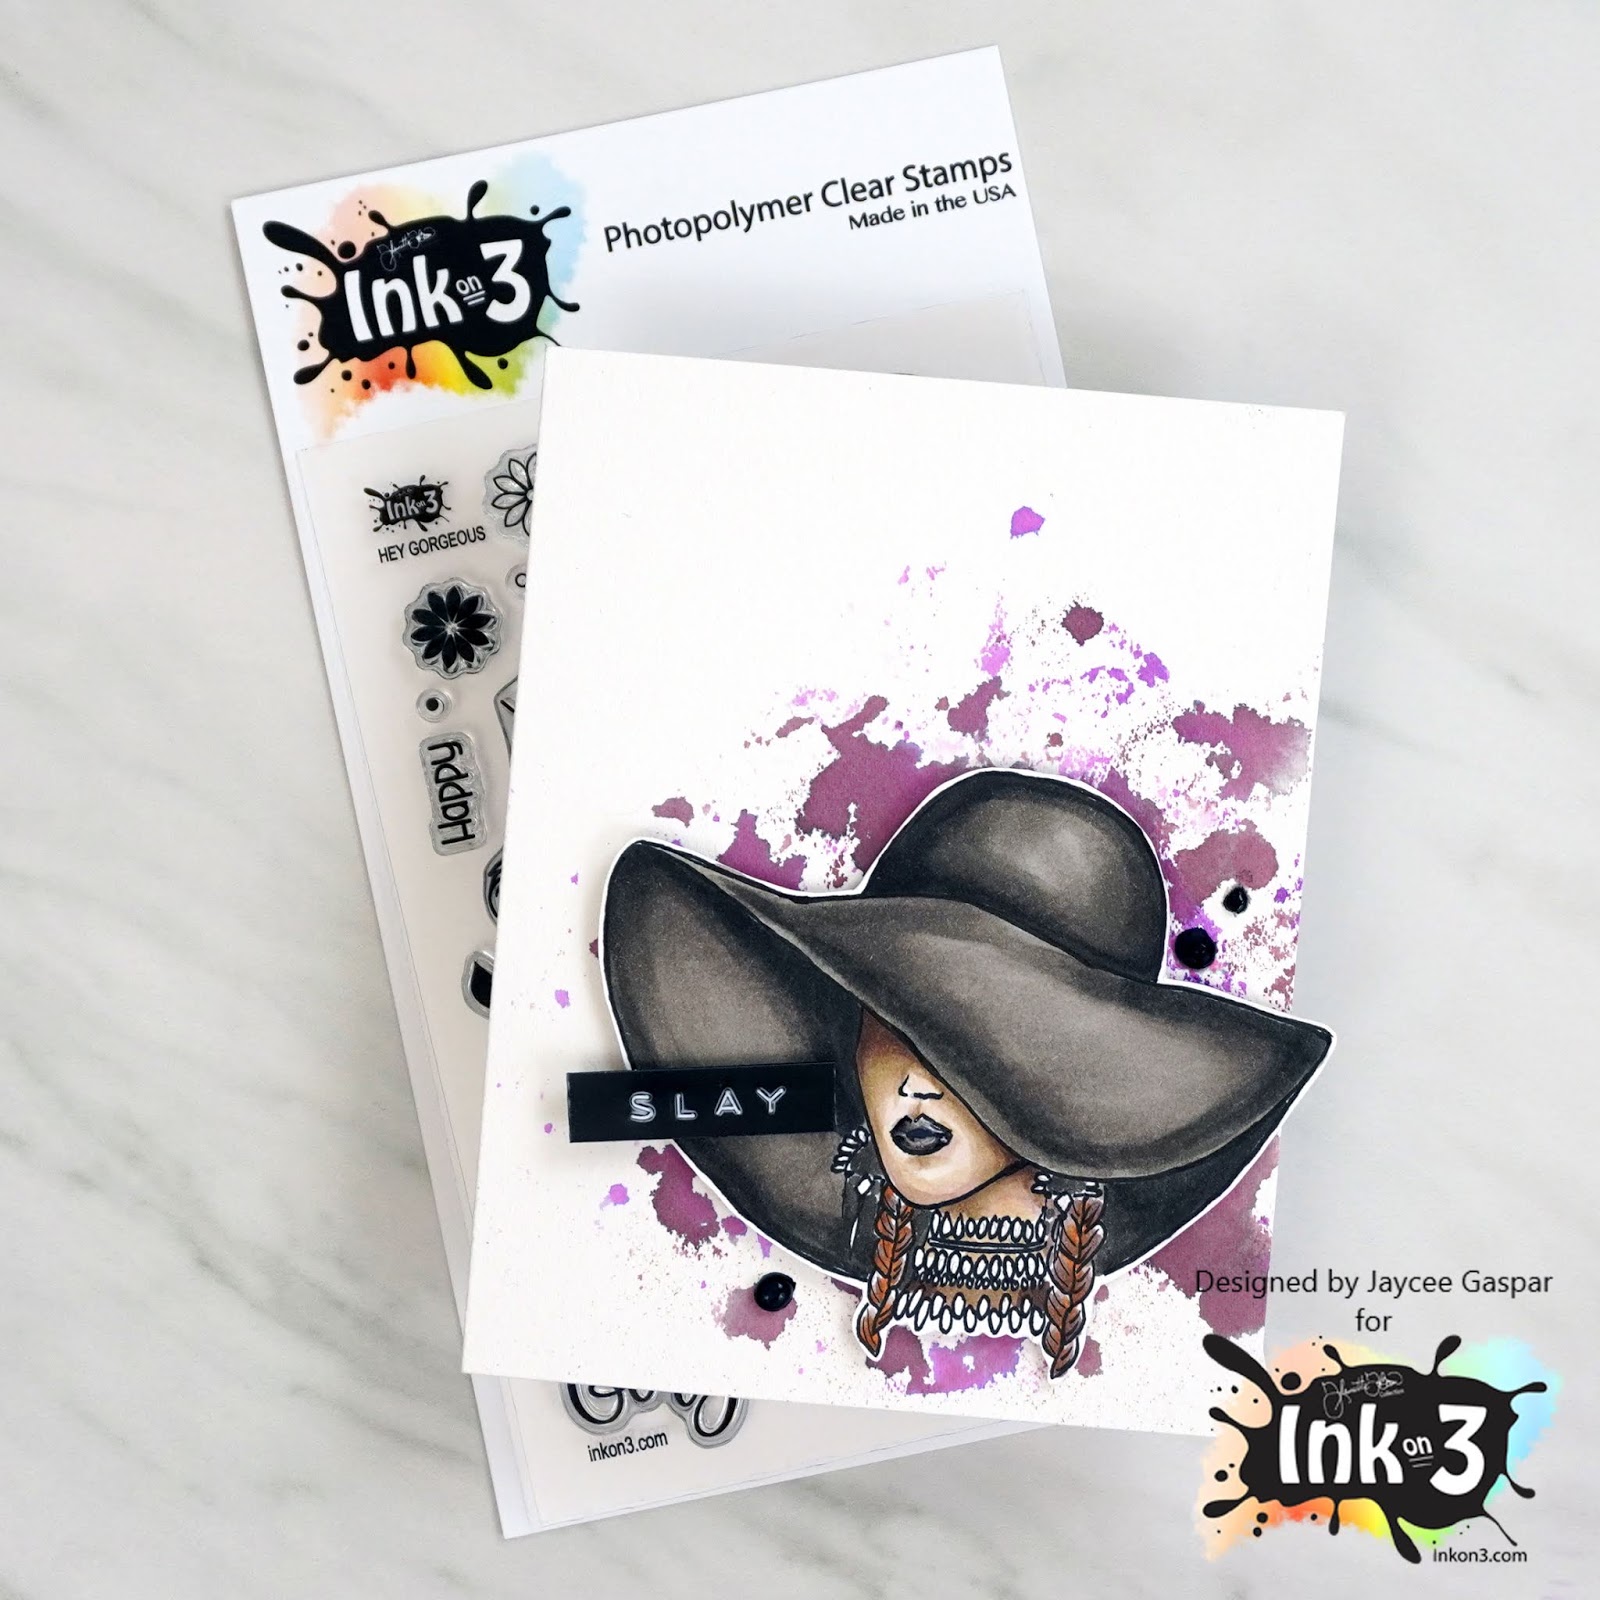
Jaycee Gaspar
Heffy Doodle Blog
Thanks for hoping with us!!!
Ink On 3 is also having a sale to celebrate the hop! Get 25% Off your entire order when you add $45 or more to your cart at inkon3.com! Use Coupon Code ~ INKON3HEFFYHOP
Save on all regular prices, sale priced items not included
Sale ends Tuesday June 2nd at 11:59 pm PST
Sale ends Tuesday June 2nd at 11:59 pm PST
Supplies Used:
Click on links for products
Quill You Be Mine Stamps - Heffy Doodle
Quill You Be Mine Dies - Heffy Doodle
Otter Side Stamps - Heffy Doodle
Otter Side Dies - Heffy Doodle
Blackout Ink Pad - Inkon3
Atelier Fusion Ink Pads - Inkon3
Fadeout No Line Coloring Ink - Inkon3
Liquid Pixie Dust - Inkon3
Ink Off Cleaner Pad & Cloth - Inkon3
Inkon3 Water Brush Pens - Inkon3
Original Misti - My Sweet Petunia
Happy Crafting!