Showing posts with label Fox and Bunny Hugs. Show all posts

Friday, September 4, 2020

Fall Cards with Summer Loving Erica


Hi guys! 

After a little bit of a hiatus, it's Erica back on the Ink On 3 blog with a couple of cards with new-to-me goodies that finally arrived after floating around the mail system for almost four months! 


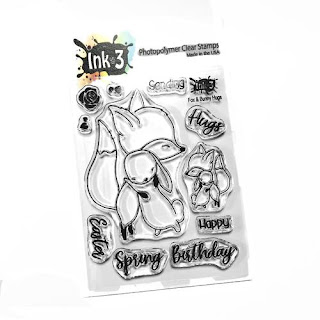
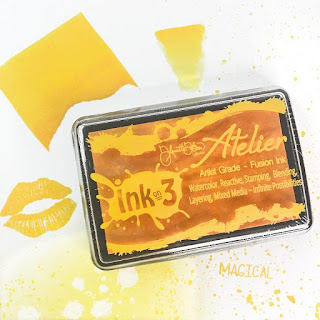
The Fox & Bunny Hugs set and the Leafy Forest stencil are lovely and I got to work right away! Ooooh, what fun I had ink blending, smooshing and glitter pasting! I made so many backgrounds and below are a selection of them. The Atelier Inks created some fabulous colours. I used Bee Sting Yellow, Marigold Orange, Marilyn Red and Goddess Green


From the Fox & Bunny Hugs set I stamped up the bigger image with Blackout Detail Ink on Copic friendly paper, then coloured it in with a selection of markers. This I then fussycut with some scissors and I ran a dark Copic around the edges where I wasn't able to get a super clean cut with the scissors. 


I wasn't super happy with the way I did the bunny so I did the whole thing again. I went with Warm Greys for the first one. For the second bunny I used Cool Greys, and went a little bit lighter handed. I'm not sure which one I prefer... 


For sentiments I used the same ones for both cards, the hugs from the Bunny Hugs set. One I did straight onto a white card base, with Bee Sting Yellow, Marigold Orange and Marilyn Red in an ombre way. Another I did in the same colours and then cut around it.  
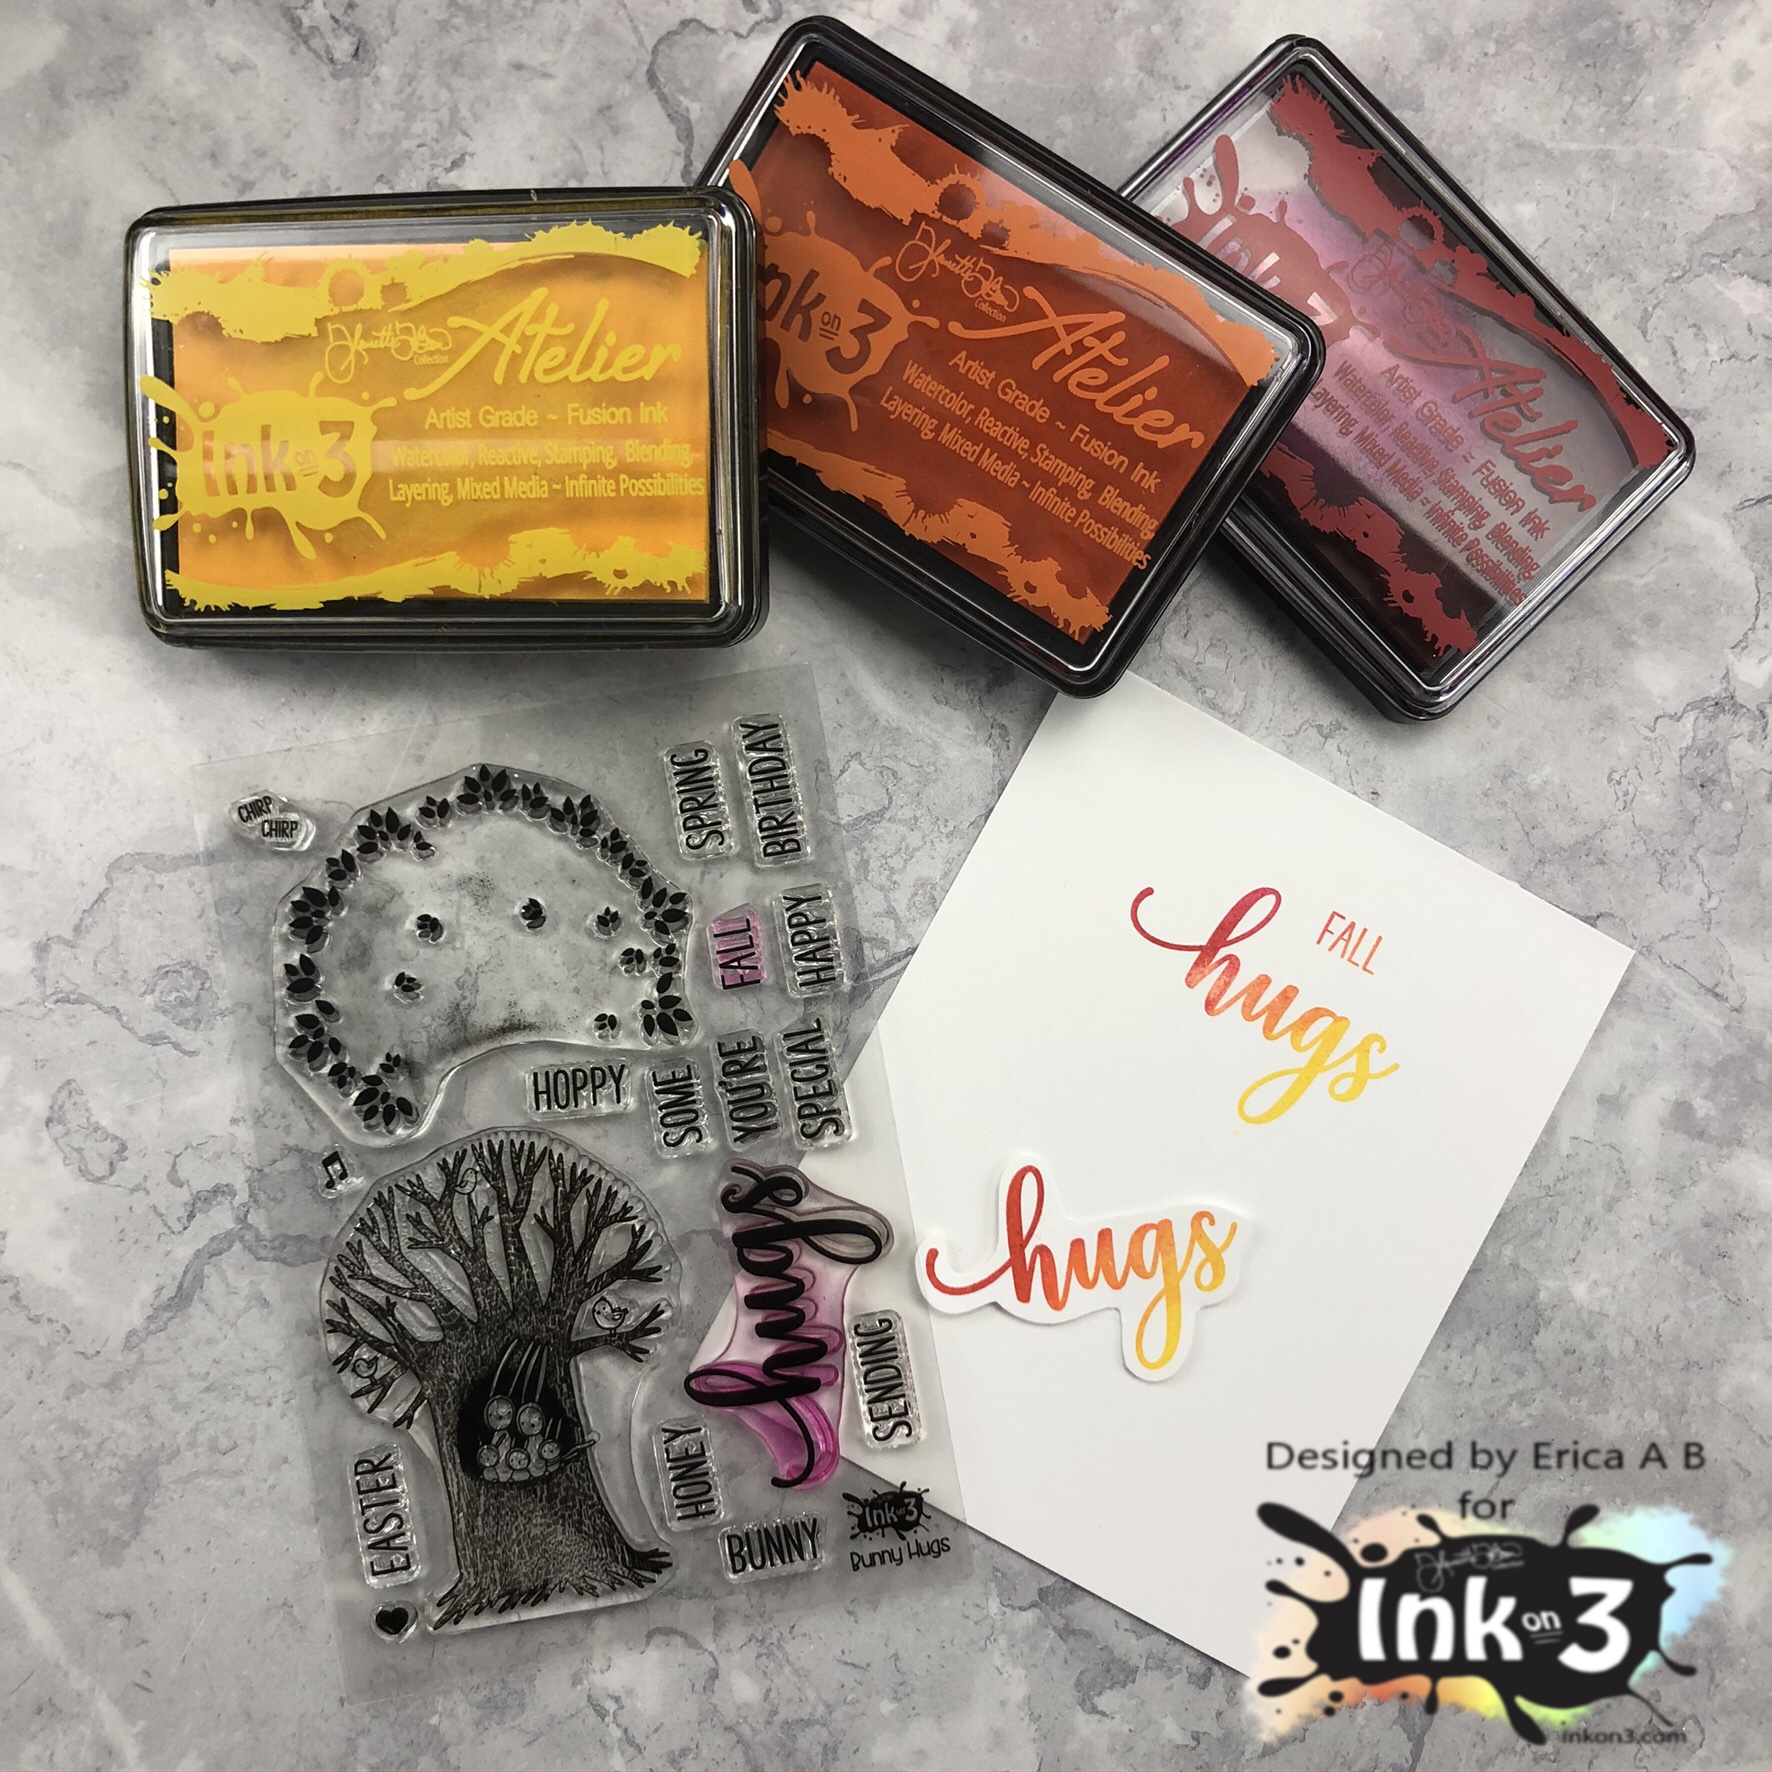

On the second card I used the same stamp set, only on one of the ink smooshed background. I switched up the ink colour to Twiggy Brown too. I also used a stitched rectangular diecut on that background piece. 


To finish off the clean and simple card I only added a few little heart embellishments from Trinity Stamps. I wanted the Fox & Bunny images to be the stars of the shows. 


That's it from me for today, I hope you like these cards and found some inspiration here with me. Lots of love from Erica. 


Monday, August 10, 2020

Ink on 3 x ThermoWeb Collab | Big Bold Magnolias & Amethyst Watercolor

Happy Monday everyone! We're so excited to be collaborating with ThermOWeb all week long. 


Make sure you visit us daily for new inspiration! We will have one project for our blog and one project over on the ThermOWeb blog for double the inspiration. Today, Wendy will be sharing a project over there so be sure to stop by once you finish up here. 

At the end of the week, we'll be giving away a $30 gift certificate for Ink on 3 and ThermOWeb will be giving away a $30 gift certificate for their store as well! Be sure to stop by and leave a comment for a chance to win!  Ink on 3 will be announcing our winner on the blog on August 21, 2020. 

For today's first post, we have, the lovely, Cheryl! 

-----------

Hello Crafty Friends! It’s Cheryl with the Inkon 3 Creative Team here to share how I made this pretty card using Thermoweb and Inkon 3 products! 


First, I cut out a 3.75”x5” rectangle using white cardstock. I placed the 6x6 Wavy Stencil over the cardstock and spread an even layer of the Deco Foil transfer gel over the stencil. I removed the stencil and set the white cardstock aside to dry completely.


Once dried, I heated up my laminator. Once ready, I cut one sheet of the Deco Foil Transfer sheets in Amethyst Watercolor that’s approximately 3.75” x 5”. I place the transfer sheet over the white cardstock, placed it in between printer paper and ran it through the laminator two times. 


Next, I cut a 4”x5.25” rectangle and die cut a small pennant out of dark purple cardstock, and a 4.75”x 1.5” rectangle out of white cardstock. From the Big Bold Magnolia Stamp set, stamp out the magnolia flowers and two leaves shown in the picture above using Twiggy Brown Atelier Ink. Fussy cut the images, and then color with your choice of medium and colors.


On the small purple pennant, stamp the sentiments “Happy Birthday” from the Fox & Bunny Hugs Clear Stamp Set using the Juicy Clear Embossing & Watermark Ink. Sprinkle some Arctic White Ultra Fine Embossing Powder over the stamped sentiment and shake off any excess, then heat set the embossing powder. 


Now we are ready to assemble the card! Adhere the purple rectangle onto an A2 card base, then adhere the foiled cardstock on the purple cardstock. Adhere the rest of the pieces as shown in the photo above, be very careful with the foil as it can scratch easily! 


There you have it! The process for this card takes a while because of the transfer gel, but it is totally worth the time! And honestly, the picture doesn’t capture the full gorgeousness of the watercolor foil! 


Products Used:

Deco Foil Transfer Sheets - Amethyst Watercolor 

Deco Foil Transfer Gel Duo

Wavy 6X6 Stencil

Big Bold Magnolia Clear Stamp Set

Fox & Bunny Hugs Clear Stamp Set

Atelier Ink - Twiggy Brown

Arctic White Ultra Fine Embossing Powder

Juicy Clear Embossing & Watermark Ink


-----------

Be sure to stop by the ThermOWeb blog today and check out the project from Wendy! Remember to come back every day this week for new inspiration! 


Wednesday, June 3, 2020

Spotlight on InkOn3 Atelier Inks | Ink Blending - Guest Designer Laura

Hi everyone! It's Laura Volpes and today I am really excited to share my first post as a guest designer for InkOn3! I love both InkOn3 inks and their lovely designs, and for this month I decide to share different ways to use the fabulous Atelier Inks! 


Today we are starting from a classic technique: ink blending!

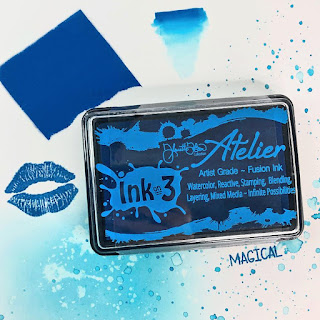
I used this technique to create both the card background and the stenciled focal point on my white panel. I used Peacock Blue on the card base and Bee Sting Yellow and Goddess Green for the flower. The stencil I used is the wonderful Flora stencil, by InkOn3.


I blended the inks with my domed ink blenders and a finger dauber for the smaller details in the stencil. The inks blend like butter and the thing that was really cool to see is how they build onto themselves: the more you layer them, the richer the color you get! Bee Sting Yellow almost turned to an orang-ey shade, as I was building layers in the center of the flowers!


Of course, I add to add some shimmer, and Liquid Pixie Dust is just the perfect medium for that! So. much. sparkle!

The images and the sentiment are both part of the InkOn3 Fox and Bunny Hugs stamp set. I stamped them with InkOn3 Blackout ink and colored them with Illustrator alcohol markers by Spectrum Noir.
Here is a list of the markers I used:
  • Fox: TN8, BO4, BO2, BO1. BG3, BG1. FS5, FS8, FS9
  • Bunny: BG7, BG5, BG3, BG1. FS5, FS8, FS9
I glued everything to the card base, raising the front panel on some foam tape, and I finished off the card with some light blue crystals.


Here is also a video for you, showing the InkOn3 Atelier inks in action as well as the whole card making process!

I will catch you guys next week with another post and video!

Have a nice day,

Friday, May 15, 2020

Rainbow Hugs Friendship Card | No Line Coloring Using Atelier Inks

Rainbow Hugs Friendship Card | Using Atelier Inks | Ink On 3

Hello my Friends, Ilda here!

I hope you all are doing well and have had a wonderful week. I'm sure by now you all know how much I love rainbows, for me rainbows symbolize hope and happiness to come. So I thought it was fitting to add a rainbow in today's friendship card. I pray this Pandemic will end soon so we can hug our families and friends again.

CARD DETAILS 

To begin, I stamped out the cute image from the new FOX AND BUNNY HUGS stamp set using FADEOUT INK. I then lightly drew the rainbow around the fox and bunny image.

I then used both the Atelier Re-inkers and the inkpads to color the images in. I found it easiest to add a drop of ink from the re-inkers onto a paint palette and dilute it with another drop of water. Where I needed a touch of color I picked up ink directly from the ink pad. (See thumbnails below for all the colors used). Once the image was completely dry I added pencil detail for an added layer of shading.

Rainbow Hugs Friendship Card | Using Atelier Inks | Ink On 3

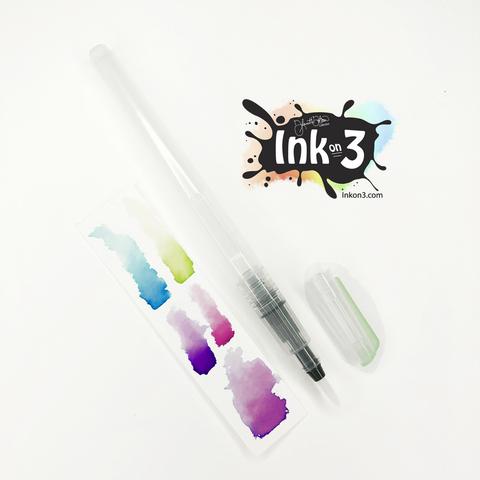
To create the grass I masked off the area under the images and then blended out the area using the ATELIER GODDESS GREEN ink. I then spritzed the area and picked up the water with a paper towel to distress the area. To complete the grass, I added some flicked grass blades using a water brush. To the sky, I added clean water and then added a touch of blue ink from the ATELIER PEACOCK BLUE ink pad. 

Rainbow Hugs Friendship Card | Using Atelier Inks | Ink On 3

I then finished the card by stamping out the Hugs from the FOX AND BUNNY HUGS and then the little butterflies from the FOREVER FRIENDS using JUICY INK and heat setting them using CHROME EMB PWD

I hope this Rainbow Hugs Friendship Card inspired you today and for those of you that need a hug right now during this time, I am sending you one too.

Thank you for stopping by and until next time... Happy Crafting 👋
SUPPLIES
FOX AND BUNNY HUGS
FOX AND BUNNY HUGS
Shop at:
IO3
FOREVER FRIENDS
FOREVER FRIENDS
Shop at:
IO3
Medium Water Brush Pen
Shop at:
IO3
Atelier Marilyn Red
Atelier Marilyn Red
Shop at:
SSS | IO3
Atelier Marigold Orange
Shop at:
SSS | IO3
ATELIER BEE STING YELLOW
Shop at:
SSS | IO3
ATELIER GODDESS GREEN
Shop at:
SSS | IO3
ATELIER PEACOCK BLUE
Shop at:
SSS | IO3
ATELIER MY PURPLE JAM
Shop at:
SSS | IO3
Atelier Twiggy Brown
Shop at:
SSS | IO3
Atelier Paint It Black
Shop at:
SSS | IO3
Re-inker Marilyn Red
Shop at:
IO3
Re-inker Marigold Orange
Shop at:
IO3
Re-inker Bee Sting Yellow
Shop at:
IO3
Re-inker Goddess Green
Shop at:
IO3
Re-inker Peacock Blue
Shop at:
IO3
Re-inker My Jam Purple
Shop at:
IO3
Re-inker Twiggy Brown
Shop at:
IO3
Re-inker Paint It Black
Shop at:
IO3
FADEOUT INK
FADEOUT INK
Shop at:
SSS | IO3
BLACKOUT INK
BLACKOUT INK
Shop at:
SSS | IO3
JUICY INK
JUICY INK
Shop at:
SSS | IO3
CHROME EMB PWD
CHROME EMB PWD
Shop at:
SSS | IO3
MISTI TOOL - ORIGINAL SIZE
Shop at:
SSS | AMZ | SB | HBS
BRISTOL PAPER
BRISTOL PAPER
Shop at:
SSS | AMZ
Prismacolor Colored Pencils 48 Pack
Shop at:
SSS | AMZ
Black and Decker  Heat Gun
Black and Decker  Heat Gun
Shop at:
AMZ
INK BLENDER BRUSHES
INK BLENDER BRUSHES
Shop at:
SSS | SK
DISTRESS SPRAYER Ranger
Shop at:
SSS | SB | HBS
STUDIO KATIA GLUE
STUDIO KATIA GLUE
Shop at:
SSS | SK