Showing posts with label Erica A-B. Show all posts

Sunday, July 25, 2021

Making Cards and Mistakes with Erica

 Hi guys! 

It’s Erica back on the Ink On 3 blog with another card using the My Sweet Petunia stamp and layering stencil set. On this one I made a big mistake, and thought I’d share it with you so you can avoid it yourself. 

If you saw my last blog post, I used this set for those cards too, but on those I ink blended first and then heat embossed the outline stamp on top. For this card, I did not do that.. and it ended up a bit meh… not going to lie. Take it from me, if you want a white heat embossed outline, do that last. 
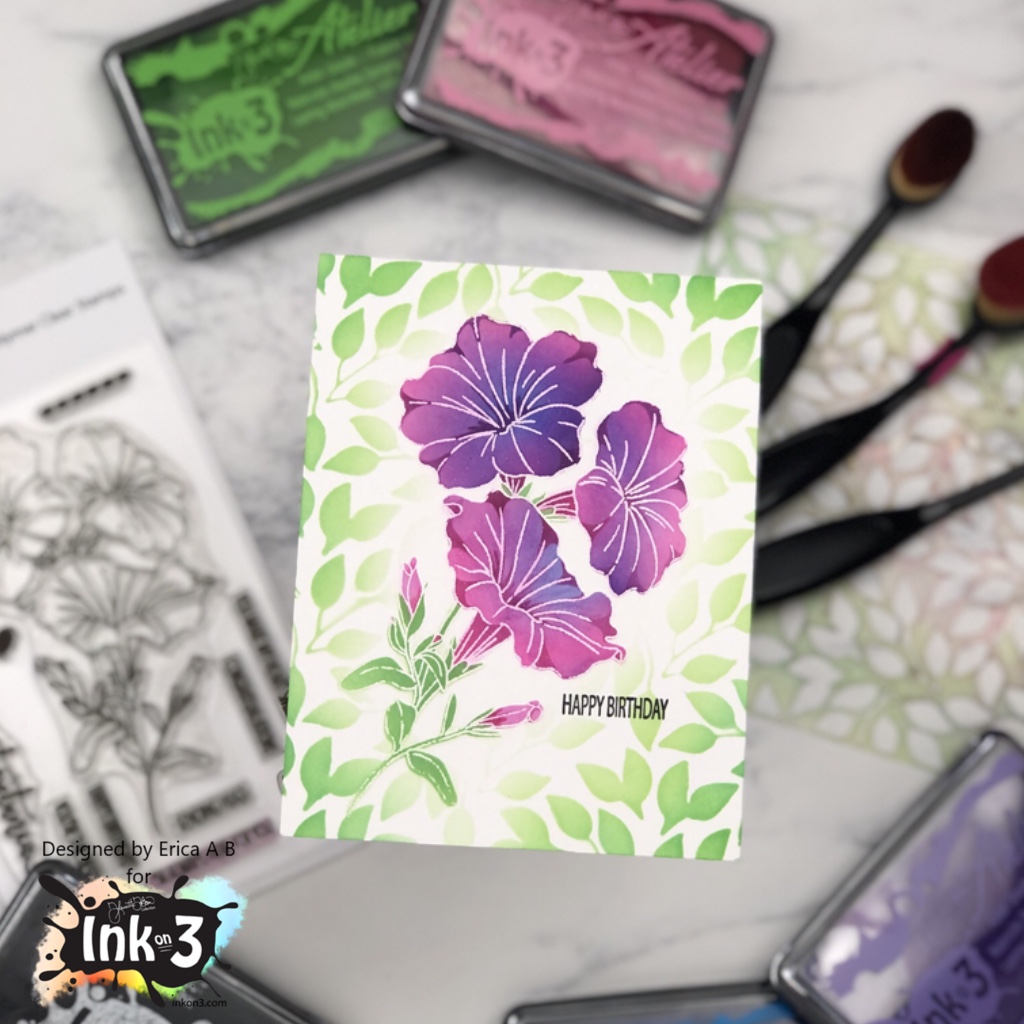
So I started out by heat embossing the gorgeous My Sweet Petunia stamp on white card stock. I’m not sure why I did it this way, I should know better by now, really. Anyway, I grabbed Sweet Petunia Pink, My Jam Purple and Peacock Blue Atelier Inks, some Life Changing Blender Brushes and the My Sweet Petunia layering stencils. 

Right off the bat, I realised what a mistake I had done as the inks are so pigmented and vibrant, they instantly discoloured the white embossed lines. I SHOULD know better by now! And yeah, I said it again, because I really don’t know what I was thinking here. 

Anyway, onward and upwards. I ink blended the My Jam Purple and Peacock Blue to create a deep, vivid look for the flowers and then went softly with Goddess Green for the stem and leaves layer. I tried cleaning up a little, but it’s very easy to smudge and leave marks on the project when doing this, so I did what I felt I could do safely without making too much of a mess. 

Around the flower I also ink blended more Goddess Green using the Leafy Forest Stencil, just to add some softness to the card, which is a true one-layer card if you can believe it! A quick Happy Birthday was stamped up with Blackout Ink and that was it. 

Super simple, and it can work for so many occasions. Just change up the colour scheme and sentiment, and you are good to go! Oh, and ink blend FIRST, and heat emboss when all the ink is dry. Maybe best to leave it overnight to make sure. Take it from me, don’t do it my way, because that did not work out very clean. Having said that, that’s only with white embossing powder, I guess? Maybe gold will be fine? Ok, I’m off to best that theory! See you next time! 

Lots of love and happy crafting from Erica 

Tuesday, March 30, 2021

 Hi everyone! 


It's Erica back on the Ink On 3 blog today, and I have finally got my yummy new goodies! I had to use the gorgeous Triple Rose stamp set, right away. 


Ambitiously, I decided to go for a no-line colouring look. I know, nuts, right? Especially while feeling a bit rusty, but apparently there was no stopping me, so I stamped up the image with Fadeout Ink on watercolour paper. 


I had some new watercolours to swatch and try out, these are Meeden 48 colour half pan, and in all honestly, I thought I was buying a 48 colour empty pan tin. I was more than a little surprised when they showed up and actually had colours in them, lol! Happy surprise, though. 


Using these colours, I coloured in the lovely floral image. The pinks were used for two of the roses, and I used a purple-ish pink on the middle rose. Green was the obvious choice for the leaves and buds. 


I did spend quite a lot of time on this as I was feeling slow and rusty, and left it overnight to dry properly, before going back to add some more details and depth. While I did spend lots of time on this, I am not 100% happy with the results but I guess that means I need more practice. 

Usually I fill out the background a little with a darker colour to bring the eye in to the image, but this time I didn't. I left it white and clean, but I did use a stitched rectangle die to add some interest around the edges. The only thing I added was a slim banner with a sentiment from the Here For You, this was stamped up with Dove ink from Concord & 9th. Ok, so I did add a lot of iridescent sequins too, but that was it. 


Thanks for stopping by today, I hope you enjoyed this card and will get the chance to watch the video as well. Lots of love and happy crafting from Erica 


Tuesday, January 26, 2021

Thinking Of You, BeYOUtiful!

  Hi and Happy 2021! 

It’s Erica back on the Ink On 3 blog, for the first time in 2021. It’s been a bit of a rough start to the year to be honest, so I decided to make a ‘thinking of you’ card, as I figured I am not the only one who’s feeling like 2021 is saying ‘hold my beer’.

First off I did some ink blending with the goooooorgeou Atelier inks in Bee Sting Yellow, Marigold Orange, Sweet Petunia Pink and Marilyn Red using Life Changing Blender Brushes on Bristol Smooth paper. This combo has become quite a fave of mine for a variety of reasons, the main one being that it’s absolutely beautiful. I love it! 


These panels are actually one big piece that I cut up after ink blending over the whole thing. I love ink blending, and it’s always good to have some background panels done for when you need to make a card quickly! 


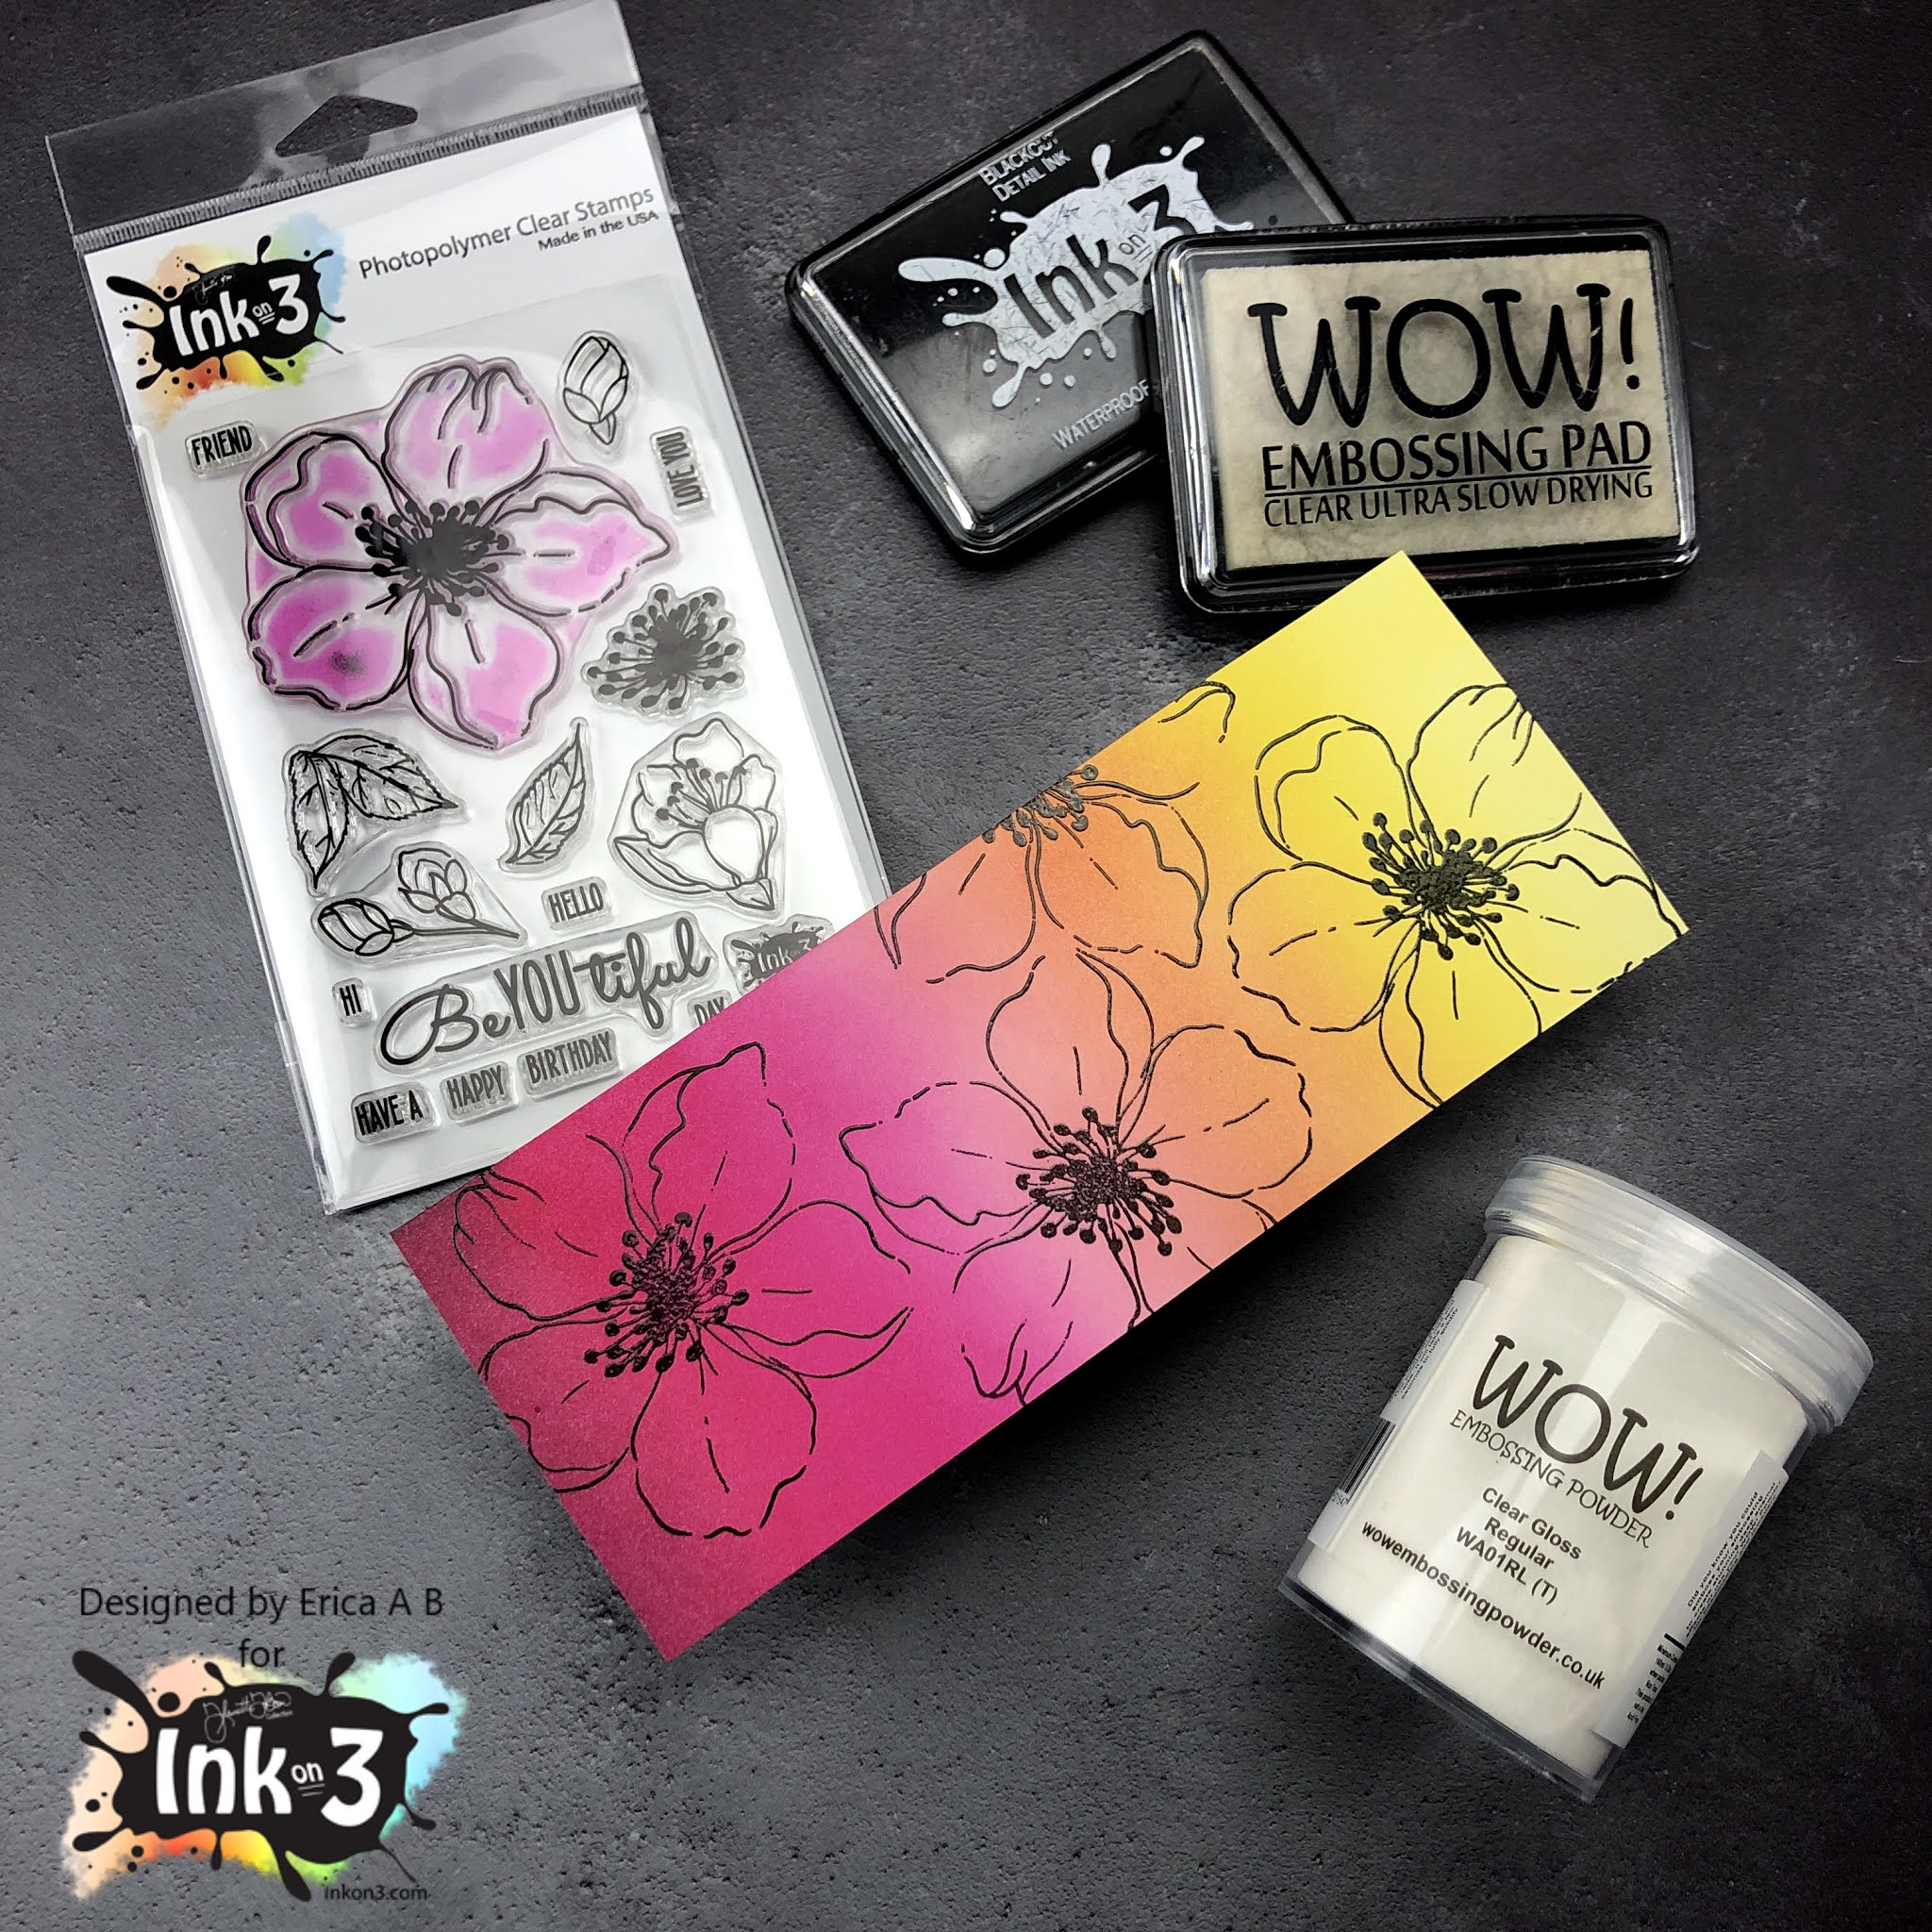
On the slightly smaller panel, I stamped up the big flower from the BeYOUtiful set with Blackout Detail ink and then Embossing ink. On top of these I sprinkled Clear Gloss embossing powder and set that with the heat gun. I did use a MISTI for the stamping to make sure the flower images were really solid. 

This panel I then layered up with the other one, but in different colour order. The reason I did this was to create some contrast and interest. 


To finish off this card I ended up using a diecut from Hero Arts that says Thinking Of You. I cut it out of white card stock three times, and then a fourth time in black card stock, and I layered these up to give the card some dimension. On top of this I heat embossed it with clear gloss embossing powder to give it a puffy sticker look. 


This word die I then glued down on the card with liquid glue and with that, the card was done. I contemplated adding some black gem stones or sequins, but if you can believe it, I decided against it. *GASP* I know.. 


That’s it from me for today! I hope you were inspired by this post, and will try this design for yourself. 


Lot of love and happy crafting from Erica


Thursday, November 26, 2020

Two-for-One Ink Technique with Erica

 Hi guys! 

Erica here on the Ink On 3 blog today with a couple of cards, using the same basic supplies but with VERY different looks! Like an utter nutter though, I didn’t get a photo of the backgrounds before I cut them up... Ay, mama! 


Oh well, hopefully I can explain it well enough so you get what I’ve done. If not, I can always make a video and show you! 

Right, let’s get to it: Before I did anything else, I took the Leafy Forest stencil and sprayed it with a very generous layer of Pixie Spray and let that cure for a few minutes. While that was doing its thing, I got some card stock out for ink blending and also water colouring. Oh and ALL THE ATELIER INKS! 

Oh yes, I used pretty much all of them: Bee Sting Yellow, Marigold Orange, Sweet Petunia Pink, Marilyn Red, My Jam Purple, Peacock Blue, Trinity Teal and Goddess Green. The only two I didn’t use for the ink blending were Paint It Black and Twiggy Brown. Using a different Life Changing Blender Brush for each colour, I blended the colours on the diagonal, and vividly, for the first panel. 

Then to get a two-for-one and not wasting all that ink, I got a water spritzer out and misted the stencil. It’s important to give the water a bit of time to activate the ink though. Then, in quick and firm moves, place a panel of water colour card stock on top of the stencil, trying not to move it too much. Press down, again, without moving the paper too much and turn it over quickly. Set aside to dry, or use a heat tool to speed this step up. 

This technique gives a lovely soft, water coloured look with very little hassle. I absolutely love doing this, and do it practically every time I ink blend as it makes me feel like I get the most out of my supplies. 

So, back to the first panel. This one I used a scalloped rectangular die on to trim it down, as well as a celebrate word die in the middle, before adding it to a white card base. The celebrate word die I cut out of black card stock three times and layered up with liquid glue. To make the top layer, with the ink blended pattern, pop a little bit more, I heat embossed it with Clear Gloss embossing powder before adding it to the card. That’s it! 

With the second panel, I did a similar thing: I used a rectangular stitched die to trim it down. This one I added to a black panel, before adding that to a card base. The black really made the stencil print pattern stand out. 

I wanted to add more to this, so I grabbed my Mini MISTI and the flower from the BeYOUtiful stamp. This I stamped up with Paint It Black Atelier ink, all over the panel. I really love how this turned out! To finish this card off, I simply cut a ‘hello’ diecut out of black card stock three times and layered these up. This I added to the card and with that, the second card was done too. 


I hope you like these cards and will give this stencil printing technique a go! If you prefer, you can skip the ink blending and just dab your ink pads on the stencil, mist it and then place your paper on top. 


Lots of love and happy crafting from Erica 

Saturday, October 3, 2020

No-Line Colouring with Erica

 Hi! 

Can you believe it’s already December?? At one point it felt like we were just threading water in March, which became Mapril, which then morphed into Mapriay (March + April + May) and now here we are in the final month of 2020. I’m torn over this year being over. It kind of feels like we deserve a do-over. Or am I the only one?? 

Today’s card is a simple ‘hugs’ card as I am totally starved for hugs from my family and friends. It’s been so long since it’s been normal to be able to just hug someone, so I’m sending some paper hugs instead of the real thing, until it’s safe again. 

I’ve used two stamp sets for this card, and with the help of a MISTI, I’ve stamped the flowers from the BeYOUtiful and Little Birdie sets along the edges of it. I used Fadeout Ink as I wanted to do some no-line water colouring with the Atelier re-inkers. I have a palette with reinkers mixed with Liquid Pixie Dust, to make shimmery water colours, and I grabbed this to colour the panel with. 

I did film a lot of the card making, but unfortunately due to the fact I can’t plug my phone in to charge any longer, there is something wrong with the charging port, the battery ran out mid-colouring. Of course I didn’t realise either, so I could have stopped, charged it up and then carried on. Oh no. No such luck for me. So the video is only covering the first half of the colouring, but it’s better than nothing, right? 

When the colouring was done, and it was all dry, I stamped up ‘hugs’ from the Racoon Hugs set with Blackout Detail ink. I used an old-fashioned glue stick on the card base and after adding the panel, I put the whole thing under my diecutting machine as a weight to make sure it dried flat. 

Well, that’s it from me, I hope you like the card and found some inspiration here with me today. Lots of love and happy crafting from Erica 

Friday, September 4, 2020

Fall Cards with Summer Loving Erica


Hi guys! 

After a little bit of a hiatus, it's Erica back on the Ink On 3 blog with a couple of cards with new-to-me goodies that finally arrived after floating around the mail system for almost four months! 


The Fox & Bunny Hugs set and the Leafy Forest stencil are lovely and I got to work right away! Ooooh, what fun I had ink blending, smooshing and glitter pasting! I made so many backgrounds and below are a selection of them. The Atelier Inks created some fabulous colours. I used Bee Sting Yellow, Marigold Orange, Marilyn Red and Goddess Green


From the Fox & Bunny Hugs set I stamped up the bigger image with Blackout Detail Ink on Copic friendly paper, then coloured it in with a selection of markers. This I then fussycut with some scissors and I ran a dark Copic around the edges where I wasn't able to get a super clean cut with the scissors. 


I wasn't super happy with the way I did the bunny so I did the whole thing again. I went with Warm Greys for the first one. For the second bunny I used Cool Greys, and went a little bit lighter handed. I'm not sure which one I prefer... 


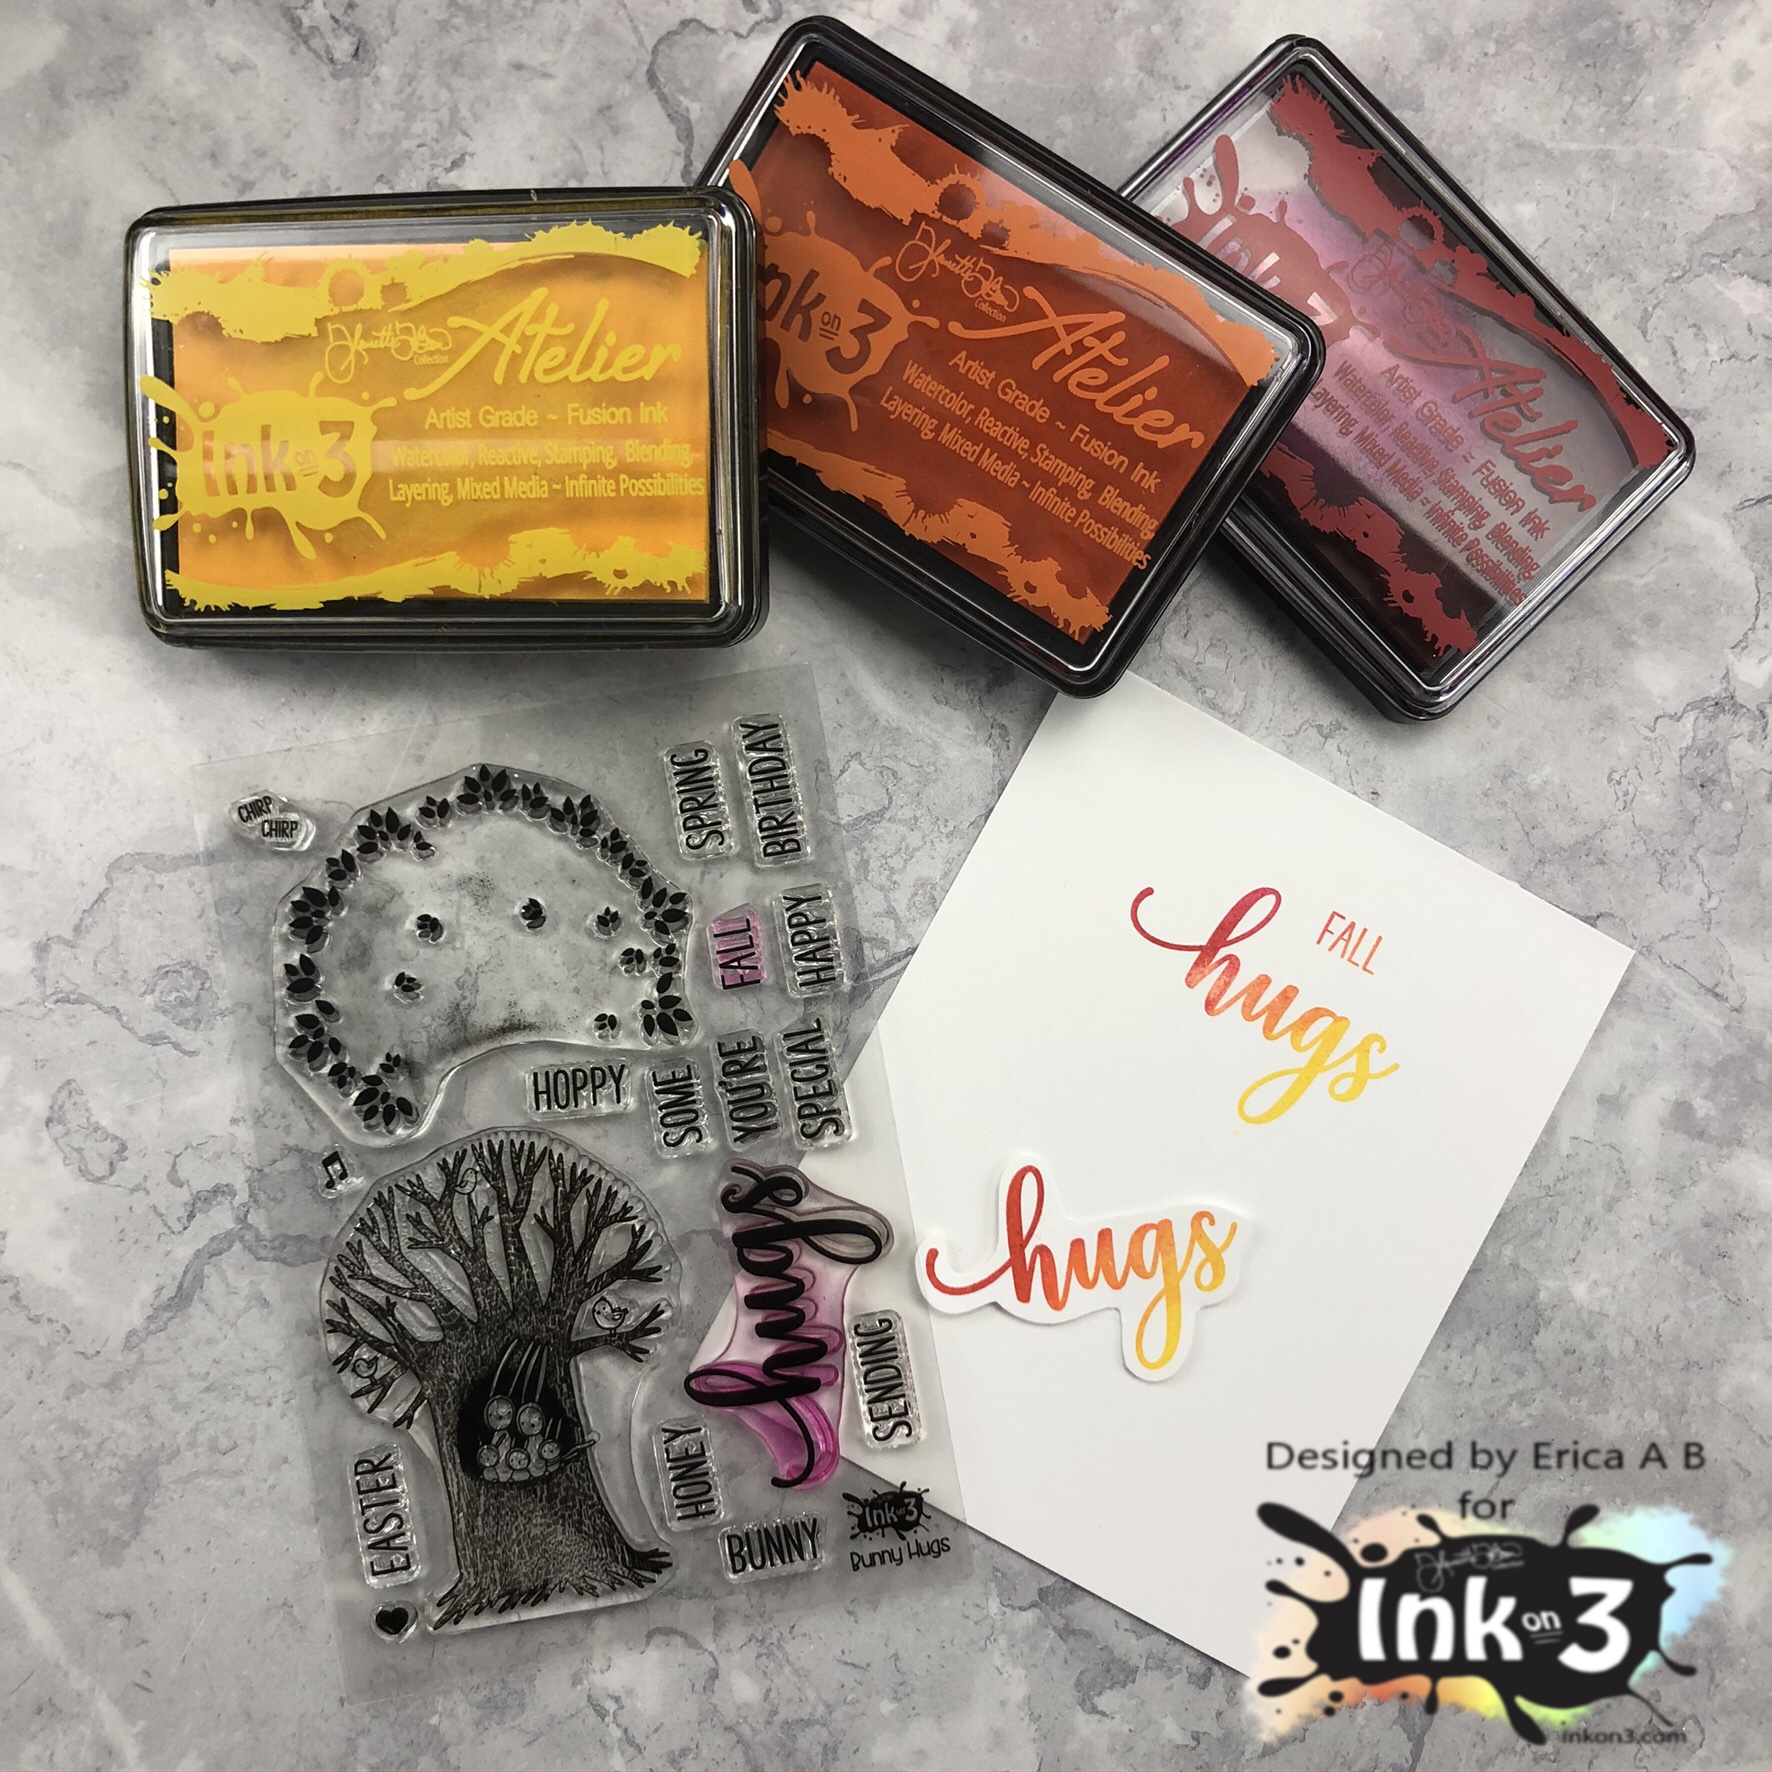
For sentiments I used the same ones for both cards, the hugs from the Bunny Hugs set. One I did straight onto a white card base, with Bee Sting Yellow, Marigold Orange and Marilyn Red in an ombre way. Another I did in the same colours and then cut around it.  


On the second card I used the same stamp set, only on one of the ink smooshed background. I switched up the ink colour to Twiggy Brown too. I also used a stitched rectangular diecut on that background piece. 


To finish off the clean and simple card I only added a few little heart embellishments from Trinity Stamps. I wanted the Fox & Bunny images to be the stars of the shows. 


That's it from me for today, I hope you like these cards and found some inspiration here with me. Lots of love from Erica. 


Saturday, July 4, 2020

Hey Gorgeous!

Hey gorgeous!

It's Erica back on the Ink On 3 blog today with a one-layer card. Which is not my forte at all, but it's good to stretch your creative muscles and step outside of your comfort zone. Ok, not all the time, but sometimes for sure. 


The stamp I have used for this card is a new-to-me, Hey Gorgeous. I stamped it up on Copic friendly card stock with Blackout Detail ink and then coloured it in with various Copic markers. My intent was to give the girl a nice tan, but the poor thing ended up looking like she's been cooking on a tanning bed far too long! 


Her hair I did a bit like mine, it's sort of a brown to light brown to some highlights and then a big blue hat on top. I do happen to have a big blue hat too... Did I just put myself on a card? Eh, it happens, right? While I had the Hey Gorgeous stamp out, I also stamped it up on masking paper. After fussy cutting this out, I placed it on top of the coloured image.


I have used a stencil for the background, and this I sprayed liberally with Pixie Spray first. To create a colourful backdrop to the card I ink blended Bee Sting Yellow, Goddess Green and Peacock Blue all over it. By going lightly over some of the yellow with the green, it created a lime green which was lovely. I did the same with the green going into the blue, but heavier, and the result was a teal colour. I used a different Life Changing Blender Brush for each colour so the going back and forth was easy peasy. 


When the ink blending was done, I simply stamped up the 'Gorgeous' from the Hey Gorgeous stamp with Blackout Detail Ink and the card was finished!


Well... unless I go back and add some sequins that is. You never know, with this sequin-oholic. 

Thanks for stopping by today, I hope you like the card and found some inspiration here today! 

Lots of love and happy crafting from Erica 


Monday, March 16, 2020

Dogwood Flower No Line Colouring with Erica

Hey guys!

It’s Erica back on the InkOn3 blog. How are we all doing? Everyone staying safe and well with the Corona virus outbreak? I have been practically a hermit for the last couple of weeks due to a bad back, so I’ve been doing the social distance thing already. My hands are all chapped and dry from over-washing, but better safe than sorry.


Because I have had back issues I’ve not managed to do much crafting but I’ve tried to colour along with #thedailymarker30day challenge. One thing I have been practicing is my no-line colouring. Some has been more successful, than others but it’s all fun and educational. Sometimes your mistakes will teach you more than your successes so don’t be discouraged when it doesn't turn out they way you imagined it.

Here is an example: I started this no line colouring wreath on the left and wasn’t overly happy with how it was turning out. My attempts on the right side of the wreath look so much better!


For the card I have made today, I have used the Dogwood Flower stamp and the Fadeout Ink. I’ve coloured it, and the wreath above, with Daniel Smith water colours. 

I stamped the image with the Fadeout Ink three times to make the lines very visible, with the help of my Mini MISTI. The colouring is done both with a water colour brush and a refillable brush. 


This one isn’t one of my better results, but the next one is bound to be better. The leaves I’m quite pleased with though! 

To add some interest I added some splatters to the background. I mixed two drops of Liquid Pixie Dust with a drop of Paint It Black reinker in a little tray, and went to town. To protect the image I covered it up with a little piece of paper. Usually I cut out a mask but this worked in a pinch. 


Sentiment wise I kept it simple, ‘my favorite besties’ and stamped that in Blackout ink. I managed to smudge the splatters a little, so to cover it up, I added some more. As you do.


The whole thing was then adhered to a light gray card base. A white one was too harsh, and it need a little something softer and the light gray was just perfect. Oh and to fix the sentiment, I covered up the s on ‘Besties’ to make it say ‘My Forever Bestie’. 


With that, I’m done for today. Thanks for stopping by today and spending time with me.
Lots of love, wash your hands for your health and craft for your sanity! 

Erica 


Sunday, February 16, 2020

Very colourful no-coloring cards with Erica!

Hi guys!

Apologies for the confusing headline, I was trying to be a bit clever and funny. Not the best idea on a day when you are tired, possibly on a delayed sugar-high and too full. Technically these cards are coloured, BUT only the backgrounds. The images themselves are not but oh well, I hope you will forgive me when you see how easy these cards are.

I started out by watercolouring some background panels with the Atelier Ink re-inkers. A bit too late I had a super brilliant idea (I’m totally tooting my own horn here but I can’t believe I didn’t think of it sooner!) I have dripped ink into a plastic palette and I use these for water colouring but it’s getting to the point where I’m running a bit low. Instead of adding more re-inker to the colours, I added Liquid Pixie Dust to the remains of the colours! This makes the colours shimmery without contaminating the colours on the paper, which is where I got the idea from. On my first two panels, the Liquid Pixie Dust smeared the colours a bit and I had to be very careful how I added it. With the Liquid Pixie Dust already mixed into the colours, you don’t have to worry! How brilliant is that??


The colours I used are Bee Sting Yellow, Goddess Green, Peacock Blue, My Jam Purple. Marilyn Red  and Marigold Orange. With the backgrounds done, it was time to start thinking about the rest of the card making.


One of my favourite stamp sets from InkOn3 is the Magical Unicorn and I decided to use this one yet again. I also grabbed the Oh Deer set and heat embossed these on vellum with Gold Rush and Chrome embossing powders. First I used a anti-static tool on my pieces of vellum, and the images are stamped with the Juicy pad.


After they were heat embossed, I used the coordinating Magical Unicorn and Oh Deer diecuts to cut them out. I also stamped up some sentiments and heat embossed these too.


At first I did them all in Gold Rush, but then when it came time to put the cards together I decided to redo the sentiment for the Chrome Unicorn also in Chrome. This time I did it on turquoise card stock, instead of white.


The vellum images are adhered with a vellum adheisive. It works relatively well, but oh man, it is a pain in the bee-hind to work with. The sentiment strips are adhered with liquid glue and with that, the cards are done!

I made a video for this post too, you can find that over on my YouTube channel.

Thanks for stopping by today!

Lots of love and happy crafting from Erica