Showing posts with label Chrome. Show all posts

Sunday, February 16, 2020

Very colourful no-coloring cards with Erica!

Hi guys!

Apologies for the confusing headline, I was trying to be a bit clever and funny. Not the best idea on a day when you are tired, possibly on a delayed sugar-high and too full. Technically these cards are coloured, BUT only the backgrounds. The images themselves are not but oh well, I hope you will forgive me when you see how easy these cards are.

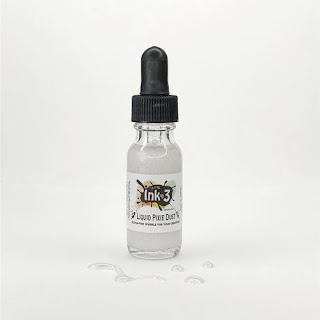
I started out by watercolouring some background panels with the Atelier Ink re-inkers. A bit too late I had a super brilliant idea (I’m totally tooting my own horn here but I can’t believe I didn’t think of it sooner!) I have dripped ink into a plastic palette and I use these for water colouring but it’s getting to the point where I’m running a bit low. Instead of adding more re-inker to the colours, I added Liquid Pixie Dust to the remains of the colours! This makes the colours shimmery without contaminating the colours on the paper, which is where I got the idea from. On my first two panels, the Liquid Pixie Dust smeared the colours a bit and I had to be very careful how I added it. With the Liquid Pixie Dust already mixed into the colours, you don’t have to worry! How brilliant is that??


The colours I used are Bee Sting Yellow, Goddess Green, Peacock Blue, My Jam Purple. Marilyn Red  and Marigold Orange. With the backgrounds done, it was time to start thinking about the rest of the card making.


One of my favourite stamp sets from InkOn3 is the Magical Unicorn and I decided to use this one yet again. I also grabbed the Oh Deer set and heat embossed these on vellum with Gold Rush and Chrome embossing powders. First I used a anti-static tool on my pieces of vellum, and the images are stamped with the Juicy pad.


After they were heat embossed, I used the coordinating Magical Unicorn and Oh Deer diecuts to cut them out. I also stamped up some sentiments and heat embossed these too.


At first I did them all in Gold Rush, but then when it came time to put the cards together I decided to redo the sentiment for the Chrome Unicorn also in Chrome. This time I did it on turquoise card stock, instead of white.


The vellum images are adhered with a vellum adheisive. It works relatively well, but oh man, it is a pain in the bee-hind to work with. The sentiment strips are adhered with liquid glue and with that, the cards are done!

I made a video for this post too, you can find that over on my YouTube channel.

Thanks for stopping by today!

Lots of love and happy crafting from Erica

Monday, June 24, 2019

Feel Better Soon Card by Ilda

Hello, Ink On 3 Friends, Ilda here!

If you have been following me recently you may have noticed I have been a bit MIA from the Blog and Social Media this past week. I had my Gallbladder removed last Wednesday and have been slowly recovering since.  Thankfully, every day I feel a little better and am sure I will be back to normal soon!

So today's Feel Better Soon card couldn't be more appropriate. At the time made it, I thought of other people going through some tough times and now I kind of chuckle as the beat up hamster reminds me of me! So ironic now.


CARD DETAILS

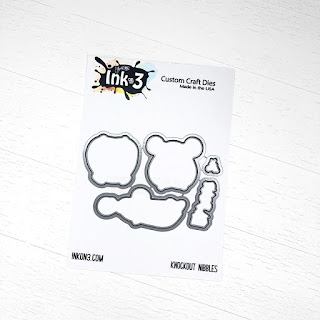
To begin I stamped out the beat up hamster from the KNOCKOUT NIBBLES set using Blackout Ink and then colored him in using Copic Markers. I then used the coordinating  KNOCKOUT NIBBLES die to die cut the critter.

I then picked a spot on the lower half of the card front where the Hamster would be and used the same coordinating die to cut the space for the image to peek through from the inside of the card. On to the black card front base, I stamped out some images using Juicy ink and used 3 different colors of embossing powders to set the different images in.  For the Ka-Pow I used Arctic White, the stars were done using Gold Rush and the starbursts were done using the Chrome Embossing powder.


Once the front embossing was complete, I added some foam tape behind the knocked out hamster and glued him into the die cut space.


Next, I stamped out the rest of the greeting on the inside of the card using Blackout Ink again and a stamp positioner to ensure it stamped well.


For some finishing details, I added some Liquid Pixie Dust to his bruised eye and also added some Glossy Accents and highlights to the gloves. 

I hope you are all having a better week than I am. I will be back on my feet soon... but for now, I'm taking it easy with lots of couch breaks.

If your feeling down or beat up for some reason I hope this card has brought a smile to your face. Thank you for stopping by and until next time... Happy Crafting!

Ilda


SUPPLIES
KNOCKOUT NIBBLES
KNOCKOUT NIBBLES
Shop at:
 IO3
KNOCKOUT NIBBLES Dies
Shop at:
 IO3
Blackout Ink
Blackout Ink
Shop at:
 IO3
Juicy  Ink
Juicy Ink
Shop at:
 IO3
Arctic White Ultra Powder
Shop at:
 IO3
Gold Rush Embossing Powder
Shop at:
 IO3
Chrome Ultra Fine Embossing Powder
Shop at:
 IO3
Liquid Pixie Dust
Liquid Pixie Dust
Shop at:
 IO3
Mini Misti Tool
Mini Misti Tool
Shop at:
SSS | AMZ | SB | SK
Neenah  80 LB SOLAR WHITE
Neenah 80 LB SOLAR WHITE
Shop at:
SSS | AMZ
Black Cardstock 110bs
Shop at:
AMZ
Gemini Jr Die Cutting/Embossing Machine
Shop at:
SSS | AMZ | SB
Double-Sided Foam Tape
Shop at:
SSS | AMZ
WHITE Gelly Roll Pens Set
Shop at:
SSS | AMZ
Glossy Accents
Glossy Accents
Shop at:
SSS | AMZ | SB | HBS