Thursday, April 29, 2021

A BeYOUtiful Birthday Card - with Atelier Inks watercolors

 Hello Crafty Friends! It's Cheryl with the Inkon3 Creative Team here to share a pretty floral card with you!

First I cut a sheet of black cardstock down to 4.25"x5.5", then I used some white pearl and gold water color paint and splattered the paint onto the cardstock by tapping the brush on the side of my hand, pointing the tip of my paintbrush towards the black cardstock. Next, I adhere the cardstock onto my card base.


Using the Juicy Clear Embossing & Watermark Ink, stamp out some of the images from the BeYOUtiful clear stamp set onto water color paper. Then sprinkle some Gold Rush Ultra-Fine embossing Powder over the stamped images, then tap off any excess embossing powder. Next heat set the embossing powder.

Now it's time to water color! I used My Jam Purple and Goddess Green Atelier Inks to watercolor the flowers. Fussy cut the colored images, then adhere the flowers as shown in the image below. Trim off any of the stamped image that extends out beyond the card base.


Lastly, die cut a rectangle, and then stamp the sentiment "Have a Happy Birthday" onto the die cut. Adhere the sentiment to the card.

There you have it! The Gold embossing powder adds a special luxe touch to the card!
Wednesday, April 28, 2021

Watercolor Splatter technique video with Ink on 3

Hello and thanks for stopping by! Today I'm happy to share a project with you using the Here For You stamp set and Atelier Inks with a fun technique.


Using a fun technique to create a handmade card is half the pleasure for me. Traditional watercoloring with Atelier Ink Refills are one of my favorites but it's cool to have something different at times. In the recent release, Ink on 3 has a beautiful new stamp set called Here for You. There is a giant blossom that's really versatile to color. Perfect for a fun technique!

I call this watercolor splattering because it's like the name, simply splatter some ink refill onto a stamped image on watercolor paper. Once applied, use a mist bottle to spray some water on the image and it will bloom into life.  Be sure to check out the video tutorial for a full process on coloring this card.


Here is an easy step by step how-to video for creating this card.


SUPPLY LIST:

Does this project bring you lots of new ideas for creating? We would love to hear from you! Thank you for visiting us today and I look forward to sharing again with you soon!

Jenny Hall


Smile


Hello Everyone!
It's Ceal here today sharing a card using the Gerbera Daisy set along with the Atelier inks. 
To create this card I started with a top folding white card base and a panel of Tim Holtz white Heavystock.   
I randomly stamped the different sized daisies from the Gerbera Daisy set with embossing ink and embossed them with white powder to create a background. 
I put down come Bee Sting Yellow and Sweet Petunia Pink Atelier ink on a craft sheet, spritzed with water and then smooshed the background panel in them, dried it and smooshed again until I got the look I wanted. 
To finish the card I added a smile die cut. 


Saturday, April 24, 2021

Faux Watercolor Background with Atelier Inks

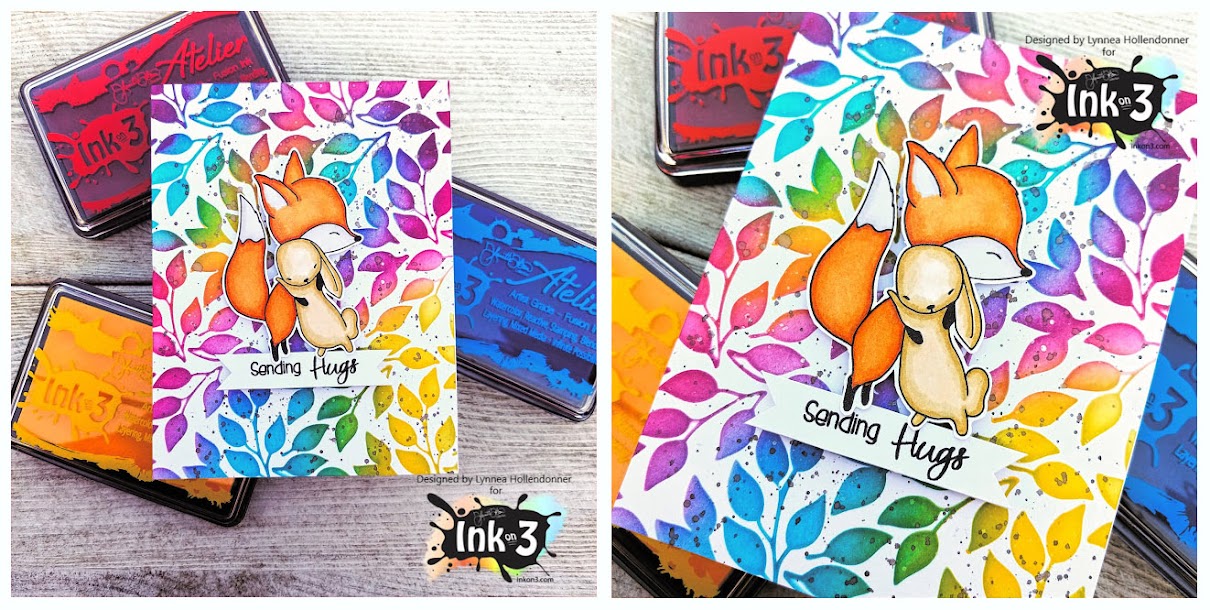
Hi! It's Lynnea! I have another easy way to add faux watercolor to your cards with Atelier Inks from InkOn3. It's more smooshing! But this time with an acrylic block! 


I am back at the ink smooshing! But this time I found a way to better control the ink by using an acrylic block! I started by heat embossing the large Triple Rose Stamp onto watercolor cardstock using my InkOn3 Juicy Watermark Emboss Ink and Arctic White Ultra Fine Embossing Powder. This will better allow me to see how much color I need to add to my panel. Plus the heat embossed portions sort of "trap" colors making the color darker in areas and lighter in others. 


I used three colors of Atelier Ink - Marilyn RedPeacock Blue, and My Jam Purple. I chose these colors purposely because no matter how they mix they won't make a brown color. I smooshed the colors onto my acrylic block and spritzed with water and pressed them onto a piece of watercolor cardstock holding the block in place until the color had a chance to "grip" the paper. I kept adding color until the whole background was full of GORGEOUS color! I added flicks of clean water as well as Shark Tooth White Atelier Ink for texture. 


I completed the card by adding a white die cut frame as well as a die cut sentiment. My stamped sentiment strip is from the Here for You Stamp Set. I've been using it for all of my sentiments lately! Thanks for joining me! 

Wednesday, April 14, 2021

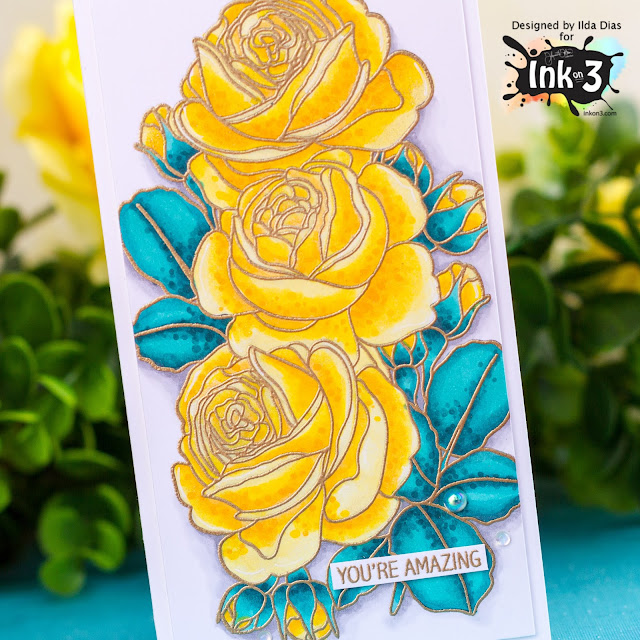
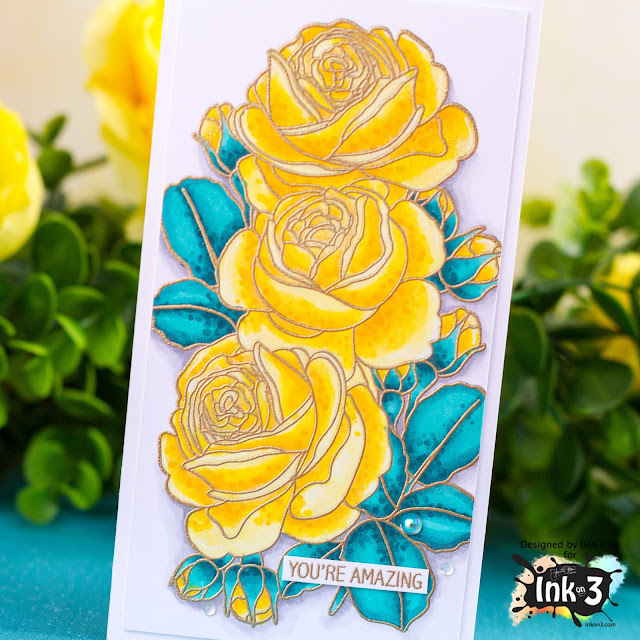
Triple Rose Mini Slimline Friendship Card by Ilda

Triple Rose, Mini Slimline, Friendship Card,Ink On 3,Card Making, Stamping, Die Cutting, handmade card, ilovedoingallthingscrafty, Stamps, how to,

Hello friends, Ilda here 👋

Today I have a cute Triple Rose Mini Slimline Friendship Card to share with you, featuring both of the latest stamp sets released from Inkon3. I think I may have a new obsession with mini Slimline's, they are so cute IRL and way easier to photograph!

CARD RECIPE
  • Stamp TRIPLE ROSE out onto Copic-friendly paper first using BLACKOUT INK. (This just makes it easier to see your lines and won't damage your Copics if you emboss first) Leave the stamp in the positioning tool as you be using it again later.
  • Color in Roses using Copic markers or desired medium.
Triple Rose, Mini Slimline, Friendship Card,Ink On 3,Card Making, Stamping, Die Cutting, handmade card, ilovedoingallthingscrafty, Stamps, how to,
  • Once the coloring is complete and Ink is dry, use an anti-static powder bag to ensure the static is removed from the image.
  • Place the colored image back into the stamping tool.
  • Ink up stamp this time with JUICY INK and stamp image again.
  • Use GOLD RUSH EMB. PWD. to add and heat set Gold Embossed details.
Triple Rose, Mini Slimline, Friendship Card,Ink On 3,Card Making, Stamping, Die Cutting, handmade card, ilovedoingallthingscrafty, Stamps, how to,
  • Stamp out and Gold heat emboss the sentiment from the HERE FOR YOU stamp set. Trim and add to the card front.
  • Embellish using Iridescent Bubbles.
Hope you got some inspiration from today's Triple Rose Mini Slimline Friendship Card. Thank you for stopping by and until next time... Happy Crafting!
SUPPLIES
TRIPLE ROSE
TRIPLE ROSE
Shop at:
IO3
HERE FOR YOU
HERE FOR YOU
Shop at:
IO3
BLACKOUT INK
BLACKOUT INK
Shop at:
IO3
JUICY INK
JUICY INK
Shop at:
IO3
GOLD RUSH EMB. PWD.
GOLD RUSH EMB. PWD.
Shop at:
IO3
MAGIC POWDER BAG
MAGIC POWDER BAG
Shop at:
SSS | AMZ
MINI MISTI
MINI MISTI
Shop at:
SSS | SB | HBS
NEENAH SOLAR WHITE 110
NEENAH SOLAR
WHITE 110

Shop at:
SSS | AMZ | HBS
COPIC SKETCH
COPIC SKETCH
Shop at:
SSS | AMZ
GUILLOTINE PAPER TRIMMER
GUILLOTINE PAPER
TRIMMER

Shop at:
SSS | AMZ | SB
BEE CREATIVE GLUE
BEE CREATIVE GLUE
Shop at:
SSS | SB | HBS
EMBELLISHMENT WAND
EMBELLISHMENT
WAND

Shop at:
SSS | SK
IRIDESCENT BUBBLES
IRIDESCENT BUBBLES
Shop at:
SSS | SK
IRIDESCENT BUBBLES TINY
IRIDESCENT BUBBLES
TINY

Shop at:
SSS | SK

Saturday, April 10, 2021

Gerbera Daisy Stamped Background

I have fallen head over heels in LOVE with white pigment ink stamped backgrounds! I used the new Gerbera Daisy Stamp Set from InkOn3 to make this card that's sure to bring a bit of encouragement! 


I started by using Shark Tooth White Atelier Ink to stamp the flower images from the Gerbera Daisy Stamp Set all over a piece of black cardstock. The Shark Tooth White Atelier Ink is so bright and vibrant! You just can't beat it! I wanted more texture in the background so I watered down some of the same Shark Tooth White Atelier Ink and spattered it onto my background. 


I stamped more of the Gerbera Daisy flowers and greenery using Blackout Hybrid Detail Ink and colored them with Copic Markers then trimmed them out with my scissors. I added them with foam tape onto my stamped background. I stamped a sentiment from the Here for You Stamp Set with Juicy Watermark Emboss Ink and heat embossed it with Arctic White Ultra Fine Embossing Powder


I sure hope you'll try stamping in white to build a background! See you soon!