Showing posts with label Ceal Pritchett. Show all posts

Saturday, June 18, 2022

I Believe In You!


Hey friends!
It's Ceal, here to share a card with you today.
This Magical Unicorn set has always been one of my favorites. 
Too make this card I started with a white top folding card base, a watercolor paper panel and another panel of white cardstock for the image.  
I created the background for the unicorn by using the Curls stencil with some Atelier inks in Bee Sting YellowMarigold Orange, and My Jam Purple.
I stamped the Unicorn and colored it using Copic markers in rainbow order, cut it out with the coordinating die and popped it up on the colorful panel. 


Friday, March 25, 2022

Sending BeYOUtiful Hugs


Hello friends!
It's Ceal, here. 
Today I a sharing a card I made using the BeYOUtiful set.  I love creating backgrounds with stamps and the large flower in this set makes it super easy. 

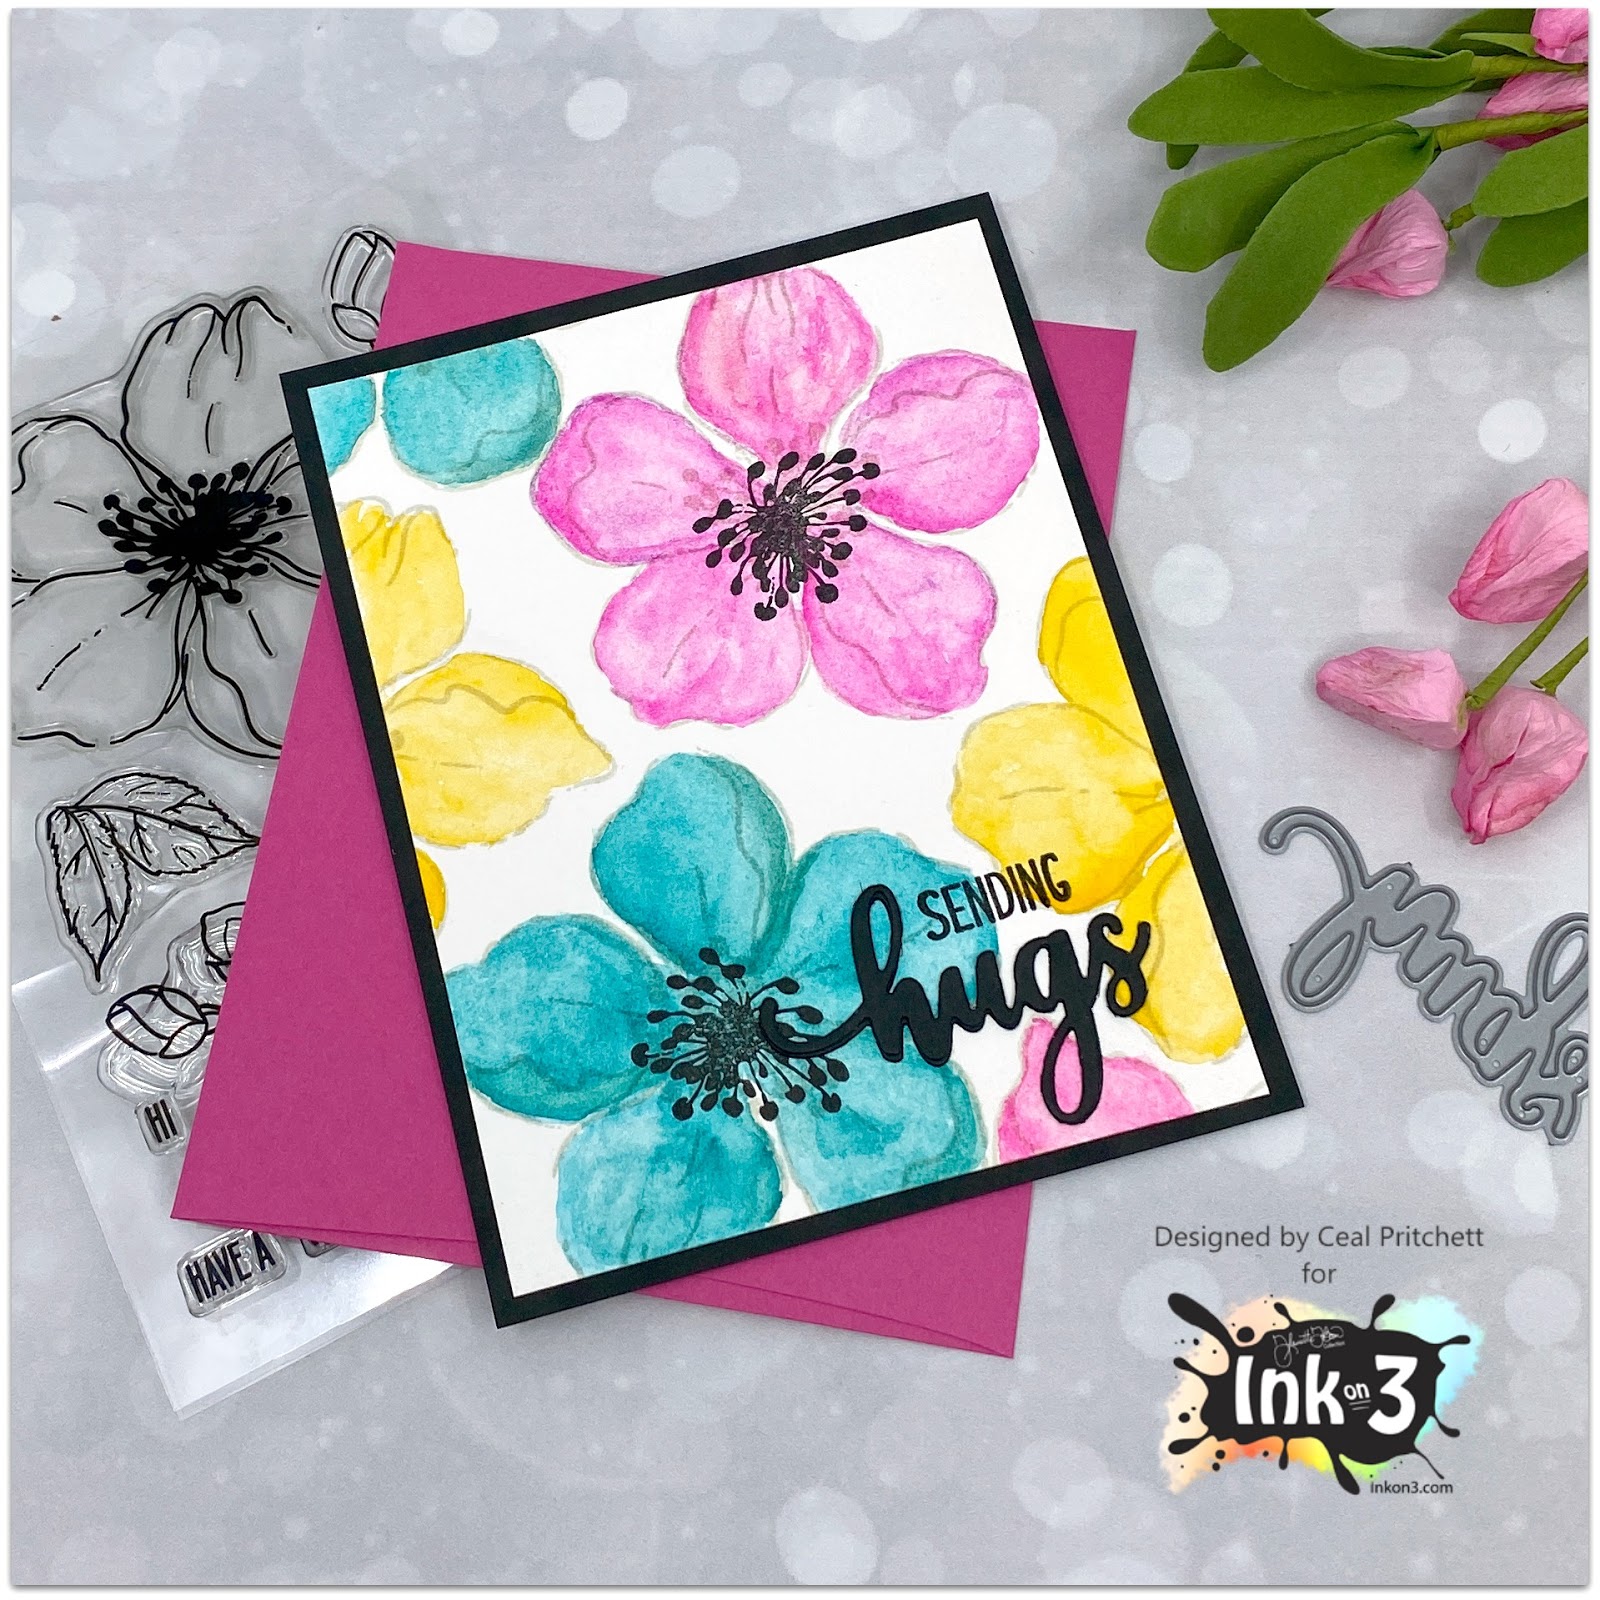
To create this card I started with a with a white top folding card base, a black panel and a panel of watercolor paper.  I randomly stamped the large flower with our Juicy Embossing ink and embossed them with clear powder.
 Next I used our Atelier re-inkers which are awesome to watercolor with to loosely watercolor them.  The colors I used are Sweet Petunia Pink, Marigold Orange, Bee Sting Yellow, My Jam Purple and Trinity Teal. 
I love how vibrant they are!


Tuesday, February 15, 2022

Embossing Elegance


Hello Friends! 
It's Ceal, here. Today I am sharing a card using the Holiday Wreath set.  I stamped it using the Juicy Embossing ink and then heat embossed it using the Gold Rush embossing powder.  I love her embossing powders, they melt so evenly. 
I used Copic markers to color the berries and the leaves. 


Saturday, January 22, 2022

Stolen My Heart


Hello Friends!
It's Ceal, here. Today I am sharing a valentines card with you using the Raccoon Hugs set. 

To create this card, I started with a top folding white card base and a white Heavystock distress panel. 
To create the background I put down some Sweet Petunia Pink ink on a craft mat, spritzed with water and then smooshed the panel of heavystock in it until I achieved a look I was pleased with. 
I stamped the raccoon aka trash panda on a piece of white cardstock, colored him and then cut him out with the coordinating dies and popped him up on the pink panel. 


Thursday, December 9, 2021

Merry Christmas, Deer!


Hello friends! 
It's Ceal, here.  Today I am sharing a card using one of my favorite stamps from Ink On 3. 

To create this card I started with a white top folding card base and a piece of white cardstock for the image. I stamped the image deer from Oh Deer with Blackout ink, colored it using alcohol markers and then cut it out with the Coordinating Die.
Next I stamped the lights and the ornaments, also colored with alcohol markers and cut with the dies. 
To finish the card I added some glossy accents to the ornaments and lights and then added the Merry Christmas die cut from Picket Fence Studios 


Friday, November 5, 2021

Thankful for You


Hello Everyone! 
It's Ceal, here. Today I am sharing a card using the Hey Gorgeous set and the Thankful for You set that just released. 

To create this card I started with a top folding white card base and a white panel. I stamped the image using Blackout ink and colored it using alcohol markers. I stamped the  image again on some patterned paper and fussy cut out the hat and then added some of the leaves from the Thankful for You set to the hat. 
To finish the card I added a sentiment. 


Until next time Happy Stamping!

Friday, September 24, 2021

Pink Pumpkins


Hello Everyone!
It's Ceal, here. Today I am sharing a card using the Pumpkin Patch stamp set by Ink on 3. Pumpkin can be pink right?

To create this card I started with a top folding kraft card base an a piece of white cardstock for the image. I stamped the image with Blackout ink, colored it using alcohol markers and then cut it out with the coordinating die


Thanks for stopping by, for all the details you can head over to my blog, Simply Beautiful.
 

Friday, September 3, 2021

Colored Pencils on Kraft


Hey Y'all! 
It's Ceal, here. Today I am sharing another card made using the gorgeous Lotus stamp set.
To create this card I started with a top folding white card base and a panel of Kraft cardstock cut down with a stitched die. I stamped the Lotus using BlackOut detail ink and then colored it using Polychromos pencils.  To finish the card I added a sentiment from that same set. 


Thanks for stopping by! 
Until next time, stay crafty! 
 

Thursday, August 26, 2021

Lotus


Hello Everyone! 

It's Ceal, here.  Today I am sharing this card using the new Lotus stamp set, Y'all  it is so pretty when it's colored up.

I used some Graphit alcohol markers to color it and then masked it off so I could create a background. If you have followed me at all you know how much I love using stencils to create a background. For this background I used the Pondie stencil and Trinity Teal Atelier ink blended with brushes starting darker at the bottom and fading as I went up. 

To finish the card I removed the mask and added a sentiment from the same set that I heat embossed using our Juicy Clear embossing pad and some Arctic White embossing powder on a black strip. 


Thanks for stopping by!
until next time, Happy Crafting!

Friday, July 30, 2021

Miss You


Happy Friday! 
It's Ceal, here.  Today I am sharing a card using the My Sweet Petunia 3 Layer Stencil. I love how by using this stencil it gives you a no line watercolor look. 
To create this card I started with a white to folding card base and a white panel in which I stenciled on. I used the My Sweet Petunia Layering Stencils along with the Atelier Inks in Sweet Petunia Pink, My Jam Purple and Goddess Green
I laid down the stencils in different direction so my flowers would be along the side of my card.
The Miss you sentiment is by Concord & 9th. With the flowers going along the side I wanted a big greeting. 


Thanks for stopping by and Happy Crafting! 

Wednesday, April 28, 2021

Smile


Hello Everyone!
It's Ceal here today sharing a card using the Gerbera Daisy set along with the Atelier inks. 
To create this card I started with a top folding white card base and a panel of Tim Holtz white Heavystock.   
I randomly stamped the different sized daisies from the Gerbera Daisy set with embossing ink and embossed them with white powder to create a background. 
I put down come Bee Sting Yellow and Sweet Petunia Pink Atelier ink on a craft sheet, spritzed with water and then smooshed the background panel in them, dried it and smooshed again until I got the look I wanted. 
To finish the card I added a smile die cut. 


Wednesday, February 17, 2021

Coloring Made Easy


Hey everybody!
It's Ceal here. Today I am sharing a technique with you that makes coloring super quick and easy and adds interest to the card. 


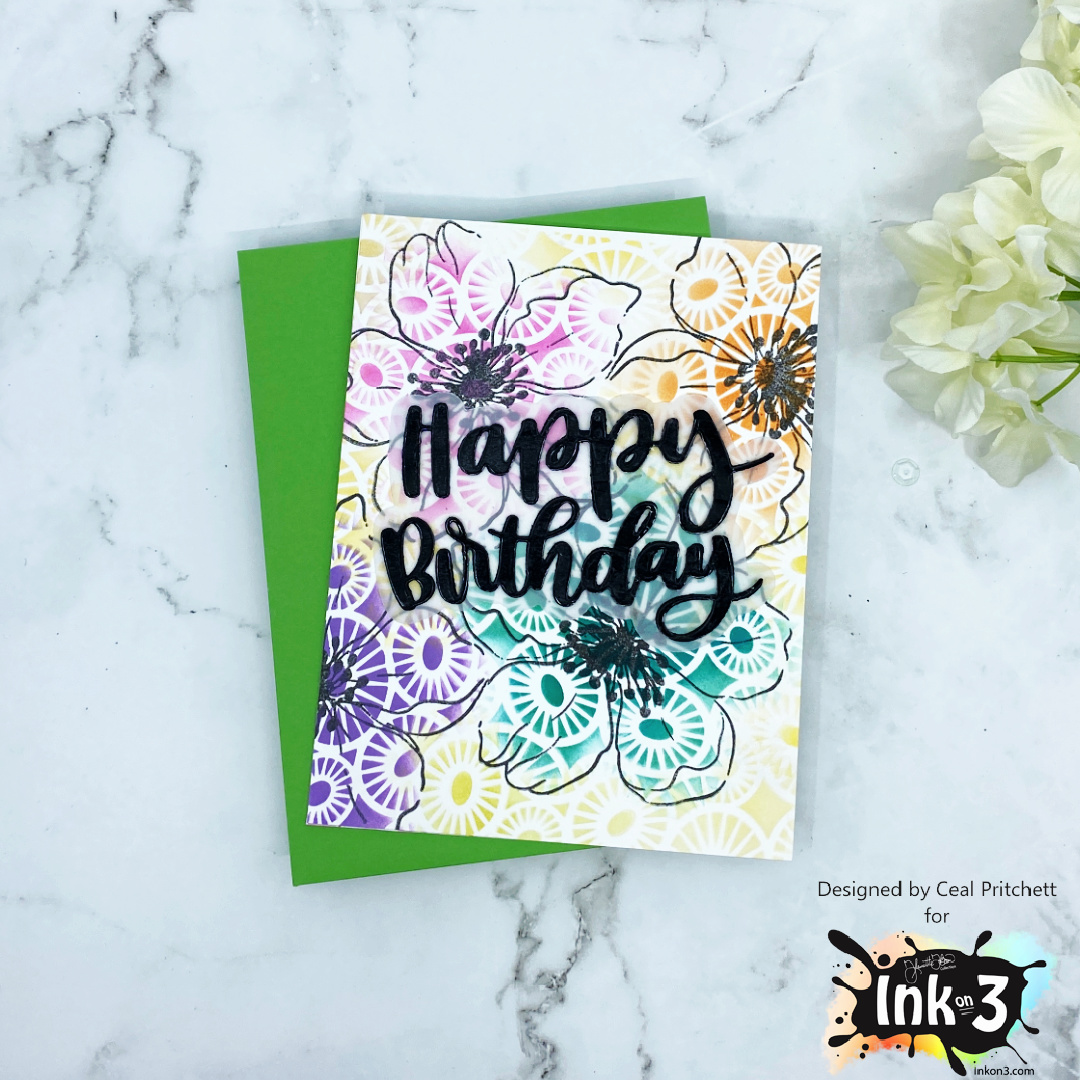
To create the card I started with a top folding card base and a white panel cut to the same size as the base.  I randomly stamped the large flower from the BeYOUtiful stamp set over the panel. Next I used the Pondie stencil and Atelier Ink  in Trinity Teal, Sweet petunia Pink, Marigold Orange, My Jam Purple and Bee Sting Yellow. I placed the stencil over each flower and ink blended the color. I used the Bee Sting Yellow to fill in the voids. 

Sunday, January 31, 2021

Stolen Heart


Hello Everyone!
It's Ceal here to share with you a card using the Racoon Hugs set. I love this cute trash panda who is stealing hearts. 
To create ths card I started with a top folding card base and a stitched panel. I used a cloud stencil to create a background and then stamped the hearts and sentiment. The Racoon (Trash Panda) I stamped on a seperate piece of cardstock, colored it using alcohol markers and cut it out using the Coordinating die. I added some Liquid Pixie Dust to the balloon to give it some sparkle. 


Monday, November 23, 2020

Hugs, Kisses and Unicorn Wishes


Hey everybody! 
It's Ceal here to share a card with you today. I have been busy making Christmas cards and then I had someone order a birthday card with an unicorn so I immediately knew what set I was going to use.  
I started with a white top folding card base and a white panel cut to the same size. I stamped the unicorn from the set Magical Unicorn and colored it using Copic markers. I added some shimmer with Liquid Pixie Dust and added shine to her horn with glossy accents. 

Since I have been working on Christmas cards, I was thinking I may try coloring her in Christas colors. If I do, I will come back and show you. 


Sunday, August 23, 2020

Faux Etch Art


Remember the art you can buy where it's completely black and you scratch off the black to reveal a beautiful picture and then there are other where it is back felt and you color it by Lisa Frank? This technique I used on my card totally reminds me of those art pieces. 

To create this card I started with a white card base, a black panel and a white panel. I stamped the Dogwood Flower and colored it using Copic markers, after I got it all colored I drew a frame around it and then colored it in with a black Copic marker. 
I added some Liquid Pixie Dust to give the flowers that sparkle and some glossy accents to the stem of the flower as well. I also added white gel pen to the centers 


I love how it turned out and it totally reminds me of those scratch off art pieces I had as a child 


Wednesday, July 22, 2020

Just keep Swimming


Hello Everyone!
It's Ceal here to share with you today a card using one of our newest sets, Koi Pond. This set is so fun! 
To create my card I started with a white top folding card base and a panel of bristol card stock which is water friendly paper. I stamped the Koi using the Juicy Clear Embossing ink and embossed it with Gold Rush embossing powder. I watercolored them using the Karin markers and masked them off to create the background. To do that I used the new Wavy stencil and bending brushes, I also did a little ink smooshing to add some texture to it. 


Here's a little close up (above) that shows the shine of the Gold Rush embossing powder, it's my favorite!
To finish the card I added the "Just Keep Swimming" sentiment because that is what we are all having to do during this pandemic 

Friday, June 19, 2020

Watercolor Blooms


Hello Everyone!
It's Ceal, here to share a card with you today using the BeYOUtiful  set from our latest release. I love the big bloom in this set it is super fun! 
To create this card I started with a top folding white card base, a black panel and a panel of watercolor paper. I randomly stamped the blooms using Fadeout noline coloring ink to cover the watercolor panel. I used the Atelier inks to watercolor the blooms. There are so many colors you can make by mixing the inks.
 To finish the card I added the sentiment from the Bunny Hugs set and the hugs die from the coordinating die set. 
After I was done stamping I used the Ink Off pad and cloth to clean and condition my stamps. 


Thursday, March 26, 2020

Hey Gorgeous!


Hey Yall ! 
It's Ceal, I am sharing a card today featuring the Hey Gorgeous set. This set is so fun to color and you can play dress up with her hats <3

To create my card I started with a top folding white card base and a white panel. I stamped the image using Blackout ink and then colored her using Copic markers. I masked her off except the hat and then used a stencil to create the flower pattern. I stamped a flower also from the Hey Gorgeous set, fussy cut it out and added it to the hat. To finish the card and tie in the pink I added a pink dress/shirt to her.