Showing posts with label Heat Embossing. Show all posts

Saturday, February 12, 2022

Coloring With Ink Blending

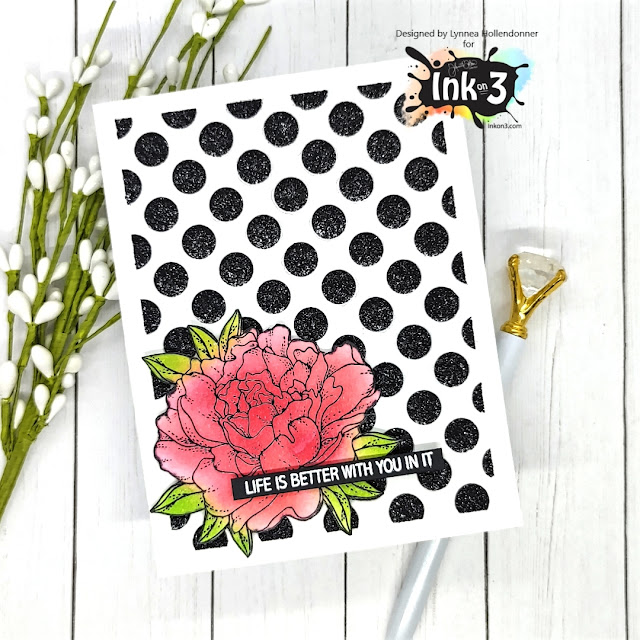
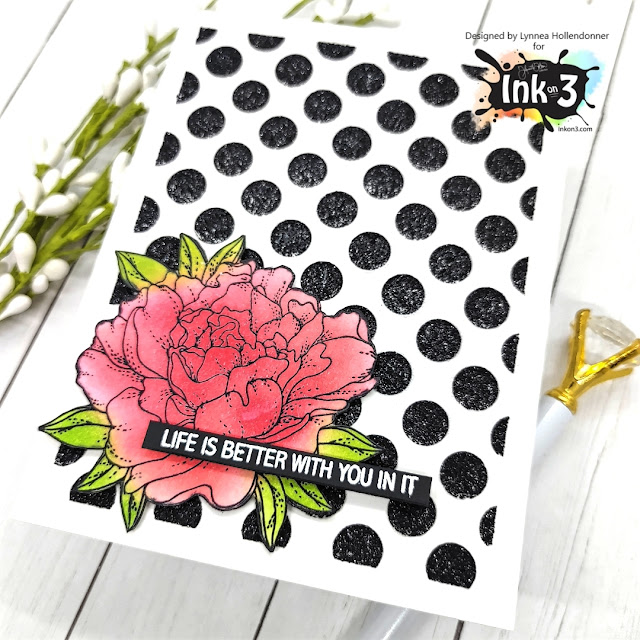
 Ink blending with Atelier Inks is such a quick way to add color to images! 


I love when small stamp sets go a long way! The Here for You Stamp Set is a mini set with the most gorgeous floral image and small sentiments. I stamped the image with Blackout Hybrid Detail Ink and heat embossed it with Crystal Clear Fine Detail Embossing Powder. I used Marilyn Red Atelier Ink and Goddess Green Atelier Inks to blend color onto the image and cut it out with my scissors. I masked off the edges of a card and added a bit of Black Glitz Glitter Gel over a polka dot stencil and popped up my flower on top. 


I stamped a sentiment from the Here for You Stamp Set with Juicy Watermark Embossing Ink and heat embossed it with Arctic White Fine Detail Embossing Powder. I trimmed the sentiment out into a strip and added it to the card with foam tape. That's it! Thanks for joining me!

Saturday, October 16, 2021

Heat Embossed Poinsettia Card

I have a no coloring required card to share with you using the InkOn3 Poinsettia Stamp Set and coordinating dies! 


I stamped the flowers and leaves from the Poinsettia Stamp Set onto red and green cardstock using Juicy Watermark Embossing Ink and embossed them with Arctic White Fine Detail Embossing Powder. I stamped and heat embossed a bunch so that I would have enough to cover a full background and have some extras left over. I wanted to add a little bit of dimension so I blended a bit of Twiggy Brown Atelier Ink to the centers of the flowers and Trinity Teal on to the bottom of the leaves. I added some gold watercolor ink spatters onto the flowers and leaves and used the Poinsettia Coordinating Die Set to cut out the images. 


I arranged the poinsettias and the leaves all over my card base and adhered them with liquid adhesive. Check out my video for some quick tips for adhering multiple small images at once! 


I die cut a large sentiment from black cardstock and covered it with Liquid Pixie Dust for some super magical sparkle and added it to the card with foam tape. That's it! Have a great day! 

Saturday, August 28, 2021

Floral Atelier Ink Watercolor

This card was so easy to make and it's one of my favorites I've made in a long time! I watercolored these gorgeous florals with InkOn3 Atelier Inks and they're just gorgeous! 


Atelier Inks are great for stamping and ink blending ... but I really LOVE the way they work as watercolors! They are so vibrant! I stamped the Concord & 9th Heartfelt Blossoms Stamp Set with Blackout Hybrid Detail Ink and heat embossed with Crystal Clear Fine Detail Embossing Powder. The embossing helps to keep the watercolor in the lines - which is something I definitely need! I used Goddess Green, Bee Sting Yellow, Sweet Petunia Pink, and Trinity Teal Atelier Inks to watercolor my background and then used the coordinating die to cut it out. 


I created a peek through background by stamping the Altenew Pinstripe Stamp with Blackout Hybrid Detail Ink and popped up my watercolored image on top with foam tape. I wanted a sentiment that would perfectly match my background, so I blended Trinity Teal Atelier Ink onto white cardstock and then die cut the sentiment. The color of the sentiment perfectly matches my watercolored frame! 


I finished off this pretty Atelier Ink watercolored card with some pastel pearls. Thanks for joining me! 

Saturday, August 14, 2021

Watercolored Lotus

I've got a pretty lotus card from InkOn3 to share with you today! I did more shimmer watercoloring - it's my current obsession! 


I planned to watercolor the new Lotus Stamp Set, so I knew I would do some heat embossing. I love having a black outline, so I stamped my lotus image with Blackout Hybrid Detail Ink onto watercolor cardstock and quickly sprinkled on Crystal Clear Embossing Powder and heat set the image. 


I watercolored the lotus using shimmer watercolors, but you can use whatever you have! Once my image was colored I trimmed it out with scissors. 


I wanted a background that would coordinate with my stamped image. I masked a quarter of an inch off of each side of a piece of white cardstock and placed the new Curls Stencil over the top. I used My Jam Purple and Peacock Blue Atelier Inks to ink up the stencil. 


I finished the card by stamping a sentiment from the Lotus Stamp Set with Blackout Hybrid Detail Ink and popped it up near the center of the card! Hope you have a great day! 

Friday, July 9, 2021

Christmas in July Poinsettia Card

It's no secret that I LOVE all things winter and Christmas! I get so happy when July comes around because it gives me an excuse to share Christmas cards again! 


I wanted to have bold images against a wintery background, so I placed a snowflake stencil over a piece of black cardstock and used Shark Tooth White Atelier Ink to create the background for my card. For a bit more interest I spattered on some Liquid Pixie Dust. I love how easy it can be to create a magical background! 


I stamped out flowers, leaves, and twigs from the Poinsettia Stamp Set with Blackout Hybrid Detail Ink and colored them with Copic Markers and cut them out with the coordinating Poinsettia Die Set. I arranged them onto my background with foam tape for dimension. I wanted a simple sentiment that wouldn't take away from the background and bright images, so I stamped a sentiment from the Merry & Bright Stamp Set with Juicy Watermark Emboss Ink and heat set it with Arctic White Ultra Fine Embossing Powder


No Christmas card is complete without adding even more shimmer so I covered my colored images with Liquid Pixie Dust! Now they sparkle and shine and make my heart so happy! Thanks so much for joining me! 

Saturday, April 24, 2021

Faux Watercolor Background with Atelier Inks

Hi! It's Lynnea! I have another easy way to add faux watercolor to your cards with Atelier Inks from InkOn3. It's more smooshing! But this time with an acrylic block! 


I am back at the ink smooshing! But this time I found a way to better control the ink by using an acrylic block! I started by heat embossing the large Triple Rose Stamp onto watercolor cardstock using my InkOn3 Juicy Watermark Emboss Ink and Arctic White Ultra Fine Embossing Powder. This will better allow me to see how much color I need to add to my panel. Plus the heat embossed portions sort of "trap" colors making the color darker in areas and lighter in others. 


I used three colors of Atelier Ink - Marilyn RedPeacock Blue, and My Jam Purple. I chose these colors purposely because no matter how they mix they won't make a brown color. I smooshed the colors onto my acrylic block and spritzed with water and pressed them onto a piece of watercolor cardstock holding the block in place until the color had a chance to "grip" the paper. I kept adding color until the whole background was full of GORGEOUS color! I added flicks of clean water as well as Shark Tooth White Atelier Ink for texture. 


I completed the card by adding a white die cut frame as well as a die cut sentiment. My stamped sentiment strip is from the Here for You Stamp Set. I've been using it for all of my sentiments lately! Thanks for joining me! 

Saturday, March 20, 2021

Ink Smooshed Backgrounds with White Flowers

Hi it's Lynnea! I love to ink smoosh, don't you!? It gets a bit messy, but the results are so colorful and fun! Today I'm sharing ink smooshing with Atelier Inks and using the NEW Gerbera Daisy Stamp Set from InkOn3


Let's just dive right in to those gorgeous backgrounds! I ink smooshed two ways. I started by putting some Bee Sting Yellow, Sweet Petunia Pink, and Trinity Teal Atelier Inks onto my glass work surface. I spritzed them with water and picked up all three colors at once with a piece of plastic and smooshed it onto a piece of watercolor cardstock. I continued to pick up ink until my panel was full. I liked this background, but mixing all three colors together at once created some muddy areas, so I tried a second method to reduce the mud. Haha! 


I used the same three colors of Atelier Ink for my second background, but this time I used them one at a time. I added a bit of Bee Sting Yellow, dried the panel, then Sweet Petunia Pink, dried the panel, and Trinity Teal, and dried the panel. Allowing the colors to dry in between and adding them one at a time reduced the amount of mixing. There's definitely still some mixing of color, but I don't have muddy colors this time. I watered down some Paint it Black Atelier Ink and added ink spatters all over each background. 


I didn't want my images on top to take away from my pretty Atelier Ink backgrounds, so I decided to leave them white. I stamped some flowers and leaves from the Gerbera Daisy Stamp Set and trimmed them with my scissors. I mounted them with foam on my backgrounds. I stamped sentiments from the Here for You Stamp Set with Juicy Watermark Emboss Ink and heat set them with Arctic White Ultra Fine Embossing Powder. I trimmed them into strips and added them to the center of my floral cluster. 


I added a bit of glam to the sentiment strips with Liquid Pixie Dust to complete this card set. I hope you'll try this ink smooshing technique! 

Saturday, February 13, 2021

Clean and Simple Atelier Ink Watercolor

Hi, it's Lynnea! I *almost* made a one layer card using InkOn3 Atelier Inks as watercolors ... and then I couldn't help myself and added a layer! *face palm* Maybe one of these days! 


This card is so simple and you can switch up the sentiment to make any kind of card! I stamped the pitcher, stem, flower, and sentiment from the Posies Stamp Set using both Juicy Watermark and Embossing Ink and Blackout Hybrid Detail Ink. I had to stamp the pieces separately and I wasn't sure I could work quickly enough to use just the Blackout Hybrid Detail Ink, so I stamped first with the Juicy Watermark and Embossing Ink. Once all of the images were stamped I heat embossed them with Crystal Clear Embossing Ink


I used Sweet Petunia Pink and Marylin Red Atelier Inks to watercolor the flower, Goddess Green for the stem, and Trinity Teal for the pitcher. I needed ground my "scene" so I watered down some Twiggy Brown Atelier Ink and added a line of ink under the pitcher. Once the ink was dry I went over everything with Liquid Pixie Dust. I trimmed down the panel just a bit and popped it up onto a white card base. And that's it! See you soon! 

Tuesday, January 26, 2021

Thinking Of You, BeYOUtiful!

  Hi and Happy 2021! 

It’s Erica back on the Ink On 3 blog, for the first time in 2021. It’s been a bit of a rough start to the year to be honest, so I decided to make a ‘thinking of you’ card, as I figured I am not the only one who’s feeling like 2021 is saying ‘hold my beer’.

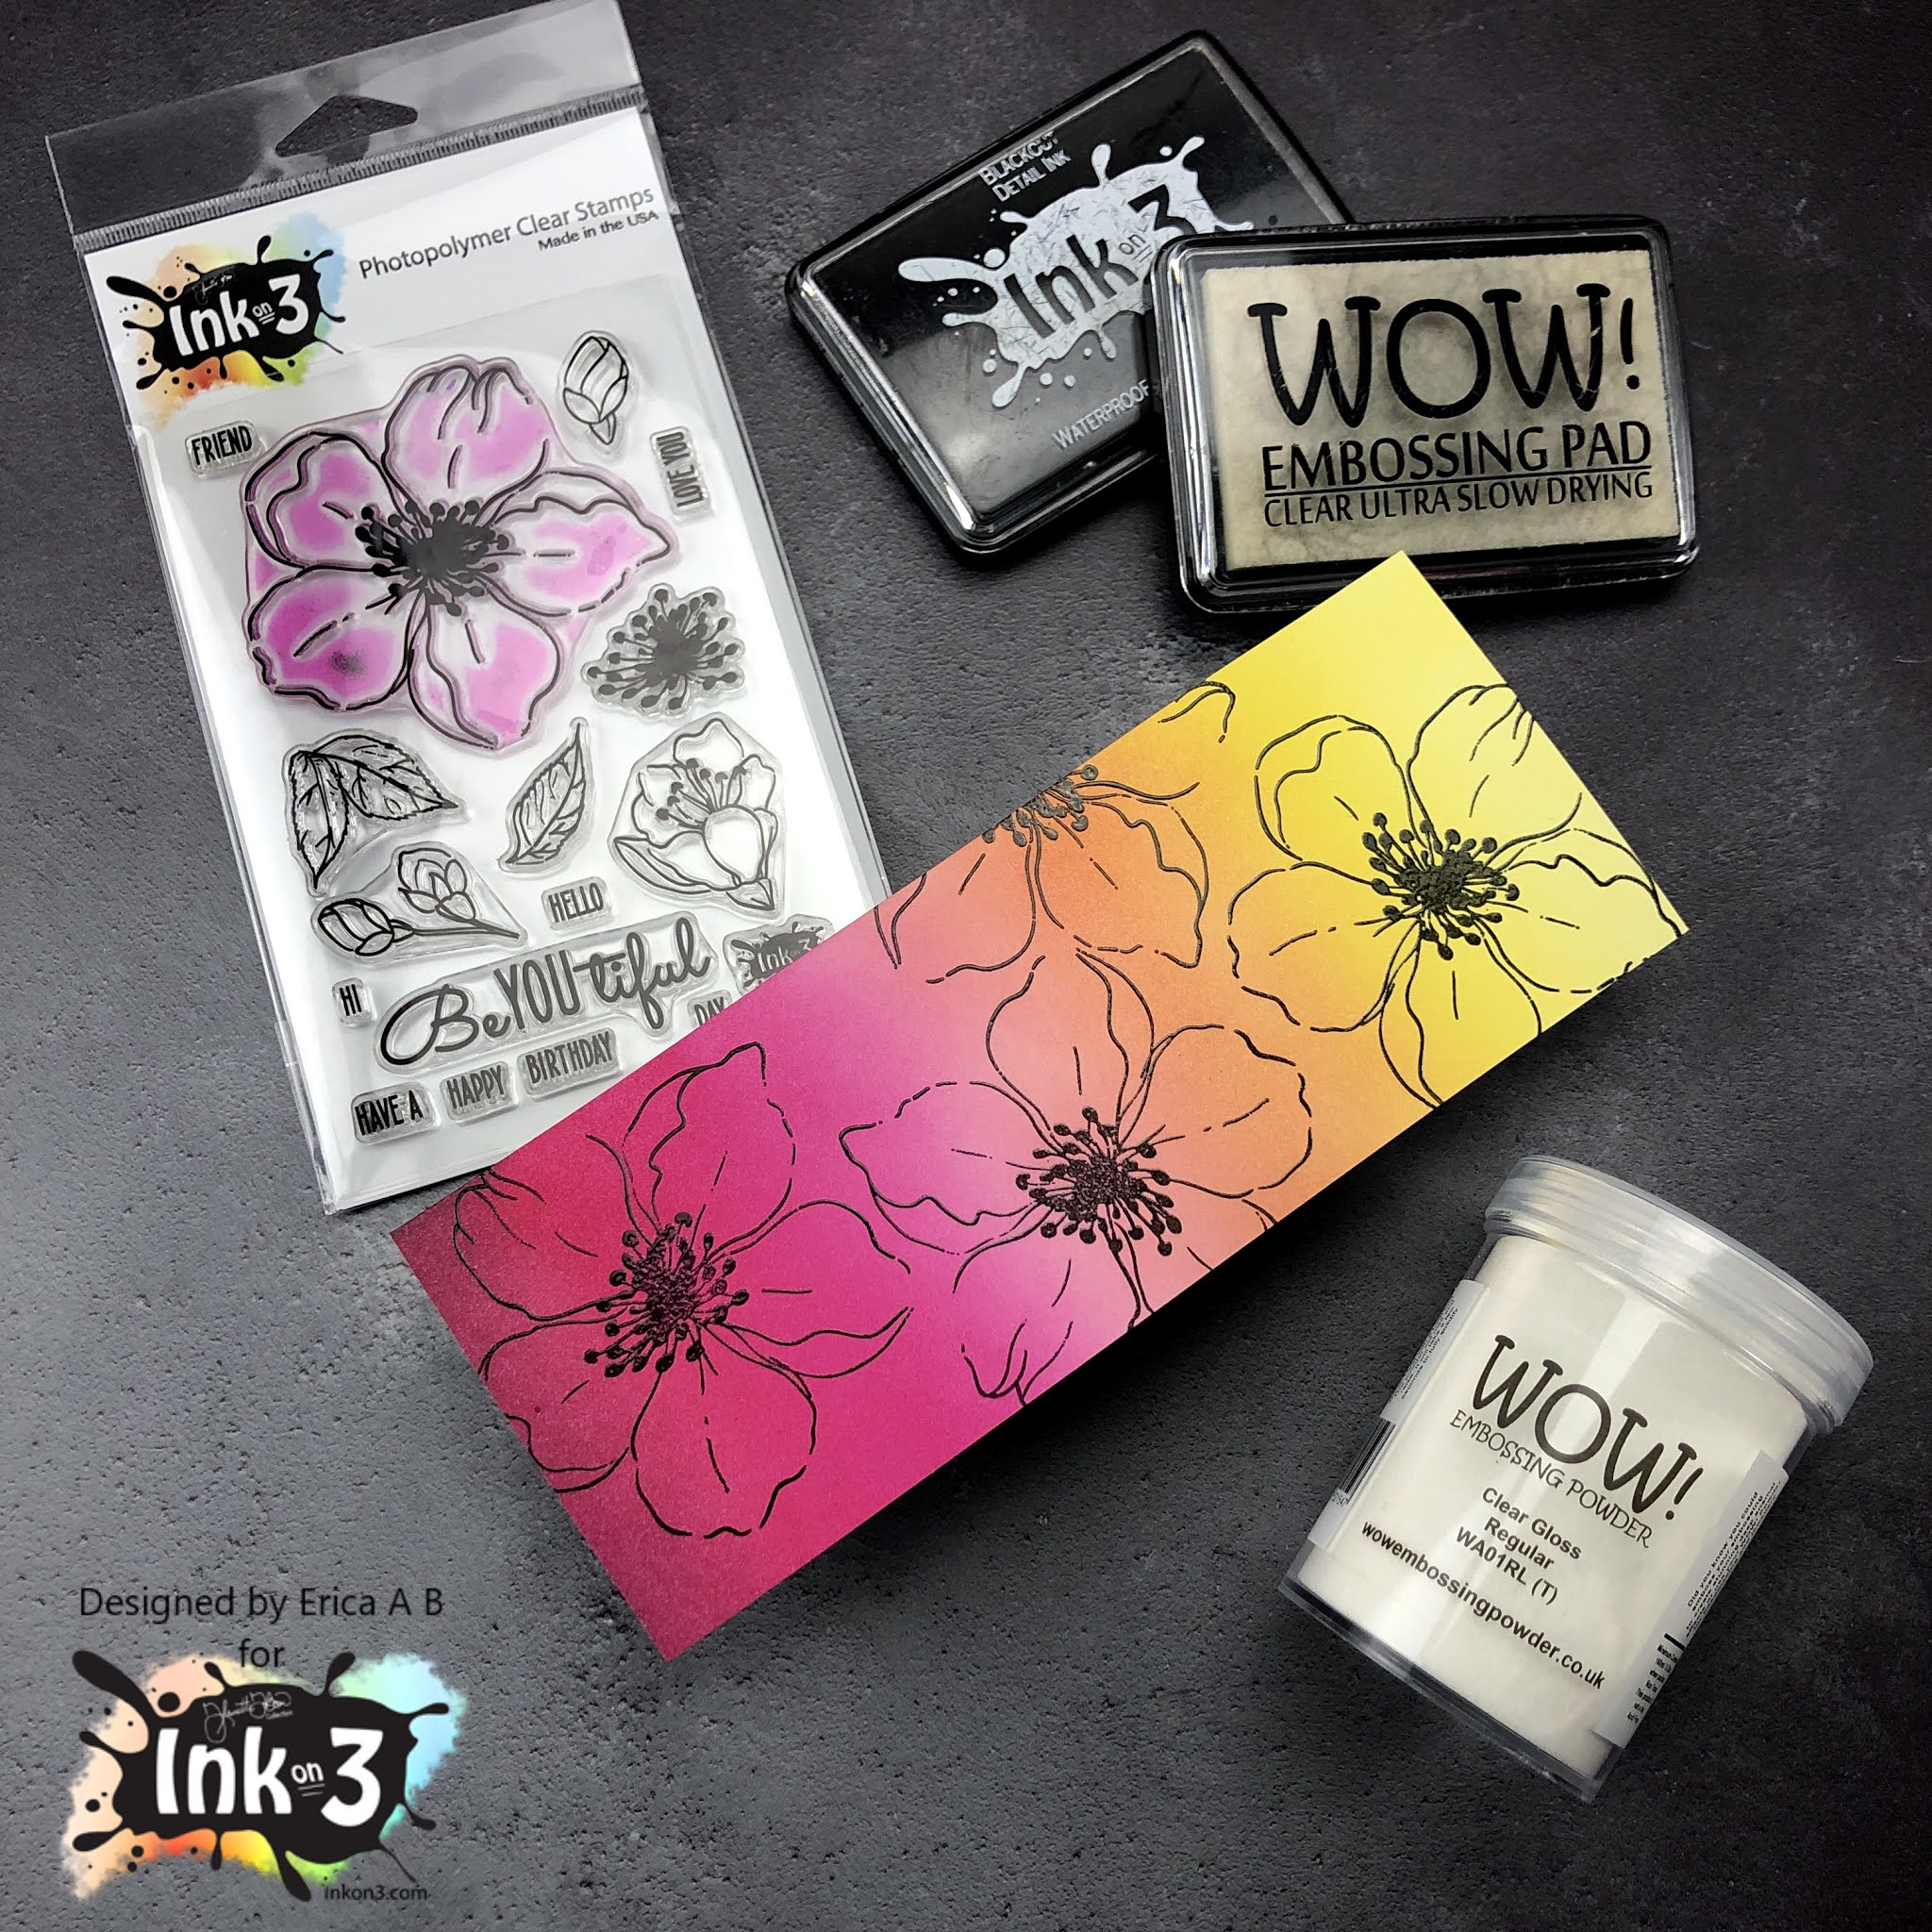
First off I did some ink blending with the goooooorgeou Atelier inks in Bee Sting Yellow, Marigold Orange, Sweet Petunia Pink and Marilyn Red using Life Changing Blender Brushes on Bristol Smooth paper. This combo has become quite a fave of mine for a variety of reasons, the main one being that it’s absolutely beautiful. I love it! 


These panels are actually one big piece that I cut up after ink blending over the whole thing. I love ink blending, and it’s always good to have some background panels done for when you need to make a card quickly! 


On the slightly smaller panel, I stamped up the big flower from the BeYOUtiful set with Blackout Detail ink and then Embossing ink. On top of these I sprinkled Clear Gloss embossing powder and set that with the heat gun. I did use a MISTI for the stamping to make sure the flower images were really solid. 

This panel I then layered up with the other one, but in different colour order. The reason I did this was to create some contrast and interest. 


To finish off this card I ended up using a diecut from Hero Arts that says Thinking Of You. I cut it out of white card stock three times, and then a fourth time in black card stock, and I layered these up to give the card some dimension. On top of this I heat embossed it with clear gloss embossing powder to give it a puffy sticker look. 


This word die I then glued down on the card with liquid glue and with that, the card was done. I contemplated adding some black gem stones or sequins, but if you can believe it, I decided against it. *GASP* I know.. 


That’s it from me for today! I hope you were inspired by this post, and will try this design for yourself. 


Lot of love and happy crafting from Erica


Wednesday, July 22, 2020

Just keep Swimming


Hello Everyone!
It's Ceal here to share with you today a card using one of our newest sets, Koi Pond. This set is so fun! 
To create my card I started with a white top folding card base and a panel of bristol card stock which is water friendly paper. I stamped the Koi using the Juicy Clear Embossing ink and embossed it with Gold Rush embossing powder. I watercolored them using the Karin markers and masked them off to create the background. To do that I used the new Wavy stencil and bending brushes, I also did a little ink smooshing to add some texture to it. 


Here's a little close up (above) that shows the shine of the Gold Rush embossing powder, it's my favorite!
To finish the card I added the "Just Keep Swimming" sentiment because that is what we are all having to do during this pandemic 

Wednesday, June 10, 2020

Heat Embossing Surprise with Guest Designer Laura


Hi everyone! It's Laura Volpes here and today I am back with my second post as a Guest Designer for InkOn3 this month! I experimented some more with the Atelier Inks, and this time I wanted to try using them with heat embossing. The results were surprising - make sure to check out the video at the end of this post to see what happened!

For the background of my card I used the Leafy Forest Stencil. I started by blending some My Jam Purple ink through the stencil on some watercolor cardstock. I then heat embossed the leaves with clear embossing powder, so that I could go over the entire background with Peacock Blue ink without covering the leaves. I also added some shimmer with Liquid Pixie Dust.


For my focal point today I used the Forever Friends stamp set. I stamped the image with InkOn3 Blackout ink and I colored it with Karin Brush Markers Pro. Here is a list of the markers I used
  • Fox: Copper Brow, Warm Grey 1, Blush
  • Bunny: Warm Grey 3, Blush
Once I was done coloring, I cut out the image with my scissors.


I die cut a panel out of some white cardstock and I glued it to the background. I heat embossed the sentiment with white embossing powder over some black cardstock and I finished off the card with some blue crystals.

Don't forget to check out my video for a step by step tutorial and to see what happened with my heat embossing experiment!


Thank you all for stopping by and have a great day!