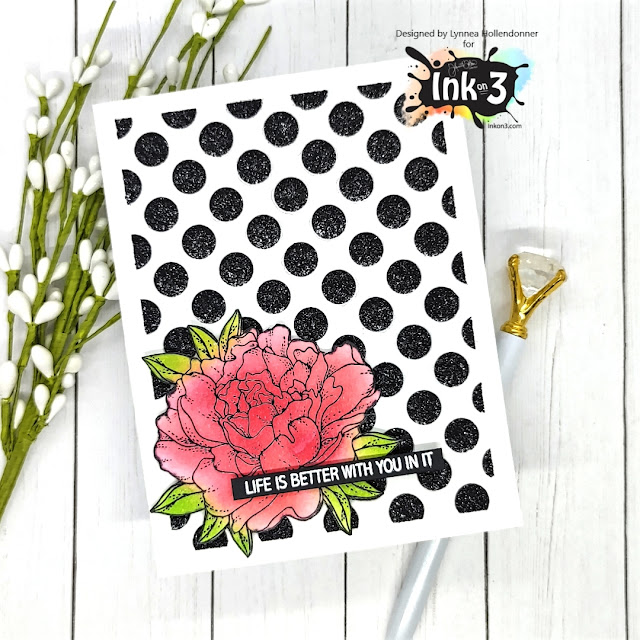
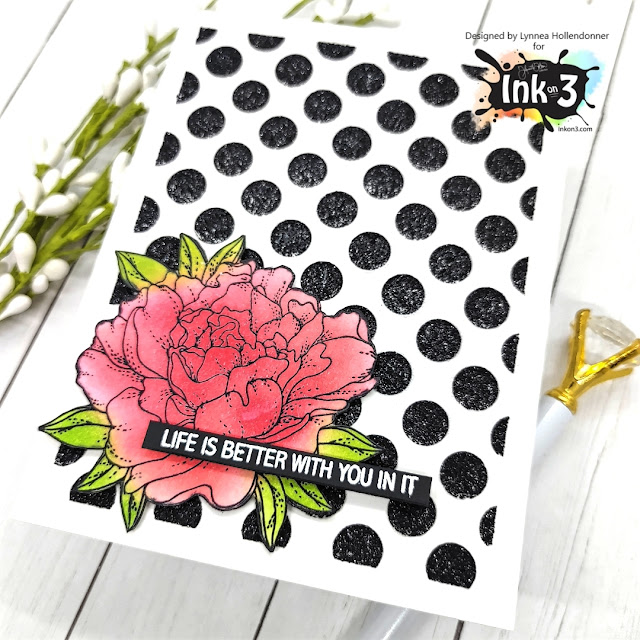
I've got a pretty lotus card from InkOn3 to share with you today! I did more shimmer watercoloring - it's my current obsession!
I planned to watercolor the new Lotus Stamp Set, so I knew I would do some heat embossing. I love having a black outline, so I stamped my lotus image with Blackout Hybrid Detail Ink onto watercolor cardstock and quickly sprinkled on Crystal Clear Embossing Powder and heat set the image.
I watercolored the lotus using shimmer watercolors, but you can use whatever you have! Once my image was colored I trimmed it out with scissors.
I wanted a background that would coordinate with my stamped image. I masked a quarter of an inch off of each side of a piece of white cardstock and placed the new Curls Stencil over the top. I used My Jam Purple and Peacock Blue Atelier Inks to ink up the stencil.
I finished the card by stamping a sentiment from the Lotus Stamp Set with Blackout Hybrid Detail Ink and popped it up near the center of the card! Hope you have a great day!
It's no secret that I LOVE all things winter and Christmas! I get so happy when July comes around because it gives me an excuse to share Christmas cards again!
I wanted to have bold images against a wintery background, so I placed a snowflake stencil over a piece of black cardstock and used Shark Tooth White Atelier Ink to create the background for my card. For a bit more interest I spattered on some Liquid Pixie Dust. I love how easy it can be to create a magical background!
No Christmas card is complete without adding even more shimmer so I covered my colored images with Liquid Pixie Dust! Now they sparkle and shine and make my heart so happy! Thanks so much for joining me!
Hi, everyone it's Lynnea! I combined a couple of my favorite stamp sets from InkOn3 on this easy card! Dogwood flowers are just so gorgeous!
The Posies Stamp Set has the most gorgeous vase image and I have used it multiple times in InkOn3 projects - I just love it! I decided to slightly alter the Dogwood Flower image to make it a bouquet of flowers fit for the vase! I stamped my images using Blackout Hybrid Detail Ink, but was careful to avoid inking the bottom portion of the dogwood stem so that I could extend the lines a bit. I colored the images with Copic Markers and cut them out.
I wanted to create a simple background so I adhered a stencil from my stash onto a white card base and mixed together Bee Sting Yellow and Marigold Orange Atelier Inks to create a pretty honey color. It's very subtle, but you can see areas of darker and lighter color across the background. SO pretty in real life!
I added a white heat embossed sentiment strip using a sentiment from the new Here for You Stamp Set and finished off the card with a white border and some gems. Thanks for joining me!
Can you believe I've never used a Gel Press? I'm jumping on the band wagon and putting my Atelier Inks from InkOn3 to the test!
I am ALL about easy cards and easy techniques - especially when techniques result in more than one card. I got THREE backgrounds out of one go with the Gel Press! That's a win in my book!
Be sure to check out my video at the beginning of this post for a full tutorial. This was LITERALLY my first time using my Gel Press and I'm obsessed! I watched a few tutorials on YouTube and decided to give it a try with my Atelier Inks. I haven't seen it done with these inks and you NEED to try them! Look how colorful my backgrounds are! And you can mix and match ink colors to get any type of background you want!
I inked up my Gel Press, gave it a quick once over with my brayer, placed a stencil on top, and then rubbed a piece of cardstock over the press. That gives me one impression! Then I removed the stencil and placed a second piece of cardstock on my press. That gives me TWO impressions! I realized my stencil still had so much Atelier inky goodness, so I gave it a spritz with water and pressed another piece of cardstock onto the stencil. That gives me THREE backgrounds total!
I wanted to keep the focus on the pretty Atelier Ink background, so I trimmed down my panels, added a stamped sentiment with Blackout Hybrid Detail Ink, and matted the panel with black cardstock. Easy and simple! This is definitely a technique that I'm going to continue to practice. Thanks for joining me!
Hooray for fall and Halloween! Atelier Inks are just perfect for solid stamping! They're smooth and crisp and everything wonderful!
I grabbed my Pondie Stencil and temporarily adhered it to a piece of white cardstock and blended Blackout Hybrid Detail Ink over the stencil. This is my favorite ink for black ink blending - you get the same crisp and deep black color for ink blending that you get with stamping. It's amazing! And the Pondie Stencil is definitely not a Halloween Stencil, but I think it's spooky with the Blackout Hybrid Ink!
I die cut the pumpkins and added them to the front of my card with foam tape and added a sentiment that I stamped with Blackout Hybrid Detail Ink to the bottom of the card. That's all! Happy Halloween!
Am I the only one who ALWAYS has a shortage of birthday cards? I can't be! No matter how many I make I always feel like I need more. So I made it my mission to make birthday cards whenever I can with all the amazing products that come across my desk! And guess what's on my desk today? Yummy inks and a gorgeous stencil from InkOn3!
I love the Flora Stencil! This cluster of flowers is so big you can use it as a focal point on a card ... so I did! I lined up the stencil so that it would be in the center of my card and blended on some Atelier Inks. The colors are so happy and vibrant! And the sentiment totally pops off the card!
I made yellow flowers for my first card. They're my favorite kind of flowers! I fully believe that every flower should be yellow haha! I didn't take the time to mask off the Flora Stencil before I started blending - but you could! I'm just way too lazy for that! First I blended Goddess Green Atelier Ink where the leaves are. I was careful not to blend onto the petals of the leaves. You can see the ink got onto the corners of the petals in some areas, but I'm not perfect! I added some Marilyn Red Atelier Ink to the center of the flowers and Bee Sting all over the petals. I got a little heavy handed with my Marilyn Red Atelier Ink, so I just blended it out with the Bee Sting. This turned the center color a pretty orangey/red! I love how you can blend and layer these Atelier Inks!
I created my second card the same way as I did the first. Almost. Instead of a portrait card I decided to do a landscape style. And I switched up my ink colors! For a fun twist I used Peacock Blue for the leaves, Bee Sting for the centers of the flowers, and My Jam Purple for the petals. I was careful not the blend My Jam Purple into the Bee Sting ink - but even in the areas where I overlapped a bit it didn't make a muddy brown color. Yay for Atelier Inks! Once each card was blended I used some Liquid Pixie Dust ( which I keep in a Small Watercolor Brush ) to add amazing shimmer to the flowers and leaves.
The Fox and Bunny Hugs stamp set has a bunch of sentiments. But what's awesome is that they are separate so you can build them to say what you need! I used Juicy Watermark Embossing Ink to stamp "happy birthday" onto black cardstock and heat embossed the sentiment with Arctic White Ultra Fine Embossing Powder. I trimmed the sentiments into strips and added them to the center of the Flora Stencil clusters with foam tape. And there you have it! Two quick, beautifully bright, stenciled birthday cards!
Hey everyone! Kelli here with a preview of the Hollyhock Stamp and Die set that is coming out on June 14th! Can't wait! I also just planted some hollyhocks in our backyard so I hope they start growing soon!
So I used the new Hollyhock Stamp set from the online store and colored them in with Prismacolor Colored Pencils.
The stamped sentiment is also from the Hollyhock set.
To add some dimension to the background, I used texture paste and a stencil. I love doing this because it adds just a little bit more interest and since those flowers are so beautiful, I didn't want to do anything to take away from them!
Just remember, the stamp set comes out on the 14th! Don't forget to stop by!