Showing posts with label Blackout Hybrid Detail Ink. Show all posts

Monday, February 28, 2022

Monochrome Roses Card

 Hi everyone! It's Cheryl with the Inkon 3 creative team here to show you a quick and simple monochrome card! Not only do I love the look of monochromatic cards, but because the color palette is so simple, it's a pretty quick color!


First, I stamped out the Triple Rose Clear Stamp onto white card stock and then fussy cut it out. Then using a paper trimmer, I cut the image in half. 

Next, I cut out a sheet of black card stock down to 4"x5.5" and then die cut the sentiment "THANKS" out of the center. Then I adhered the black card stock onto a 4"x5.5" card base, I also glued the small "triangle" piece of the letter A onto the card base. Adhere one half of the roses on the top of the card, and the other half on the bottom of the card. I added a strip of Washi tape on the bottom for a little extra accent.

Lastly, color the roses with copic markers as listed below, or your choice of coloring medium.

C5, C3, N2, C1, C0


Monday, January 31, 2022

Spring Bucket List Planner Layout

 Hello Crafty Friends! It's Cheryl with the Inkon3 Creative team here to show you how I made this fun Spring bucket list pages in my bullet journal! I find that making these kinds of lists helps you from feeling like you're in a rut, and it definitely helps if the pages are adorable!


First I stamped the images from the Lil Chicks Clear stamp set onto my page as shown in the pictures. Then I stamped the word "Spring", from the Phat Alphanumeric Clear Stamp Set, onto the page. Next, I used a ruler to frame/box the text and the page.

Once all the images are dry, mask off all of the stamped images and frames/boxes. Stencil in a background with your choice of stencils and ink.

Remove the masks, and color in the stamped images with your choice of coloring medium. (Tip: If you'd like to color with alcohol markers, it is best to stamp and color onto sticker pages and then fussy cut the images. Then add to your planner pages!)

Lastly, stamp in or doodle your bucket list items into the white space of the page and color the icons with your choice of coloring mediums. Isn't this bucket list so cute?!


Saturday, November 13, 2021

NEW RELEASE! | Faux Watercolor with Atelier Ink Cubes

There's a new release from InkOn3 and I used one of the new stamp sets and some Atelier Ink Cubes to create an Autumn themed faux watercolored card. 


The new Thankful For You Stamp Set has solid and outline leaves that you can use together or separately. I lined up the solid images on my card using my Misti and inked them up with Marilyn Red, Marigold Orange, and Bee Sting Yellow Atelier Ink Cubes. I spritzed them with a bit of water and stamped them onto my card giving me a faux watercolor look. 


I stamped the outlines with Blackout Hybrid Detail Ink but I offset them to add to the whimsy of the background. I added some flicks of gold watercolor to fill in any empty spaces. 


I used Blackout Hybrid Detail Ink to stamp a sentiment from the Thankful For You Stamp Set, cut it into strips, and lined the bottom with red cardstock and popped up the strips with foam tape to finish the card. Thanks for joining me! 

Tuesday, August 31, 2021

Pretty Lotus Decorative Phone Case

Hi Crafty friends! It's Cheryl with the Inkon3 Creative team here to show a fun way to use your stamps to decorate your phone case! You'll need a clear phone case and a cut file for your phone case (I got mine from Etsy for about $2).


I precut a bunch of the inserts for the phone to have handy since each cut file can cut three inserts per 8.5x11 sheet of paper. Then stencil in a background using the Curls 6x6 Stencil, and Atelier inks in Peacock Blue and Trinity Teal.


Then stamp out the lotus from the Lotus clear stamp set using Blackout Detail Ink. Color with your choice of color medium, then fussy cut.  Adhere the Lotus onto the stenciled insert and trim off any paper that overhangs the phone insert.

Lastly, slip the insert into your clear phone case and enjoy! :)

Products Used:


Saturday, July 24, 2021

Fruity Atelier Ink Blended Cards

My current obsession? Layering stencils! I used a few colors of InkOn3 Atelier Ink Pads and blended up some fruity backgrounds! 


I love the look of layering stencils! Such an easy way to create customized patterned paper! And I used Atelier Inks for effortless blending! 


My first card uses the Watermelon Slices Stencil Set. I blended Sweet Petunia Pink and Goddess Green Atelier Inks and used Blackout Hybrid Detail ink for the seeds. Blending with the Blackout Hybrid Detail Ink always gives such crisp black details! 


Lemons are my favorite thing about summer! They're so bright and happy! I used the Lemon Squeeze Stencil Set with Bee Sting Yellow and Goddess Green Atelier Inks and again used Blackout Hybrid Detail Ink for the detail layer. 


This last card reminds me of fruit salad! I used the Mixed Fruit Stencil Set and blended Sweet Petunia Pink, Bee Sting Yellow, and Goddess Green Atelier Inks and used Blackout Hybrid Detail Ink for the final layer. 


I finished off all three of the cards by cutting down the panels with a Stitched Rectangle Die and adding the Oh Happy Day Word Die cut from Gold Holographic Cardstock. This set of cards makes me so happy and I hope it brightens your day as well! 

Wednesday, June 30, 2021

Here For you Card

 I really love the details in the flower in the Here for You stamp set, it's definitely designed to be used with the Blackout Hybrid Detail Ink! 


On a white card base, mask off about 1/3 of the card, then stencil in a background using the Squiggles Stencil. I used Distress Oxide Inks in Victorian Velvet, Tattered Rose, and Milled Lavender.

Then I stamped out two of the flowers in the Here for You clear stamp set, colored with copic markers, and then fussy cut the image.

Next, I die cut one black and one white rectangles. On the white rectangle, I stamped out the sentiment "You are Never Alone" with Blackout Detail Ink, then on the black rectangle I stamped out "I'm here for You" with Juicy Clear Embossing Ink. Then I sprinkled some Ultra Fine Embossing Powder in Arctic white onto the embossing ink, and heat set.

Assemble the card as shown in the picture above. There you have it! A beautiful card to let your friend know that you're always there for them!

Copic Colors:
Purples: RV99, RV95, RV93, RV91
Greens: G99, G94, G24

Products Used: 

Saturday, June 12, 2021

Wonky Lines and Lilac Dreams

I went bold with the new Wonky Lines Stencil from InkOn3! I did a bit of easy masking and Copic coloring and you can catch it all on YouTube! 


I stamped the large floral cluster from the Lilac Dreams Stamp Set onto the middle of a piece of white cardstock and did some quick Copic coloring. I have white lilacs in my backyard, so I colored the image like them - white with pale purple centers! Once the image was colored I stamped the same image onto masking paper and trimmed it out and placed the mask over the stamped and colored image. 


I placed the new Wonky Lines Stencil over the card and used Blackout Hybrid Detail Ink over the stencil. I went back and forth between purple and black, but I am SO happy I went with black! It's so bold and beautiful! When I peeled off my mask I had a nice white border around my stamped image which makes it pop off the background! 


I wanted to keep the card simple, so I die cut a sentiment from white and black cardstock and offset them and covered them and the lilac with Liquid Pixie Dust for shine. That's it! Thanks for stopping by! 

Wednesday, December 30, 2020

Raccoon Hugs Valentine's Day Card

Hey, there! It's hard to believe that Valentine's Day is in just 6 weeks, isn't it!? Here's a simple card with traditional colors that's perfect for using up scraps of cardstock. And the cute little raccoon from InkOn3 is just the cutest! 


I always keep my scraps of cardstock ( and patterned paper ) to use on future projects - but I never actually get around to those "future projects"! This is one of my go to techniques for using up scraps. I cut four colors of cardstock into strips a quarter of an inch thick, but you could cut to any width you like - the technique works with just about anything! I covered a piece of A2 sized cardstock with my favorite liquid adhesive and adhered the strips in a diagonal pattern. 


Once my background was covered in pretty strips of pink cardstock I used a circle die to cut a hill for my critter to sit on. I cut down a piece of cardstock and then hung a large circle die off the bottom to create a perfectly even hill shape. I added the hill to the bottom of my card using fun foam for dimension. 


I stamped the adorable raccoon and balloon image from the InkOn3 Raccoon Hugs Stamp Set with Blackout Hybrid Detail Ink and colored him in with Copic markers. I used the coordinating Raccoon Hugs Die Set to cut out the image and added him to the hill with foam tape. I used Blackout Hybrid Detail Ink to stamp a sentiment from the Raccoon Hugs Stamp Set below my little critter. 


I wanted to finish the card with some glam so I added Liquid Pixie Dust to the raccoon and balloon as well as Glossy Accents to make the balloon shine. Thanks for joining me! I'll see you soon! 

Monday, November 30, 2020

Pretty Up Your Planner Pages with a Little Birdie and Atelier Inks


Hello Crafty Friends! It's Cheryl with the Inkon 3 creative team here to show you a quick and easy way to pretty up your planner pages! I was getting my 2021 planner ready and while I love my Year-On-One-Page Inserts, I wanted to pretty it up a bit.


First, stamp out some of the images from the Little Birdie Stamp set onto sticker paper and fussy cut the images, color with your choice of coloring medium. 


Next, create a soft teal background on your planner pages using a blender tool and the Trinity Teal Atelier Inks. I saw Fleurette work the ink on the Atelier Ink lid in one of her videos, and that really helps the Atelier Ink blend into the paper a lot smoother and I've done it since! 


Place the colored stamped images onto your planner pages, and if you'd like, you can add some coordinating washi tape on the bottom of the pages. 

Products Used:

Copics Used:
Greens: YG67, YG63, YG61
Browns: E35, E33, E31
Greys: W5, W3, W1
Pinks: R11, R00, R000
Beiges: E53, E51, E50


Saturday, November 14, 2020

Little Birdie Cardinal Card

There's a new stamp set in the InkOn3 shop and it covers all of your bases! There are flowers, twigs, lots of sentiments, and of course a little birdie! 


I saw the Little Birdie Stamp Set and immediately wanted to create a Christmas cardinal card! I wanted a simple background, so I grabbed the Leafy Forest Stencil and Goddess Green Atelier Ink. As I blended the ink over the stencil I realized that my background was looking too "spring." The Goddess Green Atelier Ink is a gorgeous green color, but a little too bright for my Christmas background. I added a little bit of Twiggy Brown Atelier Ink over the Goddess Green Atelier Ink and the result was a pretty olive green colored background. Perfect! 


I used Blackout Hybrid Detail Ink to stamp the bird, branch, and berries from the Little Birdie Stamp Set and colored them with Copic Markers. I used scissors to trim them out and added them to the card with a mix of liquid adhesive and foam tape. I keep my Liquid Pixie Dust in a Small Fine Tip Water Brush Pen and added shimmer to all of the red areas of my coloring. 


I used Blackout Hybrid Detail Ink to stamp a sentiment from the Little Birdie Stamp Set at the bottom of my card - and that's it! I hope you check out the Little Birdie Stamp Set - it's in the shop NOW

Saturday, October 10, 2020

Knockout Nibbles Encouragement Card

 I needed a quick, easy, and cute encouragement card for a friend who needs a "pick me up," so I reached for the InkOn3 Knockout Nibbles Stamp Set


Since this card has to get mailed across the country I thought it would be best to stretch myself and create a one layer card. It was hard, but I did it! Haha! I stamped the little critter and sentiments from the Knockout Nibbles Stamp Set onto a piece of white cardstock using Blackout Hybrid Detail Ink - my FAVORITE ink for Copic coloring! I used just a few colors of Copic markers to color in the little critter. 


Just because this is a one layer card doesn't mean it has to be boring! I grabbed a couple of coordinating Copic colors - yellow and blue - and just started dotting around my image. I did a big dot and then a bunch of little dots, another big dot and a bunch more little dots, and repeated with both colors until I had the look I wanted. 


It's not a card from me if it doesn't shimmer! I keep a bit of Liquid Pixie Dust in a Small Fine Tip Water Brush and painted on some magical shimmer onto the critter to finish the card! I hope you're inspired! 

Tuesday, September 15, 2020

Black and White with a Pop of Color

One of my favorite colors combos is black and white ... with a pop of color! Any color will do - but why not go with a happy pink!?  


This background is so easy to make! And I used my most used crisp black ink - Blackout Hybrid Detail Ink! I took two strips of masking tape and spaced them about a quarter of an inch apart. I find that a grid mat makes life easy! I positioned my tape, used a blending brush (specially designated for Blackout Ink) and blended on some Blackout Hybrid Detail Ink, wiped off my tape with an Ink Off Cleaning Cloth, and moved the tape pieces up a half an inch. This leaves me with quarter inch black and white stripes! This takes a bit of time, but seriously look at that background! 


I stamped the flowers, bud, and leaves from the Big Bold Magnolias Stamp Set onto cardstock with Blackout Hybrid Detail Ink and colored them with Copic Markers. I kept the coloring simple and used just a few pink, green, and yellow markers. I cut each of them out with the coordinating Big Bold Magnolias Dies and arranged them onto my black and white striped background. This took a bit of fussing, but I have a handy trick that I share in my video that makes things easier for me! 


I stamped a sentiment from the Dogwood Flower Stamp Set onto a strip of white cardstock and added all of my elements to the card with foam tape. That's it! So easy, but so classy! 

Friday, September 4, 2020

Fall Cards with Summer Loving Erica


Hi guys! 

After a little bit of a hiatus, it's Erica back on the Ink On 3 blog with a couple of cards with new-to-me goodies that finally arrived after floating around the mail system for almost four months! 


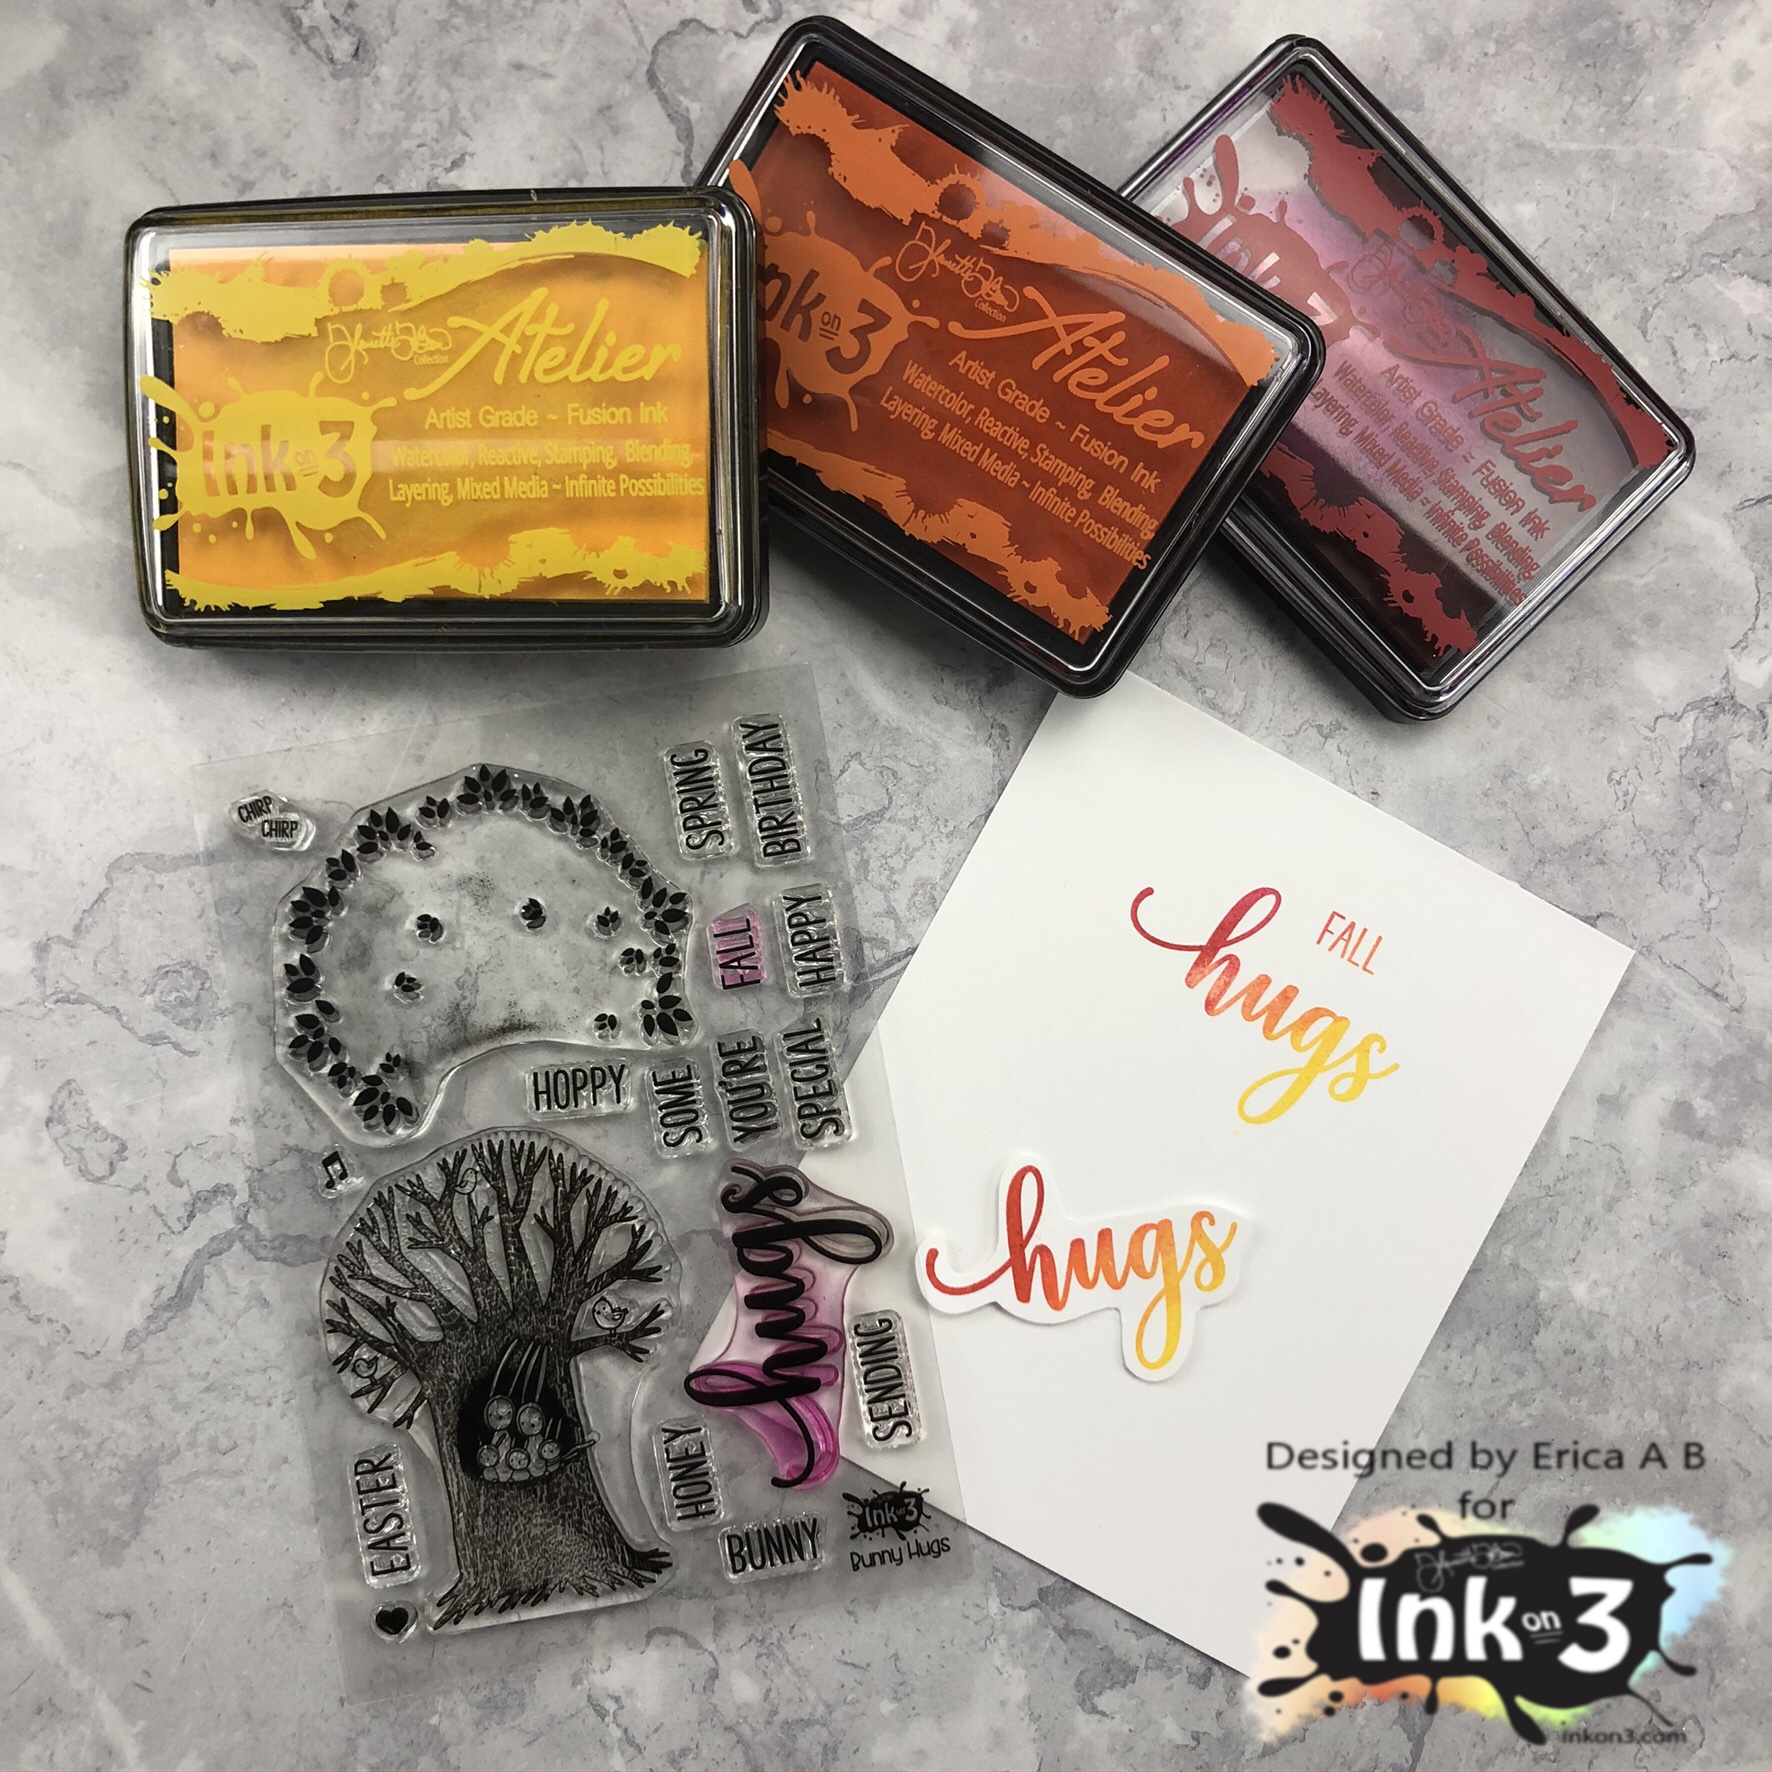
The Fox & Bunny Hugs set and the Leafy Forest stencil are lovely and I got to work right away! Ooooh, what fun I had ink blending, smooshing and glitter pasting! I made so many backgrounds and below are a selection of them. The Atelier Inks created some fabulous colours. I used Bee Sting Yellow, Marigold Orange, Marilyn Red and Goddess Green


From the Fox & Bunny Hugs set I stamped up the bigger image with Blackout Detail Ink on Copic friendly paper, then coloured it in with a selection of markers. This I then fussycut with some scissors and I ran a dark Copic around the edges where I wasn't able to get a super clean cut with the scissors. 


I wasn't super happy with the way I did the bunny so I did the whole thing again. I went with Warm Greys for the first one. For the second bunny I used Cool Greys, and went a little bit lighter handed. I'm not sure which one I prefer... 


For sentiments I used the same ones for both cards, the hugs from the Bunny Hugs set. One I did straight onto a white card base, with Bee Sting Yellow, Marigold Orange and Marilyn Red in an ombre way. Another I did in the same colours and then cut around it.  


On the second card I used the same stamp set, only on one of the ink smooshed background. I switched up the ink colour to Twiggy Brown too. I also used a stitched rectangular diecut on that background piece. 


To finish off the clean and simple card I only added a few little heart embellishments from Trinity Stamps. I wanted the Fox & Bunny images to be the stars of the shows. 


That's it from me for today, I hope you like these cards and found some inspiration here with me. Lots of love from Erica. 


Thursday, August 27, 2020

Floral and Plaid Card


Hello everyone! It's Cheryl with the Inkon3 Creative Team here to show you a fun and quick card that mixes beautiful magnolia flowers with a masculine patterned paper!


First you'll need the following pieces prepped, feel free to adjust the colors and patterns to whatever you'd like or have available:
- A2 Card Base
- 5.5"x 4.25" Blue paper 
- Black die-cut rectangle (I chose a scalloped rectangle die)
- Buffalo Plaid Patterned paper cut down to fit into black rectangle
- Black paper cut down to 2" high and whatever width is needed to fit into the rectangle
- 2"x 0.5" small black rectangle for sentiment 
- White card stock that's 1.5" high and whatever width is needed to fit into the rectangle


On the white card stock, randomly stamp images from the Big Bold Magnolia stamp set using the Blackout Hybrid Detail Ink. Color with coloring medium of choice. 

Then on the small 2"x 0.5 " black rectangle, stamp the sentiment "Have a Happy Birthday" from the BeYoutiful clear stamp set, using Juicy Clear Embossing & Watermark Ink, then sprinkle some Arctic White Ultra Fine embossing Powder and heat set!


Assemble the layers and components of the cards as shown in the picture above and that's it! This is a super fun and quick card!

Products Used:
Copics Used:
Greys: C3, C1, C0
Greens: G19, G14, G05
Blues: BG00, BG000, BG000
Yellows: Y19, Y15, Y11


Thursday, August 13, 2020

InkOn3 x ThermOWeb Collab | Custom Colored Glitz Glitter Gel with Atelier Reinkers

GET EXCITED! It's Day 3 of InkOn3 and ThermOWeb's week long collaboration


Make sure you visit us daily for new inspiration! We will have one project for our blog and one project over on the ThermOWeb blog for double the inspiration. Today, Rebecca will be sharing a project over there so be sure to check it out reading about this project. 

As a reminder, at the end of the week, we'll be giving away a $30 gift certificate for Ink on 3 and ThermOWeb will be giving away a $30 gift certificate for their store as well! Be sure to stop by and leave a comment for a chance to win!  Ink on 3 will be announcing our winner on the blog on August 21, 2020. 

Here is Lynnea's project for today! 

------- 

I just adore both of these companies and I'm so excited to mix together their products to create a card. I used some Atelier Ink Reinkers from InkOn3 and Glitz Glitter Gel from ThermOWeb and made a custom color of Glitz for my stenciled background!


There is a whole wide array of colors of Glitz Glitter Gel in the ThermOWeb site, but some of my favorites are the White and Iridescent Glitz Glitter Gel because I can make them into any color I like! You can use liquid watercolors, ink from an ink pad, ... but I decided to go with the highly pigmented Atelier Ink Reinkers! I used Marilyn Red, Marigold Orange, and a bit of Bee Sting Yellow Reinkers and mixed them with some White Glitz Glitter Gel. I wanted to create a coral color - but it ended up more orangey than pink. That's okay! Be sure to watch the video above - I still created a completely custom color! I'll show you a comparison between my custom color and the existing "orange" colors of Glitz Glitter Gel.


I sprayed the back of the Wavy Stencil from InkOn3 with Pixie Spray and used a Stencil Pal from ThermOWeb and spread my custom mixed Glitz Glitter Gel over the Wavy Stencil. I'm in love with this pretty orangey glittery goodness!


My images for this card are the GORGEOUS florals from the BeYOUtiful Stamp Set from InkOn3. I stamped them with my favorite black ink - Blackout Hybrid Detail Ink - and colored them with Copic Markers. I thought the yellow flower would really compliment the orange background! I trimmed them out and added them to the card with iCraft 3D Foam Squares. The background glitters so much that I thought the flowers needed some glitter, too! I keep some Liquid Pixie Dust in a Small Watercolor Brush so all I have to do is shake it up and brush it over the images and BOOM! They're sparkly, and glitter, and amazing!


I hope you've enjoyed this fun collaboration tutorial and that you'll use your Atelier Ink Reinkers to color your own custom color of Glitz Glitter Gel!

-----------

Be sure to stop by the ThermOWeb blog today and check out the project from Rebecca! She also has a video for you.


https://youtu.be/50--jVpLT6k


If you missed this week of inspiration, just check out the older posts on the blog!