Showing posts with label Cardmaking. Show all posts

Tuesday, January 26, 2021

Thinking Of You, BeYOUtiful!

  Hi and Happy 2021! 

It’s Erica back on the Ink On 3 blog, for the first time in 2021. It’s been a bit of a rough start to the year to be honest, so I decided to make a ‘thinking of you’ card, as I figured I am not the only one who’s feeling like 2021 is saying ‘hold my beer’.

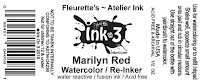
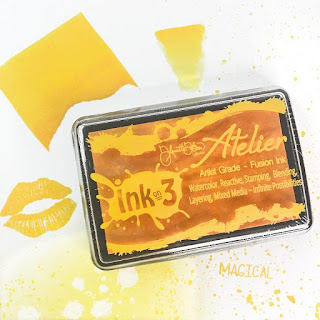
First off I did some ink blending with the goooooorgeou Atelier inks in Bee Sting Yellow, Marigold Orange, Sweet Petunia Pink and Marilyn Red using Life Changing Blender Brushes on Bristol Smooth paper. This combo has become quite a fave of mine for a variety of reasons, the main one being that it’s absolutely beautiful. I love it! 


These panels are actually one big piece that I cut up after ink blending over the whole thing. I love ink blending, and it’s always good to have some background panels done for when you need to make a card quickly! 
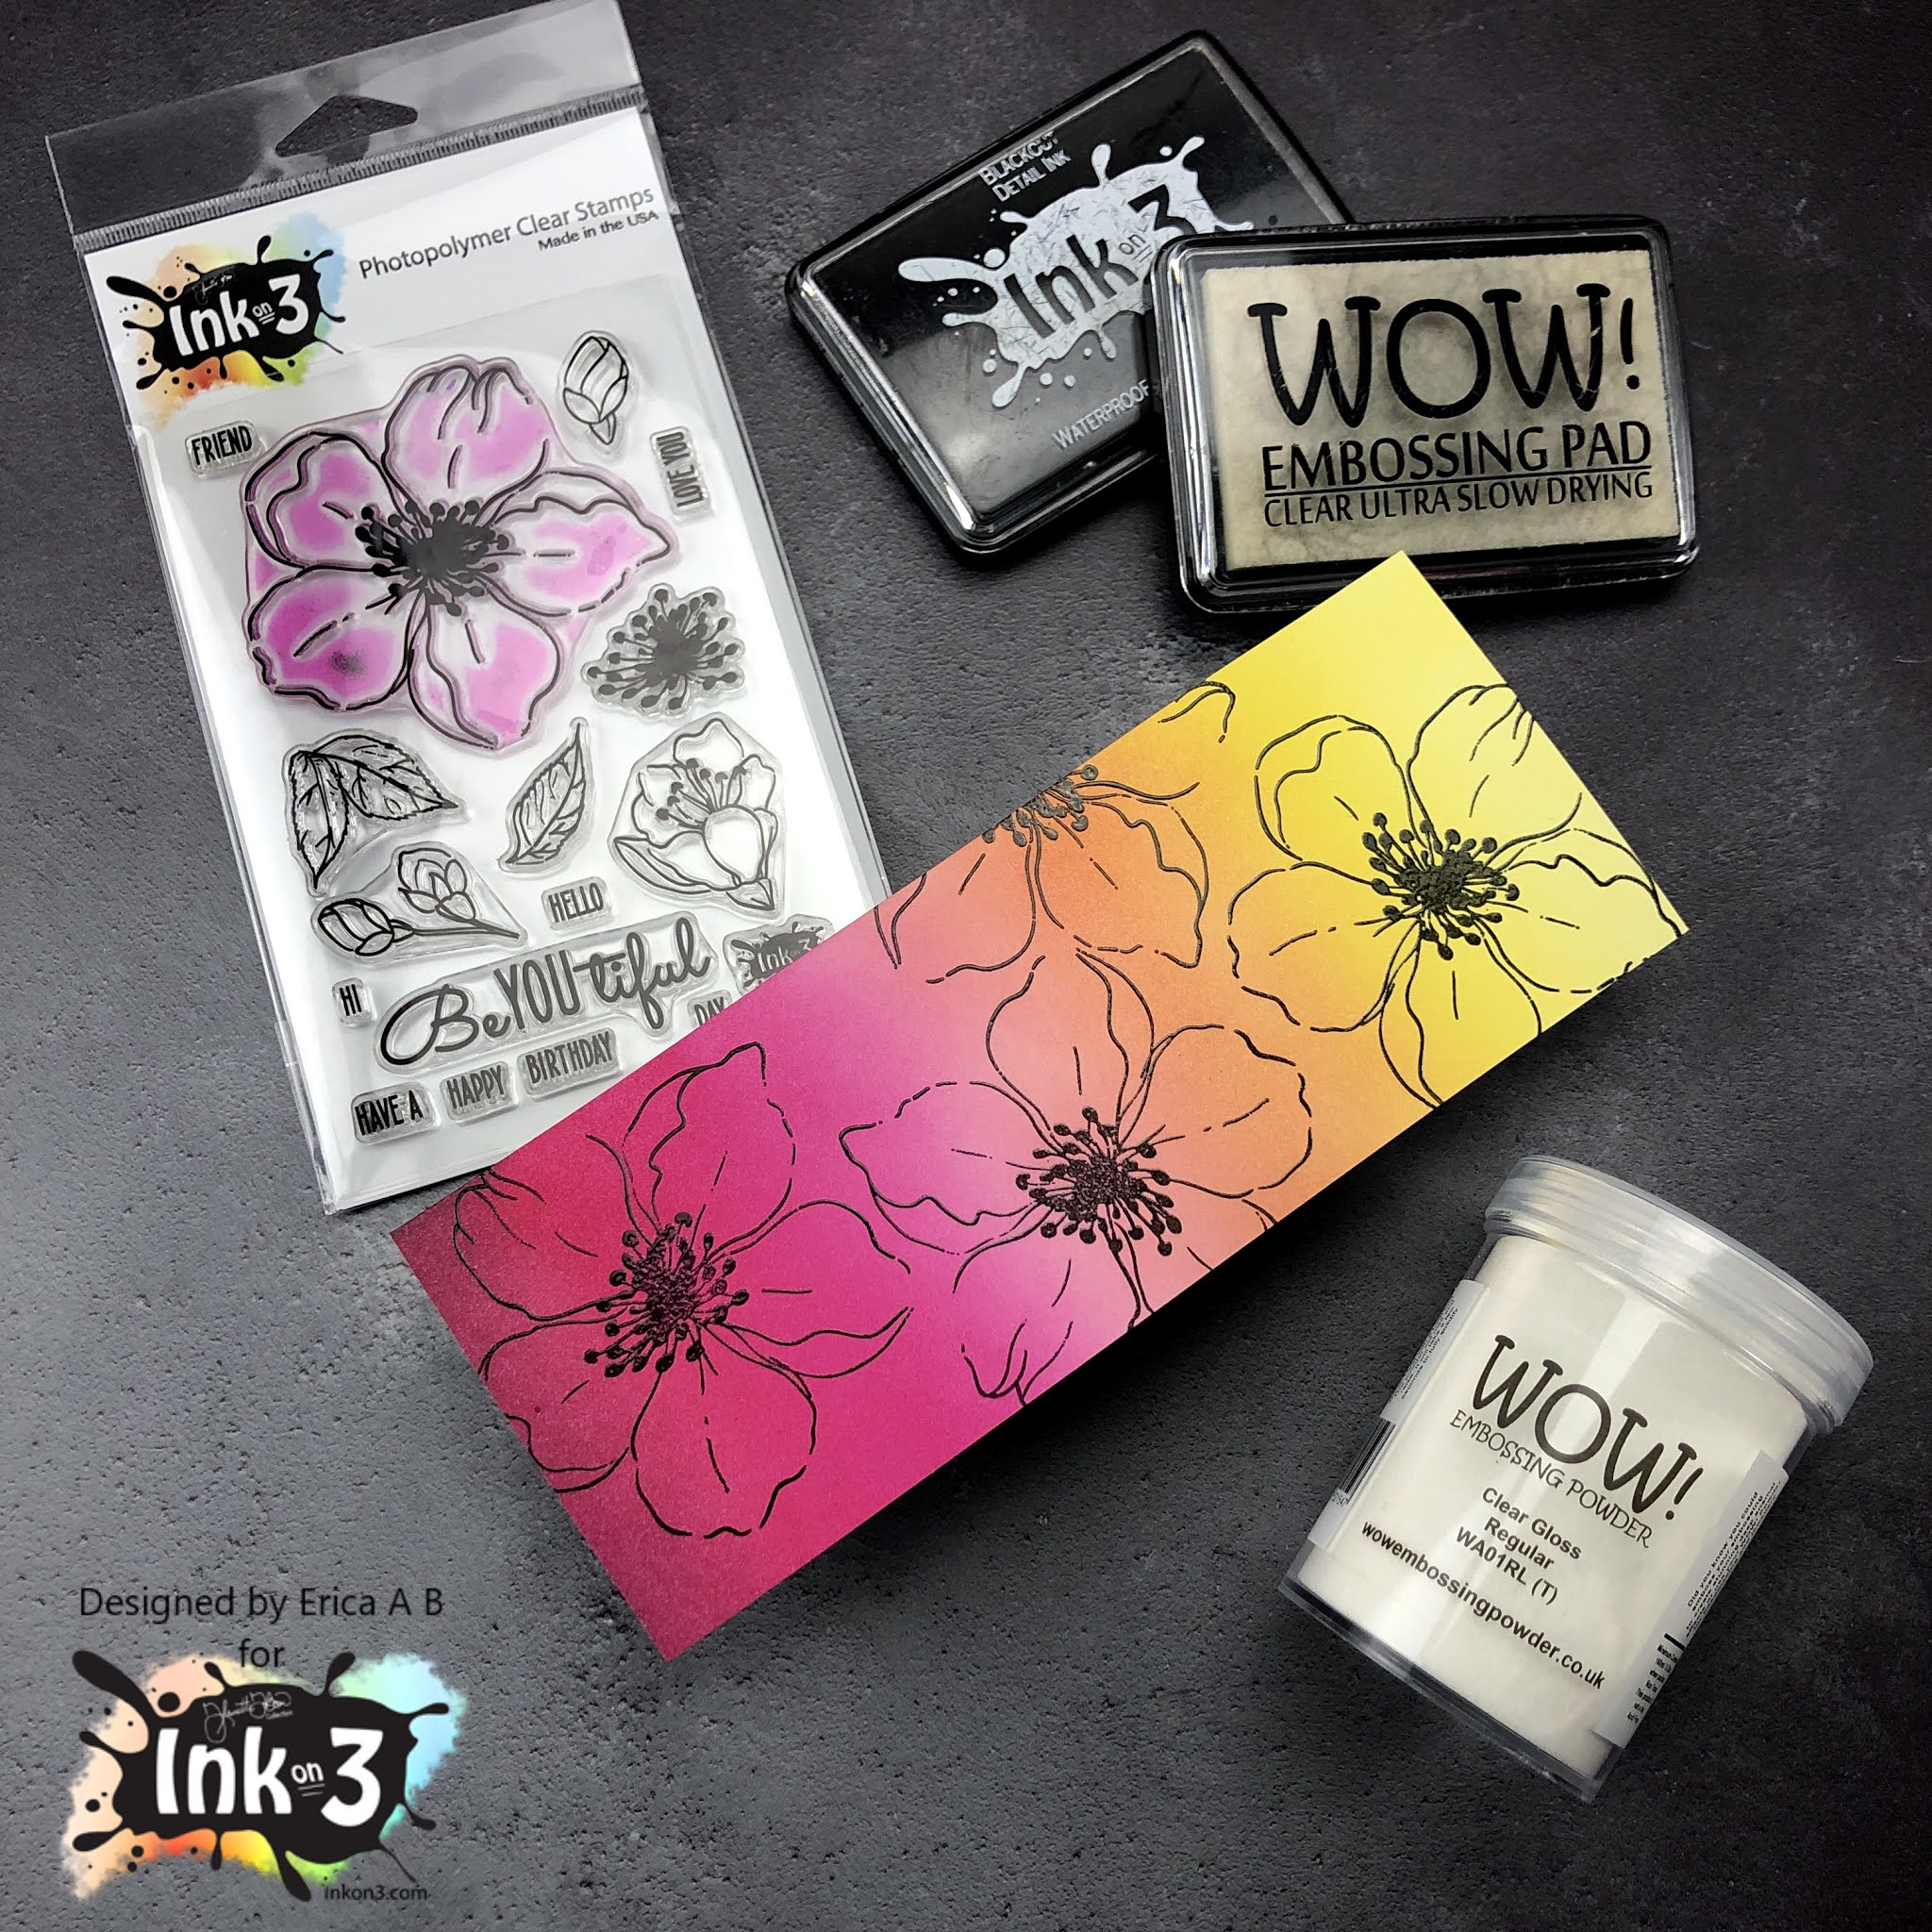

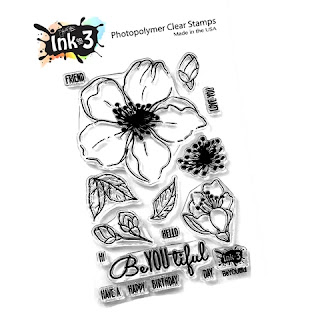
On the slightly smaller panel, I stamped up the big flower from the BeYOUtiful set with Blackout Detail ink and then Embossing ink. On top of these I sprinkled Clear Gloss embossing powder and set that with the heat gun. I did use a MISTI for the stamping to make sure the flower images were really solid. 

This panel I then layered up with the other one, but in different colour order. The reason I did this was to create some contrast and interest. 


To finish off this card I ended up using a diecut from Hero Arts that says Thinking Of You. I cut it out of white card stock three times, and then a fourth time in black card stock, and I layered these up to give the card some dimension. On top of this I heat embossed it with clear gloss embossing powder to give it a puffy sticker look. 


This word die I then glued down on the card with liquid glue and with that, the card was done. I contemplated adding some black gem stones or sequins, but if you can believe it, I decided against it. *GASP* I know.. 


That’s it from me for today! I hope you were inspired by this post, and will try this design for yourself. 


Lot of love and happy crafting from Erica


Thursday, August 6, 2020

My Favorite Copic Combos with the Magical Dragons Stamp Set

Hi there! Today I'm sharing a bunch of my favorite Copic color combinations and coloring up a bunch of gems and dragons from the InkOn3 Magical Dragons Stamp Set!


This card is so easy to create. I used my favorite black inks - Blackout Detail Hybrid Ink. This ink is PERFECT for all kinds of coloring mediums from alcohol inks, and pencils, to watercolors!


Let's start with this fun background! I mounted all three gems from the Magical Dragons Stamp Set onto an acrylic block and used my Blackout Hybrid Detail Ink to stamp them all over a piece of Neenah cardstock. When stamping a bunch of small images I find it easier to use an acrylic block rather than a stamping platform. I can quickly rotate my acrylic block without cleaning my stamps in between inking until my background is full. Speaking of cleaning my stamps! - I like to use the Ink Off Stamp Cleaning Pad and an Ink Off Cloth to remove ink and clean my stamps. Hybrid Inks naturally stick to photopolymer stamps and stain them, but the Ink Off Stamp Cleaner magically cleans the ink away!


I also stamped out a couple of the dragons from the Magical Dragons Stamp Set and die cut them with the coordinating Magical Dragons Die Set. Then I set to coloring! I chose to use Copic Markers, but because I stamped with the Blackout Detail Ink I could have chosen essentially any coloring medium my little heart desired! I used a whole rainbow of colors for my background of gems. These are some of my favorite Copic color combos! I color simply and usually only use two markers per color. You can see all of them in the video, but I thought I would list them here for you as well!

Pink - R83, R85
Red - R27, R29
Orange - YR04, YR07
Yellow - Y15, Y17
Mint - G00, G02
Green - YG25, YG17
Blue - B01, B02
Purple - BV02, BV04
Shadow - BG10


I started to assemble my card and realized my little dragons were blending in to the background. I die cut a stitched shape and popped them onto it with foam tape. I added a stamped sentiment from the Magical Dragons Stamp Set below the dragons with Blackout Hybrid Detail Ink and added the shape to my card with more foam tape.


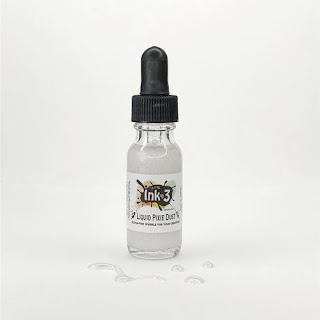
All that's left to do is add some magic with Liquid Pixie Dust! I keep a small amount in a Small Watercolor Brush so that I can easily shake it up and brush it onto my colored images. That's all! I hope you find this video useful!

Wednesday, August 5, 2020

Hello BeYOUtiful Friendship Card


Hello, my BeYOUtiful Friends! Ilda here👋

Today I am back with a card that took me no time to make mainly because the background was super quick and easy to create and I am loving the results. It would be a great card to send a friend for a birthday or any other special occasion.

CARD DETAILS

I began by stamping out the large magnolia image from the new BEYOUTIFUL stamp set using JUICY INK onto a piece of Bristol paper. I then used GOLD RUSH EMB. PWD. to heat set the lines in.


I then used the ATELIER PAINT IT BLACK ink to paint in the flowers using a SMALL TIP WATER BRUSH PEN. I just dipped the tip of the brush onto the ink pad and began coloring where I thought a shadow would be, gradually pulling and blending the ink out. It is hard to see in the photos but this ink has some pink and green undertones that show up so beautifully on the card in real life. I could have added more layers of paint to give the petals more dimension but I was happy with the one layer which made this so much easier too.


Once the ink was dry I die cut the panel with a pierced frame and glued it onto the card base. Next, I die cut a pierced heart from vellum and then stamped and embossed the BeYOUtiful sentiment on to it. I then figured out where I was going to place the heart and stamped the "HELLO" right over where the center of the sentiment would be and then glued the heart in place and cut off the edge that hung over the card.


To finish off the card, I added some crystals and sequins for sparkle.

I hope you were inspired by this elegant friendship card. Thank you so much for stopping by and until next time... Happy Crafting!

Connect with me also on my Blog, Facebook Page, Instagram, and YouTube

SUPPLIES
BEYOUTIFUL
BEYOUTIFUL 
Shop at:
IO3
JUICY INK
JUICY INK
Shop at:
IO3
GOLD RUSH EMB. PWD.
GOLD RUSH EMB. PWD.
Shop at:
IO3
Atelier Paint It Black
Shop at:
IO3
SMALL TIP WATER BRUSH PEN
Shop at:
IO3
BLACKOUT INK
BLACKOUT INK
Shop at:
IO3
BRISTOL PAPER
BRISTOL PAPER
Shop at:
SSS | AMZ
DARLING RIBBON & FRAMES
Shop at:
SSS | SK
PIERCED XOXO HEART DIES
Shop at:
SSS | SBC | HBS
GEMINI JR. DIE CUTTER
Shop at:
SSS | AMZ | SBC
ORIGINAL MISTI
ORIGINAL MISTI 
Shop at:
SSS | AMZ | SBC | HBS
Vellum Value Pack
Vellum Value Pack 
Shop at:
SSS | AMZ
WEDDING BELL MIX
WEDDING BELL MIX
Shop at:
SSS | SK
EMBELLISHMENT WAND
EMBELLISHMENT WAND
Shop at:
SSS | SK
TRIANGLE TRAY
TRIANGLE TRAY
Shop at:
SSS | SK
STUDIO KATIA GLUE
STUDIO KATIA GLUE
Shop at:
SSS | SK

Tuesday, June 9, 2020

Faux Watercolored Backgrounds with the Mirror Image Stamp

Hi! You guys know I'm all about easy cards that pack a punch, right?! Today I'm going to show you a super quick way to add a faux watercolor background to your cards using the Mirror Image Stamp from InkOn3!


I really like to show products being used in different ways. The Mirror Image Stamp is intended to be used for ... well ... mirror image stamping! Haha! I decided to take the stamp and twist it and use it to create a full background. I used Atelier Inks because I love how vibrant they are and how they move with water. I used a stamp positioner for this technique and I highly recommend one. It made it a lot easier!

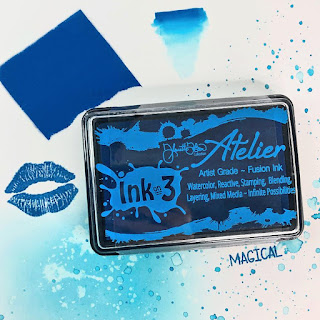
I positioned the Mirror Image Stamp so that it would stamp in the center of a piece of A2 sized watercolor cardstock and used all of the rainbow colors of Atelier Inks for my four backgrounds! I used Marilyn Red, Marigold Orange, Bee Sting Yellow, Goddess Green, Peacock Blue, and My Jam Purple. I just inked up the Mirror Image Stamp with three different colors of Atelier Ink and sprayed it with water and stamped it onto my watercolor cardstock for the faux watercolor look! I love it!


I dried each panel with a heat tool and added some bold white heat embossed images to the front. I love the big floral image in the new BeYOUtiful stamp set! It's big and bold and perfect for being the center piece on a card! I lined up the flower, some leaves, and the sentiment from the BeYOUtiful Stamp Set and stamped them with Juicy Watermark Ink and heat embossed them with Arctic White Fine Detail Embossing Powder. Rinse and repeat for the rest of the set!


You definitely want to check out my process video above! This technique is so easy! I finished off the cards by adding a quick coating of Liquid Pixie Dust to the flowers and that's it! Clean and simple and quick and easy faux watercolored backgrounds with the Mirror Image Stamp and Atelier Inks. I hope you love them!

Friday, February 7, 2020

Hey Gorgeous, Colorful Birthday Card by Ilda | Coloring with Atelier Inks


Hey Gorgeous, Colorful Birthday Card by Ilda | Coloring with Atelier Inks

Hello, my friends. Ilda here! 

I am back again today with a colorful Gorgeous Birthday Card featuring the new HEY GORGEOUS stamp set recently released from Ink On 3. I love the size of this large stamp image! Plus, it comes with a bunch of little flower accessories and great sentiments to create some great girlfriend cards.

If you know me I love all things rainbow, so of course rather then just painting one plain old hair color I had to use all of them, lol!

CARD DETAILS

For this card, I began by stamping out the image from the HEY GORGEOUS set using BLACKOUT INK onto Bristol paper.

Hey Gorgeous, Colorful Birthday Card by Ilda | Coloring with Atelier Inks

I then began by water coloring her skin using a small tip water brush pen. To create the skin color I used a blend of Atelier Twiggy BrownBee Sting YellowMarilyn Red, and Marigold Orange.  To her cheeks, I added a touch of Marilyn Red color.

Next, I colored her hair in rainbow order starting with Atelier Marilyn RedMarigold OrangeBee Sting YellowGoddess GreenPeacock Blue, and My Jam Purple.

For her hat, I watercolored it using Atelier Twiggy Brown, I love the shade you get with the brown as it resulted in a leathery kinda look.

To finish off her lips I used the ink from the Re-inker Marilyn Red because I wanted a deeper shade of red on her lips.

Hey Gorgeous, Colorful Birthday Card by Ilda | Coloring with Atelier Inks

Once the image was dry, I stamped out the black florals on the hat using JUICY INK and heat set it using the BLACK AS NIGHT EP. For the Gold Flower, I used GOLD RUSH EP and fussy cut it out to add to the hat.

I then finished off the card by stamping out the sentiments from the HEY GORGEOUS set and then used LIQUID PIXIE DUST to add sparkle to her lips and hair. If you are on Instagram watch my feed as I will try posting a clip of the sparkle this card has as pictures can never do it justice.

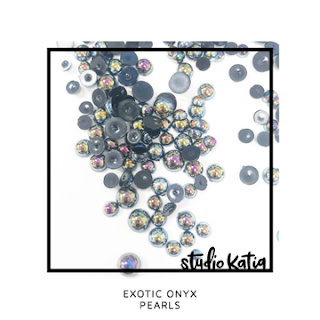
For more finishing touches, I added a pearl to the flower and glossy accents to her lips for additional shine!

I hope you found this Hey Gorgeous Colorful Birthday Card inspiring. Have a colorful day!

Thank you for stopping by 😊
Until next time... Happy Crafting 👋


SUPPLIES


HEY GORGEOUS
HEY GORGEOUS
Shop at:
IO3
BLACKOUT INK
BLACKOUT INK
Shop at:
 IO3
SMALL TIP WATER BRUSH PEN
Shop at:
 IO3
Re-inker Marilyn Red
Re-inker 
Marilyn Red
Shop at:
IO3
Atelier Marilyn Red
Atelier Marilyn Red
Shop at:
 IO3
Atelier Marigold Orange
Shop at:
 IO3
Atelier Bee Sting Yellow
Shop at:
 IO3
Atelier Goddess Green
Shop at:
 IO3
Atelier Peacock Blue
Shop at:
 IO3
Atelier My Jam Purple
Shop at:
IO3
Atelier Twiggy Brown
Shop at:
 IO3
JUICY INK
JUICY INK
Shop at:
 IO3
Gold Rush Embossing Powder
Shop at:
 IO3
Black As Night Embossing Powder
Black As Night EP
Shop at:
IO3
LIQUID PIXIE DUST
LIQUID PIXIE DUST
Shop at:
 IO3
Strathmore Bristol Pad
Shop at:
SSS | AMZ
MINI MISTI
MINI MISTI
Shop at:
SSS | AMZ | SBC | SK | HBS
EMBELLISHMENT WAND
Embellishment WAND
Shop at:
SSS | SK
EXOTIC ONYX PEARLS
EXOTIC ONYX 
PEARLS
Shop at:
SSS | SK
STUDIO KATIA GLUE
STUDIO KATIA GLUE
Shop at:
SSS | SK