Showing posts with label Diecutting. Show all posts

Wednesday, August 5, 2020

Hello BeYOUtiful Friendship Card


Hello, my BeYOUtiful Friends! Ilda here๐Ÿ‘‹

Today I am back with a card that took me no time to make mainly because the background was super quick and easy to create and I am loving the results. It would be a great card to send a friend for a birthday or any other special occasion.

CARD DETAILS

I began by stamping out the large magnolia image from the new BEYOUTIFUL stamp set using JUICY INK onto a piece of Bristol paper. I then used GOLD RUSH EMB. PWD. to heat set the lines in.


I then used the ATELIER PAINT IT BLACK ink to paint in the flowers using a SMALL TIP WATER BRUSH PEN. I just dipped the tip of the brush onto the ink pad and began coloring where I thought a shadow would be, gradually pulling and blending the ink out. It is hard to see in the photos but this ink has some pink and green undertones that show up so beautifully on the card in real life. I could have added more layers of paint to give the petals more dimension but I was happy with the one layer which made this so much easier too.


Once the ink was dry I die cut the panel with a pierced frame and glued it onto the card base. Next, I die cut a pierced heart from vellum and then stamped and embossed the BeYOUtiful sentiment on to it. I then figured out where I was going to place the heart and stamped the "HELLO" right over where the center of the sentiment would be and then glued the heart in place and cut off the edge that hung over the card.


To finish off the card, I added some crystals and sequins for sparkle.

I hope you were inspired by this elegant friendship card. Thank you so much for stopping by and until next time... Happy Crafting!

Connect with me also on my Blog, Facebook Page, Instagram, and YouTube

SUPPLIES
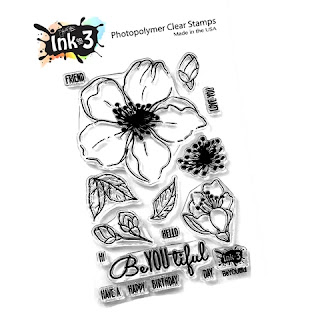
BEYOUTIFUL
BEYOUTIFUL 
Shop at:
IO3
JUICY INK
JUICY INK
Shop at:
IO3
GOLD RUSH EMB. PWD.
GOLD RUSH EMB. PWD.
Shop at:
IO3
Atelier Paint It Black
Shop at:
IO3
SMALL TIP WATER BRUSH PEN
Shop at:
IO3
BLACKOUT INK
BLACKOUT INK
Shop at:
IO3
BRISTOL PAPER
BRISTOL PAPER
Shop at:
SSS | AMZ
DARLING RIBBON & FRAMES
Shop at:
SSS | SK
PIERCED XOXO HEART DIES
Shop at:
SSS | SBC | HBS
GEMINI JR. DIE CUTTER
Shop at:
SSS | AMZ | SBC
ORIGINAL MISTI
ORIGINAL MISTI 
Shop at:
SSS | AMZ | SBC | HBS
Vellum Value Pack
Vellum Value Pack 
Shop at:
SSS | AMZ
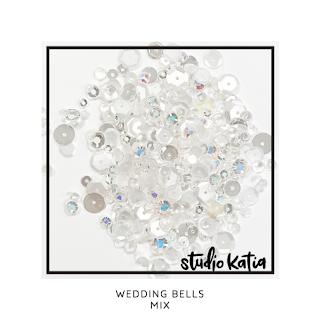
WEDDING BELL MIX
WEDDING BELL MIX
Shop at:
SSS | SK
EMBELLISHMENT WAND
EMBELLISHMENT WAND
Shop at:
SSS | SK
TRIANGLE TRAY
TRIANGLE TRAY
Shop at:
SSS | SK
STUDIO KATIA GLUE
STUDIO KATIA GLUE
Shop at:
SSS | SK

Thursday, July 19, 2018

You're A Gem Friendship Cards - Same Stamps Different Looks

Hey All!

Ilda here๐Ÿ‘‹, back again today to share with you a couple of cards I made using the same stamps to get different looks!

The stamps I'm using today comes from an older Ink On 3 set, Magic Dragons.
This set is super cute with lots of fun images, but for today's post I will just be using the gem stones from the set to create some friendship cards.

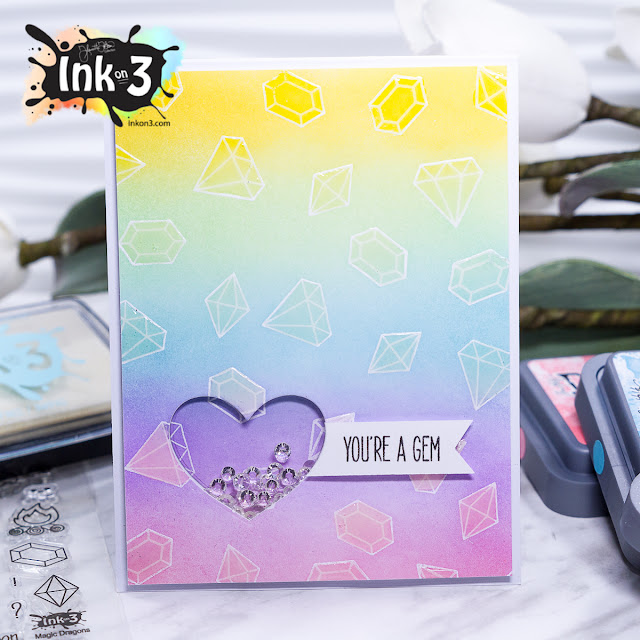
For my first card, I did some ink blending with distress oxide inks to add color to my background panel. I used Bristol paper, stamped the images in with the Juicy Inkpad, then I heat set it with white embossing powder to make the lines pop once colored.

You're A Gem Friendship Cards - Same Stamps Different Looks by ilovedoingallthingscrafty

To create this cute little shaker window, I used a small heart die and added these beautiful little sparkling crystals. Used the heart die to cut the sentiment banner and lined it up next to the shaker window.

You're A Gem Friendship Cards - Same Stamps Different Looks by ilovedoingallthingscrafty

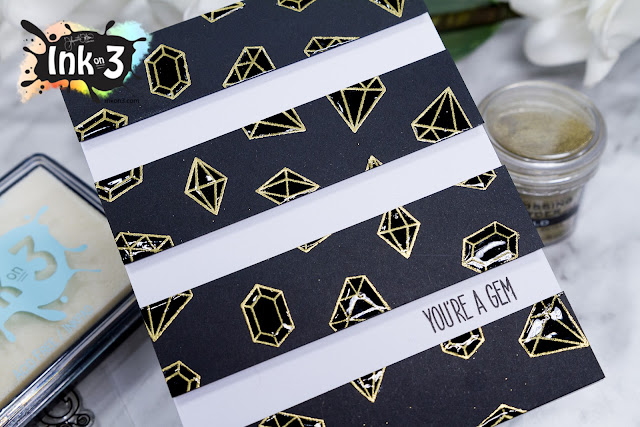
For the next card, once again I stamped the gems using the Juicy Ink only this time onto black cardstock and then used gold embossing powder.

You're A Gem Friendship Cards - Same Stamps Different Looks by ilovedoingallthingscrafty

Then all I did was cut my black cardstock piece into equal sections, then spaced them out onto the card base popping them up with foam tape. Stamped my sentiment with the Blackout Ink and then added glossy accents to each gem.

You're A Gem Friendship Cards - Same Stamps Different Looks by ilovedoingallthingscrafty

These cards were easy to do and relatively quick to make. Hope you were inspired by these Gem Cards ft. the Magic Dragons set. For a complete list of products used click →HERE

Thanks for stopping by!
Happy Crafting  :)

Thursday, July 12, 2018

Hello Fabulous - Dogwood Flower Preview

Hello Friends, Ilda here!

This week Ink on 3 will be releasing another beautiful little floral stamp - the Dogwood Flower Stamp and Die Set. 

For today's card, I began by stamping out the Dogwood flowers on each corner of my card panel with Blackout ink. I then colored them in with Copic markers and die cut the panel using a stitched rectangle die.


Next, I stamped out Fabulous sentiment onto the card front using Blackout ink and Die cut the Hello from black cardstock. To add some shine to the hello I used Juicy ink then covered it with black embossing powder and heat set it. Repeated that a few more times to create a thicker layer.


I then finished off the card by adding some crystals to the card front and adding some glitter to the centers.

Hope you like my Dogwood Flower creation today.
Don't forget to come back tomorrow for the Blog Hop!๐Ÿ˜Š

Thanks for stopping by!
Until next time... Happy Crafting ๐Ÿ‘‹