Thursday, October 18, 2018

Hi everybody! Lydia here to do a little Inktober collaboration between Hedgehog Hollow and Inkon3. I've made no secret of my love for Fadeout Ink for my no-line watercolor. Working with this new stamp set, and the companion stamp set here, I did a quick masking and watercoloring project. I stamped the poinsettia in Fadeout, masked it with this masking paper, stamped the leaves, masked them, and then finally stamped the cross over that. Then I removed all the masks and painted, which you'll see in the video below. I stamped the two separate sentiments (I cut the "a" off "wishing you a" to keep just wishing you) in Nocturne.
Poinsettia 3x4 Clear Stamp Set
[ INK ]
Poinsettia Coordinating Die Cuts
[ INK ]
Blessings 4x6 Clear Stamp Set
[ INK ]
Blessings Coordinating Die Cut
[ INK ]
Holiday Blessings Stamp Bundle Special
[ INK ]
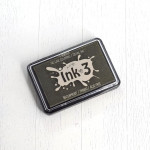
Fadeout No Line coloring Detail Ink
[ INK ]
VersaFine Clair Ink Pad, Nocturne -...
[ ELH | SSS ]
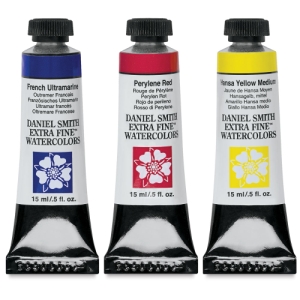
Daniel Smith Extra Fine Watercolors
[ BLIC ]
Escoda Versatil Brushes, Travel Round...
[ UTR | BLIC | INK ]
Da Vinci Cosmotop Sable Mix F Brushes...
[ BLIC | ELH ]
Fabriano Extra White Cold Press...
[ BLIC ]
Avery Self-Adhesive Removable Laser...
[ AMZUS ]
Heavy Base Weight Card Stock- White
[ GNK ]
MISTI Stamping Tool
[ MSW | HA | SSS | ELH | MFT ]
Lawn Fawn STAMP SHAMMY Cleaner LF1045
[ SSS | ELH | CST | ART ]
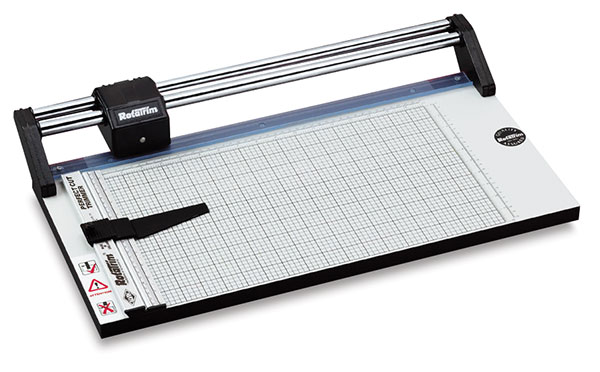
Rotatrim Professional Series Cutter -...
[ BLIC ]
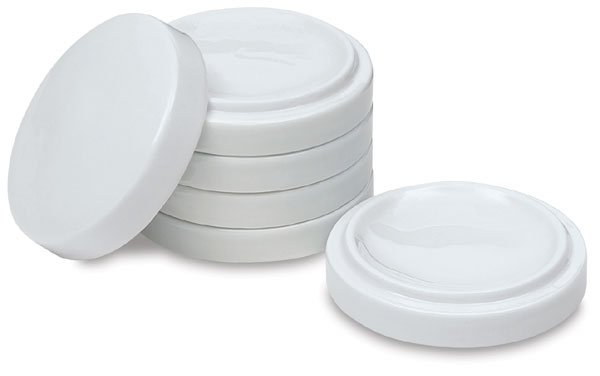
Nesting Porcelain Bowls - BLICK art...
[ BLIC ]
My Favorite Watercolor Sketchbook
[ UTR ]
Tombow MONO MULTI Liquid Glue Two...
[ SSS | MFT | ART | BLIC | ELH ]
Absorber - Synthetic Cleaning Cloth
[ AMZUS ]
Mudder 10 Pack White Buffer Sanding...
[ AMZUS ]
Xyron ADHESIVE ERASER 23675
[ SSS | ART | AMZUS ]
Essentials by Ellen Storage...
[ ELH ]
Teflon Bone Folder - Ellen Hutson LLC
[ ELH | SSS ]
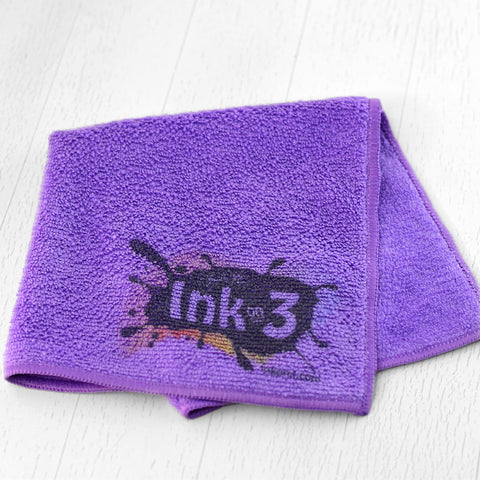
Ink Off Cloth
[ INK ]
Alcohol Marker Pens — Tonic Studios USA
[ TNC ]
So many possibilities. This fun bundle is available too.
Now the good folks at Tonic have a little Inktober sponsor gift for all of us - 20% off all their Tonic alcohol markers if you shop here with code MARKER20 at checkout. So you ready for the video? Here you go! :)

Wednesday, October 17, 2018

Holiday Blessings Ink On 3 Blog Hop


We have some amazing projects to share with you, hope you have fun and are inspired!
Sit back, grab your favorite drink and hop along with us :D

 Plus you could be a Winner!!!  

We will be giving away one $25.00  Ink On 3 Shopping Spree! 

To enter:
Comment on each blog on the hop and be sure to follow each blogger.

Giveaway will close Oct. 24th at noon CST and winners will be posted on the Ink on 3 blog!

Look at all these amazing creatives who made something to share with you!

Now to share this amazing New Release
~ Holiday Blessings ~ 

         
click on images to see them on the website


 The gorgeous, easy to color 
are companion sets! 

The flowers fit perfectly inside of the cross. 
You can create so many uplifting, inspiring cards for so many people. 
Use them together or all by themselves. 
And of course there are coordinating dies!

Plus you can combine them with the:  

perfect for all that holiday cheer! 


For a limited time grab yours in our Bundle Special!


Save on the coordinating dies too!
Just goto http://inkon3.com, put both the Blessings Dies and Poinsettia dies 
in your cart, use coupon code ~ holidayblessingsdies ~ and you will get 20% off those too!
Hurry in and grab yours while they last. 
Sale ends Oct. 28th or until they are gone.

      Here is todays lineup!

    Ilda Dias  

Now onto my project :) 
____________________________________________________________________________

Hi Fleurette here, I had so much fun creating this card!

Be sure to scroll all the way down on the blog to see the blog lineup too <3 


I used the companion stamp sets Blessings & Poinsettias along with the  coordinating dies
and Blackout Copic friendly ink. 
I colored the poinsettias and cross with copic markers. 
Then arranged the flowers on the cross, so fun and I love how they came out!
Next, I ran an A2 size card front through an embossing folder and stamped the
Faith Family & Fun and fussy cut that out. 
Added a strip of red paper, some bling and a little twin and called it done. Easy peasy :)

I will probably be creating many more of these and a Youtube video on how I did it as well. 

Thanks for checking out my card and have a blast seeing all the great projects everyone has created to share with you! <e 


You can grab all these goodies by clicking on the links, images or going straight to http://inkon3.com

Thanks agin and have a blessed day!


Sunday, October 14, 2018

Seahorse Card

This cute card was created using stamp sets from 
Ink On 3.  Here are the sets I used:

The back ground was water colored using ink and water.  The white fishnet is a die cut that I cut several times to make it thick.  I stamped a mirrored image of the seahorse.  There are lots of videos on you tube that shows how to do this.  I added some clear dots to look like bubbles.


Happy Crafting!
~Kristin~

Saturday, October 13, 2018

Sneak Peek for 10/2018 Release...

Hello Crafters!

I'm up on the InkOn3 blog today. Showing a sneak peek of the new release coming the end of the week. Super cute holiday stamp sets and some amazing sentiments, too!

Here's what I did today.


I stamped out the images using Blackout ink. Then I colored them using my Copic markers. I cut them out with my Brother Scan N Cut, since I don't have the dies as of today. Love that machine, lol!

I stamped out the evergreens using some Altenew inks. I then used foam squares to pop up the flowers.
I cut the berry branch apart so I could use just the top berry part. Yep, stamp surgery!


I chose a sentiment and heat embossed it using the Chrome embossing powder and the Juicy embossing ink. I love this one as it is so so so shiny!!!

I filled the centers with some liquid glue and added some chunky, silver glitter I have in my stash. I adore this glitter so much! It really packs a wow.

I brushed over all the images using my Nuvo Shimmer brush pen. It adds so much shine but very difficult to capture in pics.

I chose a die from my stash and cut it with my Gemini Jr. I backed it with a lovely patterned paper from Lawn Fawn. Then I used some red fun foam and popped that onto a red card base.

How amazing is that Chrome embossing powder! My favorite, for sure.

I finished it off by adding some silver gems and couple of green ones.

And that's it! 
Here's your shopping list.

Studio Katia ~ Gems
Altenew ~ Inks

And there you have it. I hope you get a bit of inspiration from my posts. I not one of the fancy crafters, but I do think my cards look nice, lol. I'm not a real fussy crafter...I tend to keep things easy, but neat and well balanced. 

Pull out your supplies, fined some crafting time...and have some fun!


Friday, October 12, 2018

Poinsettia Blessings Wreath Card |SNEAK Preview for Ink On 3's Holiday Blessings Release

Hey Everyone, Ilda here 👋

Today I am sharing a quick sneak preview of a no line coloring Christmas card I made for Ink On 3's next Release, Holiday Blessings featuring the new Poinsettia and Blessings stamp set.

How gorgeous is this wreath I created!?! If you love creating floral clusters, the Poinsettia wreath builder is going be for you. I am in love with it!!! Isn't it SO pretty? 😍 
  
Poinsettia Blessings Wreath CarPoinsettia Blessings Wreath Card |SNEAK Preview for Ink On 3's Holiday Blessings Release by ilovedoingallthingscrafty.comd |SNEAK Preview for Ink On 3's Holiday Blessings Release

Stay tuned Ink On 3's Social Media all week to see all the inspiration from the Design Team. You are going to love the Holiday Blessings release!

Products from this Release will be available October 17th with a Hop to follow.

Thank you for stopping by 😊
Until next time... Happy Crafting 👋


Sunday, October 7, 2018

Ink On 3 Merry Christmas

Welcome to the blog today. I have a Christmas card to share using a past stamp release. 
Hope you like it!


I picked out the Merry Christmas sentiment stamp. Since it was all connected in length and I wanted it shorter, I cut it in half. Yes, you can do this, lol. Just put it back together next time you want it long again. No biggie!
Anyway, I used the GinaK wreath builder template to stamp out a wreath shape using this sentiment. I chose some Altenew inks and since they come in four shades, it worked perfect to get the ombre feel. 
I then chose a few more images to "fill in" around the words. I stamped the notes in a gold ink, Delicata brand, I believe. 


I also grabbed the star image and stamped it in a nice holiday red ink. 

To create the center piece, I stamped out the bow and bells with Juicy Embossing Ink and heat embossed using the Black As Night embossing powder. I then used the same red ink and the same Delicata gold ink, and my Wink of Stella glitter brush pen and colored in the image. I love doing this because you get the amazing sparkle and it is SO pretty!!! And it really made the bells appear metallic. 

I  grabbed a circle image from my stamp stash to kind of frame the image. I used the Blackout Hybrid Detail Ink for this. I then cut it with a circle die. I layered it onto a scalloped circle that I colored using the darkest ink pad, direct to the paper. Easy way to make your own colored paper, perfect match. 

Before adding the center point piece, I used a square, stitched die from my stash and cut the panel down and added it to a 4.25 square card base. 

I popped that up to the center of the panel using foam tape. 

To finish it off, I grabbed some sparkling black crystals from Honey Bee Stamps, and spread them all around the piece for that holiday sparkle! You get bits of gold, green, teal, and black. They are SO pretty. 

And that's it. Hope you like my project today and will come up with your own design. 
Here's your shopping list.


There you go....happy crafting!

Thursday, October 4, 2018

Thinking Of You Card | Coloring With Distress Oxide Inks by Ilda

Hey everybody, Ilda here with you today from I Love Doing All things crafty 👋

Today I’m sharing a water coloured card using distress oxide inks, and featuring some of the older stamps sets from Ink On 3. I hadn't water colored for a while and I was missing it, happy I did because I am super happy with the bright and colorful results I got!

Thinking Of You Card | Coloring With Distress Oxide Inks by Ilda

To create this card I did some ink smooshing onto the card panel using three different distress oxide inks to create the rainbow like background. Once the panel was completely dry I stamped out the images using Juicy Ink and then heat set it with  Arctic White embossing powder. Next, I took the same colors that I smooshed onto my surface and used them to color in the details of the vase from the Posies Set and the flowers from the Roses in Bloom set by adding multiple layers of oxide pigment. I then flicked some splatters of paint for some added splashes of color onto the panel and then die cut it using a stitched scallop rectangle die. For the sentiments I used the Hello stand alone die from the Dogwood Flower set and die cut 3 pieces and stacked them together. I then added Juicy Ink to the top of the Hello and added a coat of Crystal Clear Powder to emboss it. Next, I stamped out the thinking of you sentiment from the Posies stamp set using Salty Ocean distress ink and again used the Crystal Clear powder to heat set the ink. Finished off the card by adding some sparkling sequins.

(Distress Oxides Used: Salty Ocean, Picked Raspberry and Squeezed Lemon)

Thinking Of You Card | Coloring With Distress Oxide Inks by Ilda

Hope this very loosely colored water colored card has inspired you today!

Thanks for stopping by 😊