Showing posts with label interactive card. Show all posts

Wednesday, February 19, 2020

Platy-rific Pondies featuring Guest Designer Rachel

Hi everyone! We have a special guest designer today... Rachel! Please head over to her instagram and give her a follow! She's created an amazing project today and will be back next week with a second project! Keep on reading to see how she created this amazing pop up box! 

---------

Hello crafty friends! It's Rachel here and I'm so excited to be guest designing today for Ink on 3! I created a 3D Box Card to share with you today featuring some cute critters from the Platy-rific Pondies Stamp Set. I absolutely love this stamp set! It's so versatile and full of so many cute images!


I first created the base of my card using a sheet of dark blue card stock, a scoring board, scissors, and some strong adhesive. I created my base so that when it lays flat, it fits perfectly into a standard A2 sized envelope. I used a rectangular die to cut a window in the front of my box and then glued a piece of clear acetate behind it prior to attaching the sides together.


I then stamped all of my images with some Copic friendly black ink onto a sheet of Neenah Solar White 110lb Card Stock, colored them with Copic Sketch Markers and then used my Brother ScanNCut to cut them out.


I added some inner shelves to my box card to hold both the strips of grass, water background piece, and my critters. For my water background, I blended some Tumbled Glass, Broken China, Stormy Sky, and Chipped Sapphire Distress Inks onto another small piece of Neenah Solar White 110lb Card Stock. Once blended, I then used a #4 paint brush to flick some water droplets onto the ink to create some more interest to this panel and to also look more like water. For my grass, I diecut each piece from white card stock using the Grassy Edges Die-namics from My Favorite Things and then blended each entire piece with Mowed Lawn Distress Oxide Ink. I then blended it again over the tips of the grass with Mowed Lawn Distress Ink.


Lastly, I added a background sky by blending some Ripe Persimmon, Wild Honey, Fossilized Amber, and Squeezed Lemonade Distress Inks. I stamped my sentiment onto the top right corner of this piece before I adhered it to the inside of my card.

I hope you enjoyed my card today! Thanks so much for stopping by!

Saturday, May 11, 2019

Knockout Birthday Spinner Card by Ilda

Ka-Pow! Ilda here from I Love Doing All things crafty😀 

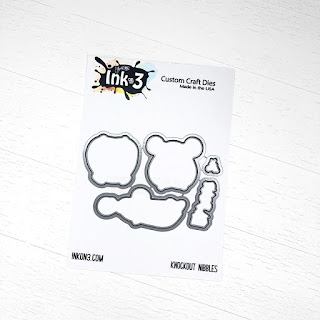
Ink On 3 just released a super cute stamp set Knockout Nibbles. Super fun, a perfect set for Dad or for masculine and/or even feminine cards if they are into the boxing scene.


CARD DETAILS

For my card today I thought it would be fun to create a spinner card that would spin the little hamster around the circle opening to make him look like he was super excited about knocking out his opponent.

I began by stamping out the images from Knockout Nibbles using Blackout Ink and then colored them in using Copic Markers. I did stamp two of the hamsters with boxing gloves in the air, as I wanted to finish the back side of the spinner with the same image. I then die cut the images out using the Coordinating Dies. Now even though the hamster isn't symmetrical, the die cut was close enough that I was able to use it rather than creating a mirrored image for the backside of the spinner.

To create the spinning hamsters, I attached a clear thread to the backside of one of the hamsters using a really strong tape adhesive then glued on the other hamster to sandwich in the clear thread. Just make sure you leave the thread long enough to attach to the top and bottom of the window opening.


To the front of the card base, I die cut an opening for the spinning element to spin using a circle die. I then stamped out the two starburst like stamps using Distress Oxide inks and then sprinkled Crystal Clear embossing powder on them to heat set the images.

Next, I die cut another circle (smaller than the previous one) from a piece of blue cardstock to fit behind the window. I then attached the threads of the spinning hamster to the blue piece of cardstock that was then sandwiched with white cardstock to finish off the inside of the card.

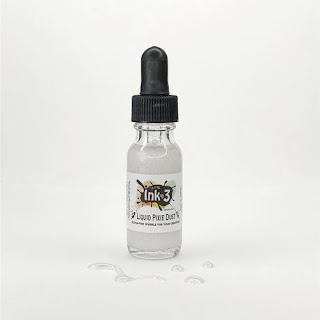
Once the spinner was in place I then glued the popped up elements to the front of the card. To embellish, I added white pen highlights, Liquid Pixie Dust to the black eye, and the "O" in pow, and then added glossy accents to the boxing gloves. I also added Prisma glitter sparkle to a few spots on the card front but they don't show up on well in these photos.


On the inside, I added the Happy Birthday Champ right behind the hamster so that you wouldn't see it if the card was flat. And then just below the opening, I added the rest of the greeting.


To see this card in action make sure you are following me on →Instagram as I will share a video clip of it in motion.

I had so much fun creating this Knockout Birthday Spinner Card. I hope you were inspired. Can't wait to give this card to the next little guy who celebrates a birthday in the family!

Release Special
Continental US - Free Ship for orders of $36.00 and over Coupon code ~ nibblesfeeship
International - $4.00 off orders of $36.00 and over Coupon code ~ intnibbles4
Special ends - Friday, May 17th, 2019.

Thank you for stopping by 😊
Until next time... Happy Crafting 👋


SUPPLIES
KNOCKOUT NIBBLES
KNOCKOUT NIBBLES
Shop at:
IO3
KNOCKOUT NIBBLES Dies
Shop at:
IO3
Blackout Ink
Blackout Ink
Shop at:
IO3
Crystal Clear Ultra  Powder
Crystal Clear Ultra Powder
Shop at:
 IO3
Liquid Pixie Dust
Liquid Pixie Dust
Shop at:
 IO3
Mini Misti Tool
Mini Misti Tool
Shop at:
SSS | AMZ | SB | SK
Neenah  80 LB SOLAR WHITE
Neenah 80 LB SOLAR WHITE
Shop at:
SSS | AMZ
Embossing Magic Bag
Embossing Magic Bag
Shop at:
SSS | AMZ
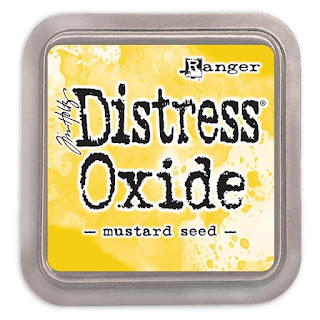
Oxide Ink Pad MUSTARD SEED
Shop at:
SSS | HBS
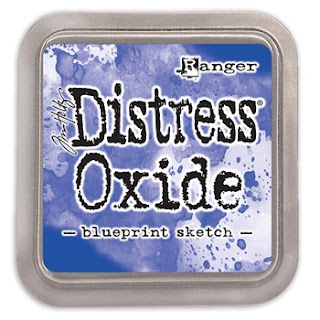
Oxide Ink Pad BLUEPRINT
Shop at:
SSS
Memory Box CIRCLE Dies
Memory Box Circle Dies
Shop at:
SSS
Glossy Accents
Glossy Accents
Shop at:
SSS | AMZ | SB | HBS
WHITE Gelly Roll Pens Set
Shop at:
SSS | AMZ
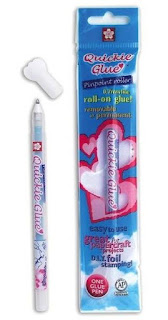
Sakura Quicky Glue Pen
Shop at:
SSS | AMZ | SK
PRISMA GLITTER
PRISMA GLITTER
Shop at:
SSS

Affiliate links may be used. 

Tuesday, February 13, 2018

Biker Bunnies Love Their Chicks - Slider Card

Hello Friends, Ilda here with you again!

I'm back with a "Cool" Easter Card, perfect for the little rebel in your life!

This card features stamps from Ink On 3's Biker Bunnies and Lil Chicks, and of course I just had to make it interactive!
Biker Bunnies Love Their Chicks - Slider Card - Ink On 3
As you can see the little Biker Bunny looks like he pops a wheelie as he drives by to impress all the "Chicks" lol! 😆


Here is how I created this card...

  •  Colored all the images using Zig Clean Color Brushes, then cut them out. 
  •  Used distress oxide inks to blend out the colors for my background. 
  • Colored the bottom of another piece of cardstock grey, as you will see it once the slider channel is cut out. 
  • For the sky I used a cloud stencil. 
  • Used a couple of channel dies to create the track for the motorcycle. I began with the straight die, then used the curved die. Make sure you align the track really well before you run it through the die machine so that the track is smooth. 
  • Stamp out the sentiments.
  • Assemble the front card panels. I popped up the front panel with 2 layers of foam tape. 
  • I created 2 slider mechanisms by sandwiching a couple of spin disks between a couple of small circle dies.
  • Inserted spin mechanisms into the track and attached the Motorcycle to them. (I did not attach to the front wheel of the motorcycle to the spin disk as then it won't be able to curve up the channel).
  • Glue down your bunnies and chicks. To some of the chicks I popped them up with foam tape and then to the ones that looked like they were flying I added some motion lines with a marker.
  • Attach the finished panel to the card base.
  • Finish by adding some Wink of Stella and glossy accents to the Bike and the Bunnies.
For details on any of the supplies I used in today's card, click →HERE

Biker Bunnies Love Their Chicks - Slider Card - Ink On 3

Hope you got some inspiration from today's "Cool" Easter Card.
Here is a Very Fast Minute of the card making process. Enjoy!


Also make sure you go check out the AMAZING NEW Inks from Ink On 3.
Already sold OUT... they are that awesome!!! No worries they will be here soon, so go place your orders!


Thanks for stopping by!
Happy Crafting  :)